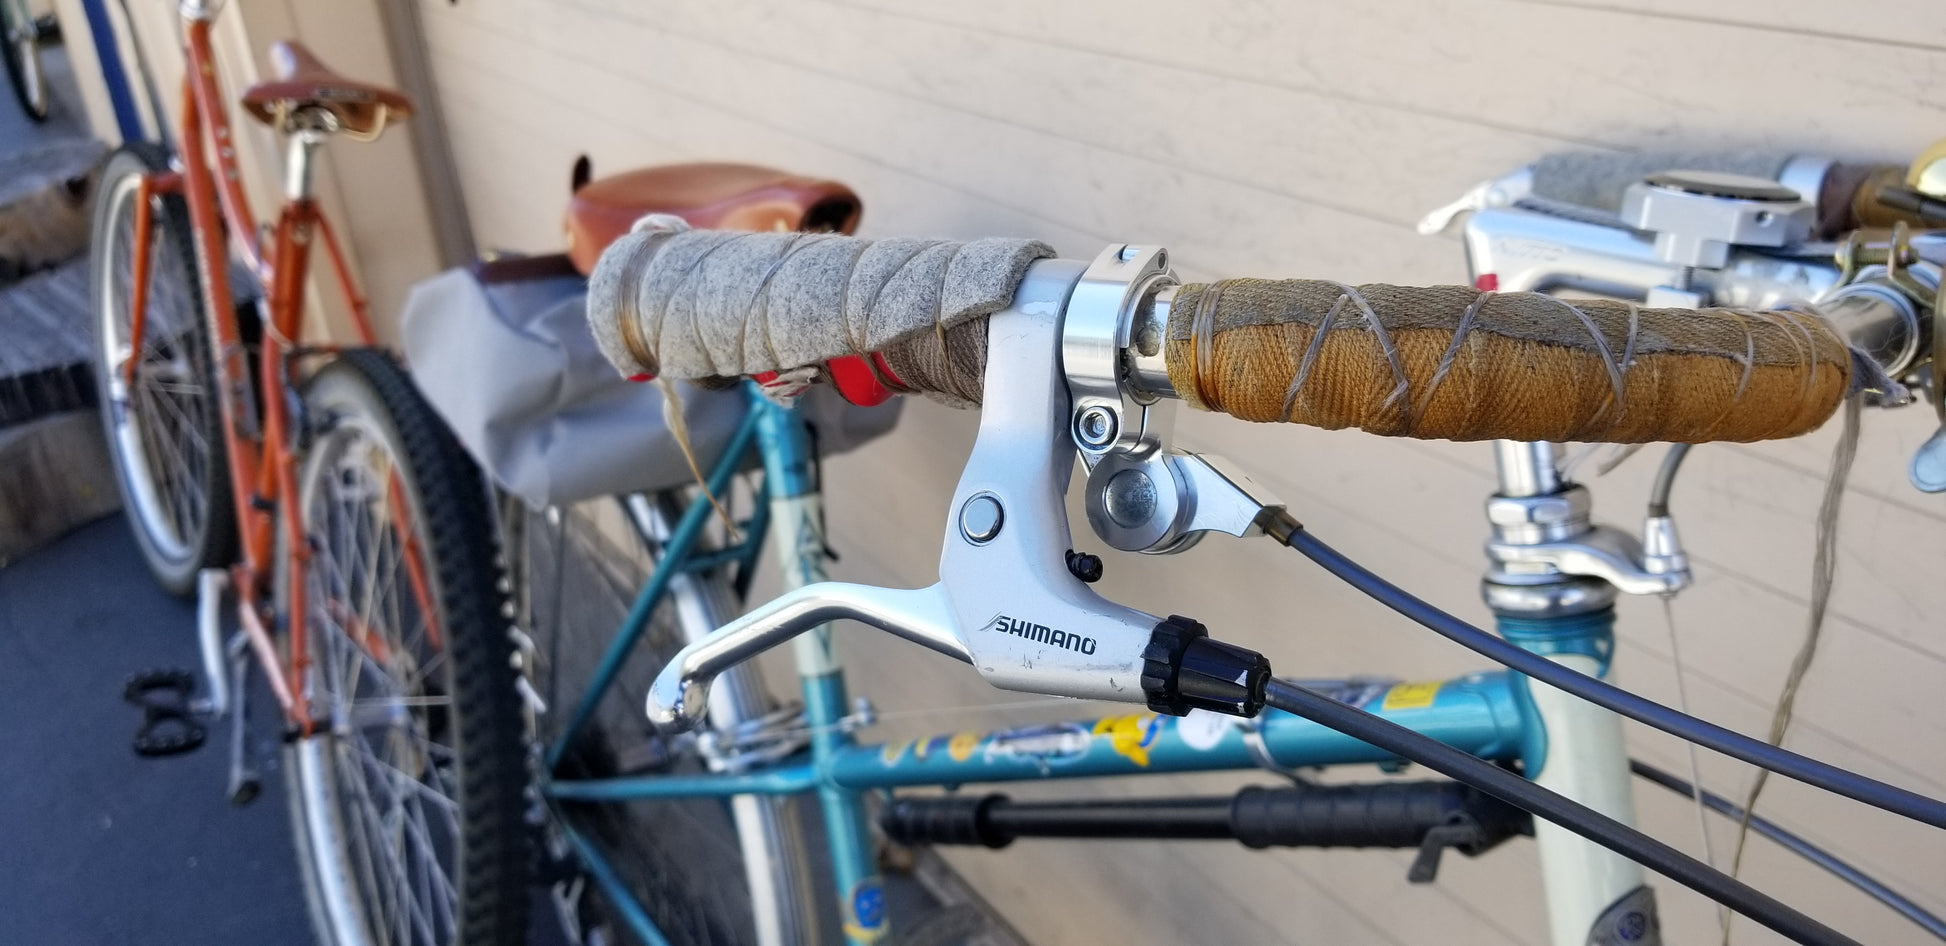
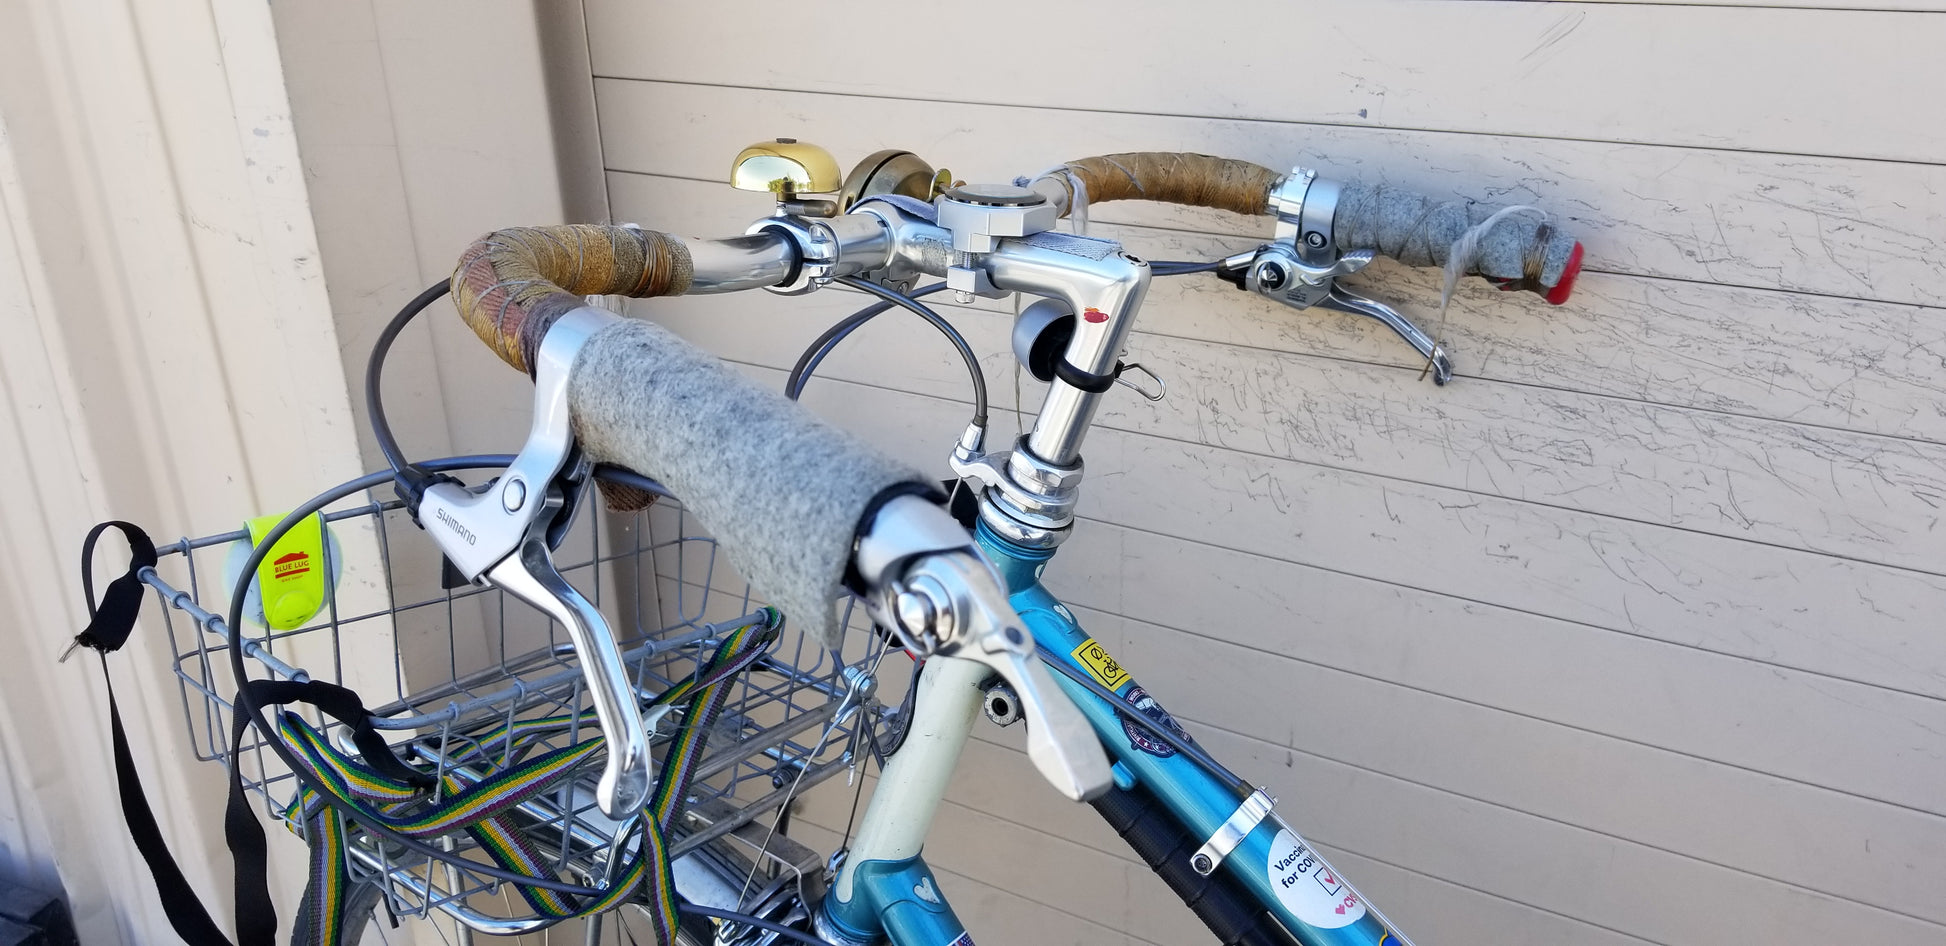
Shifter set-up examples
Shifter set-up examples
Couldn't load pickup availability
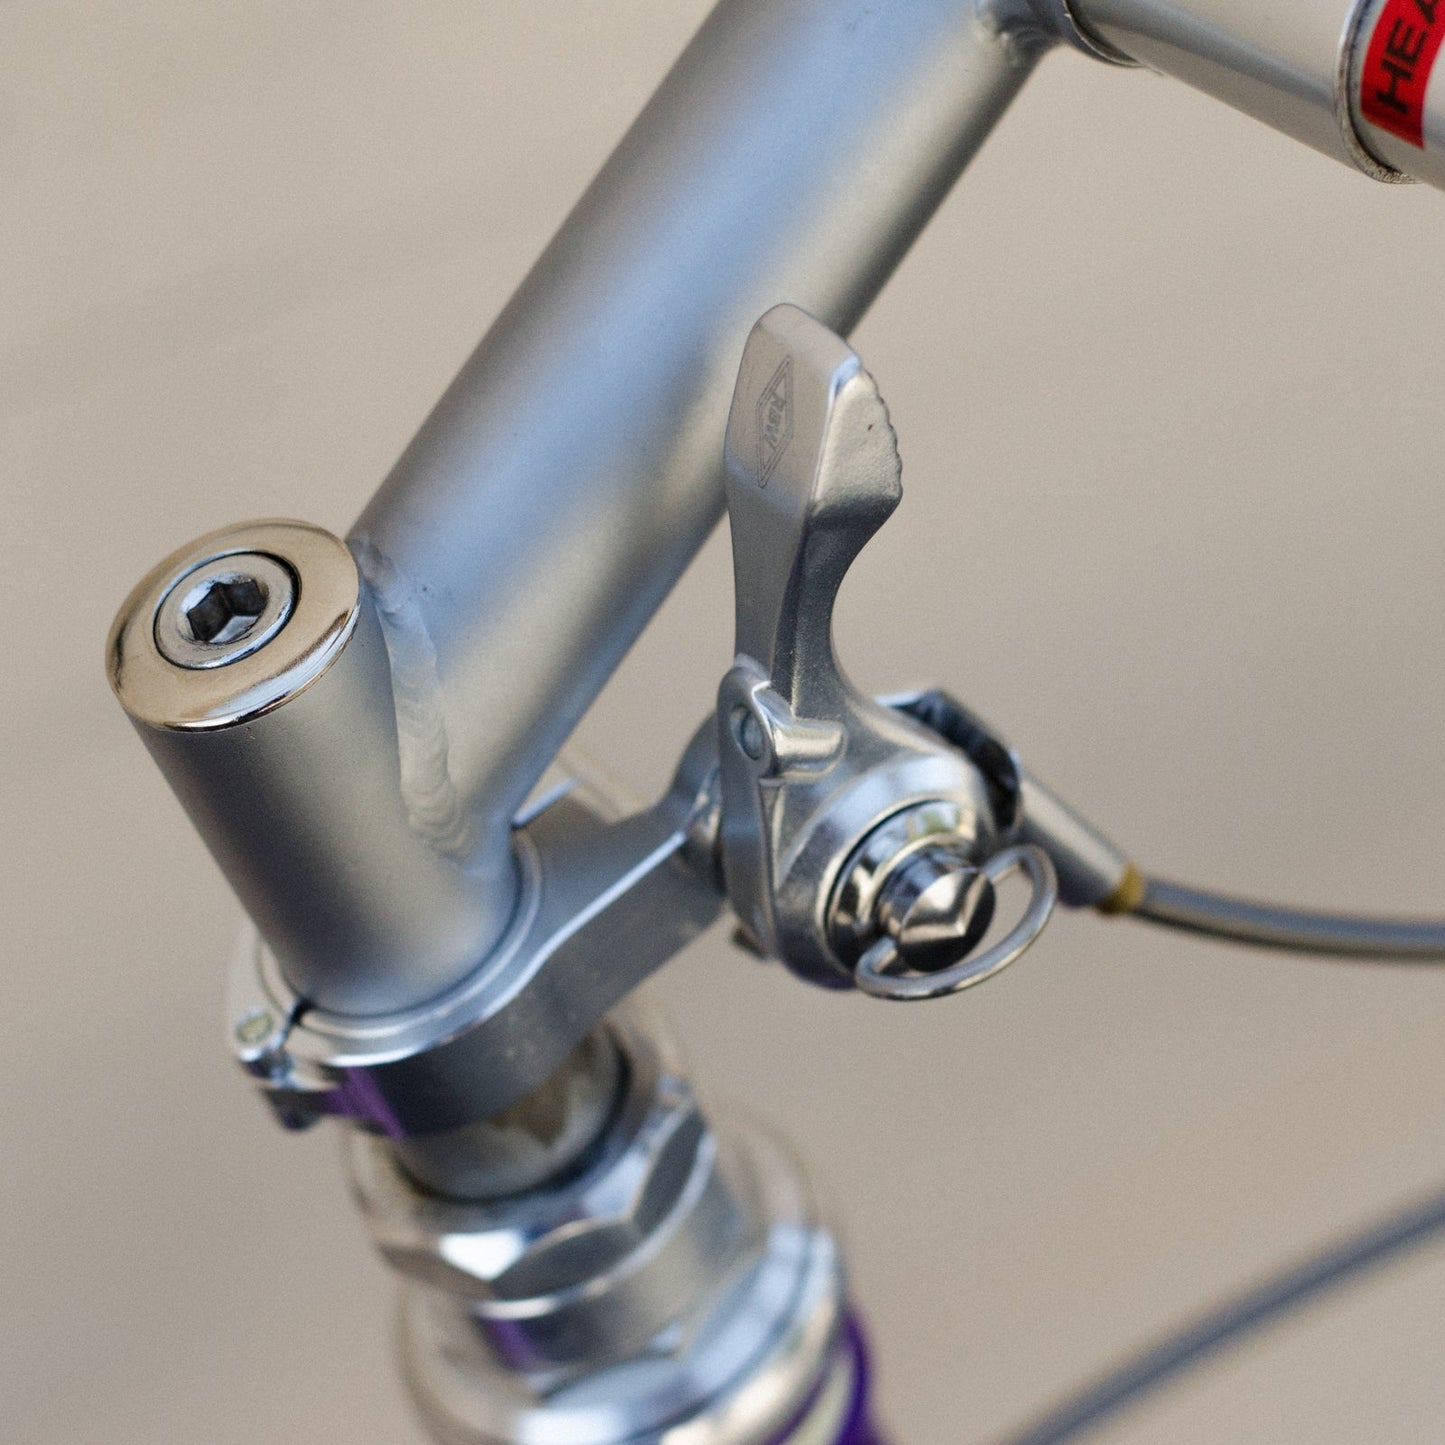
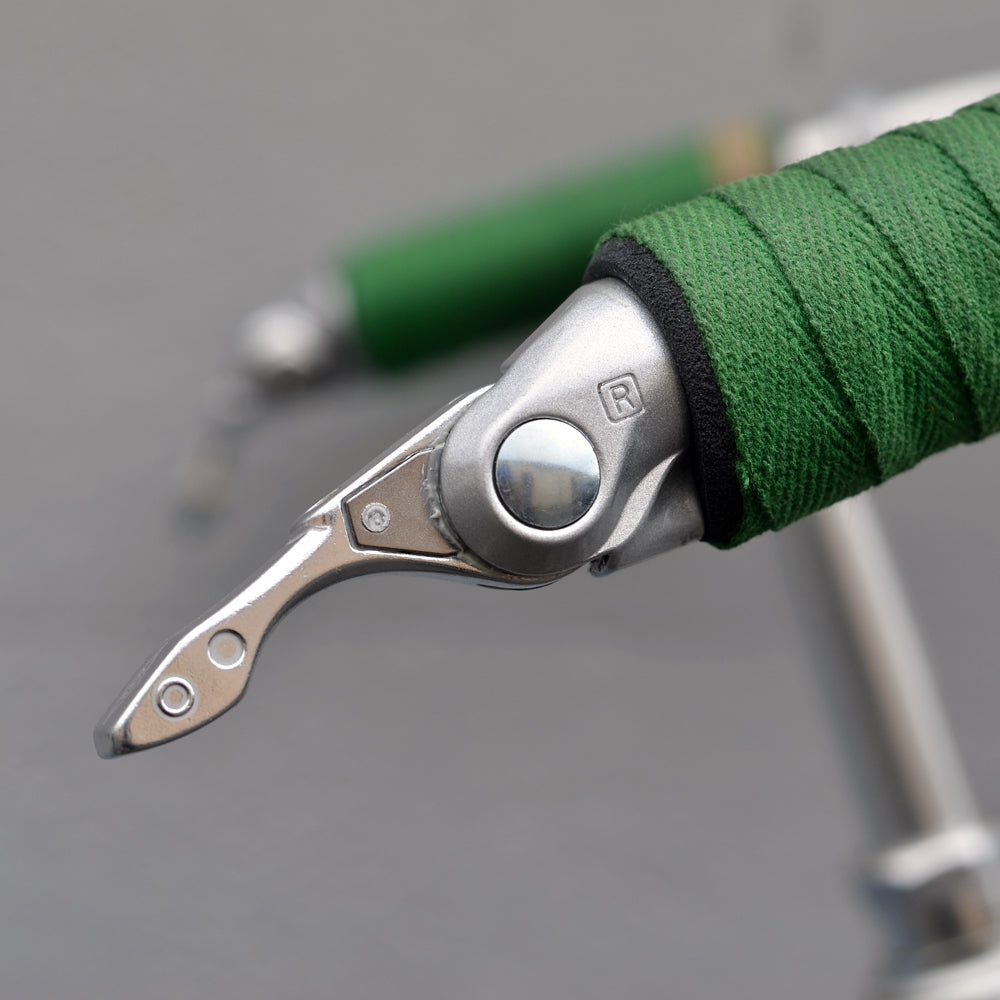
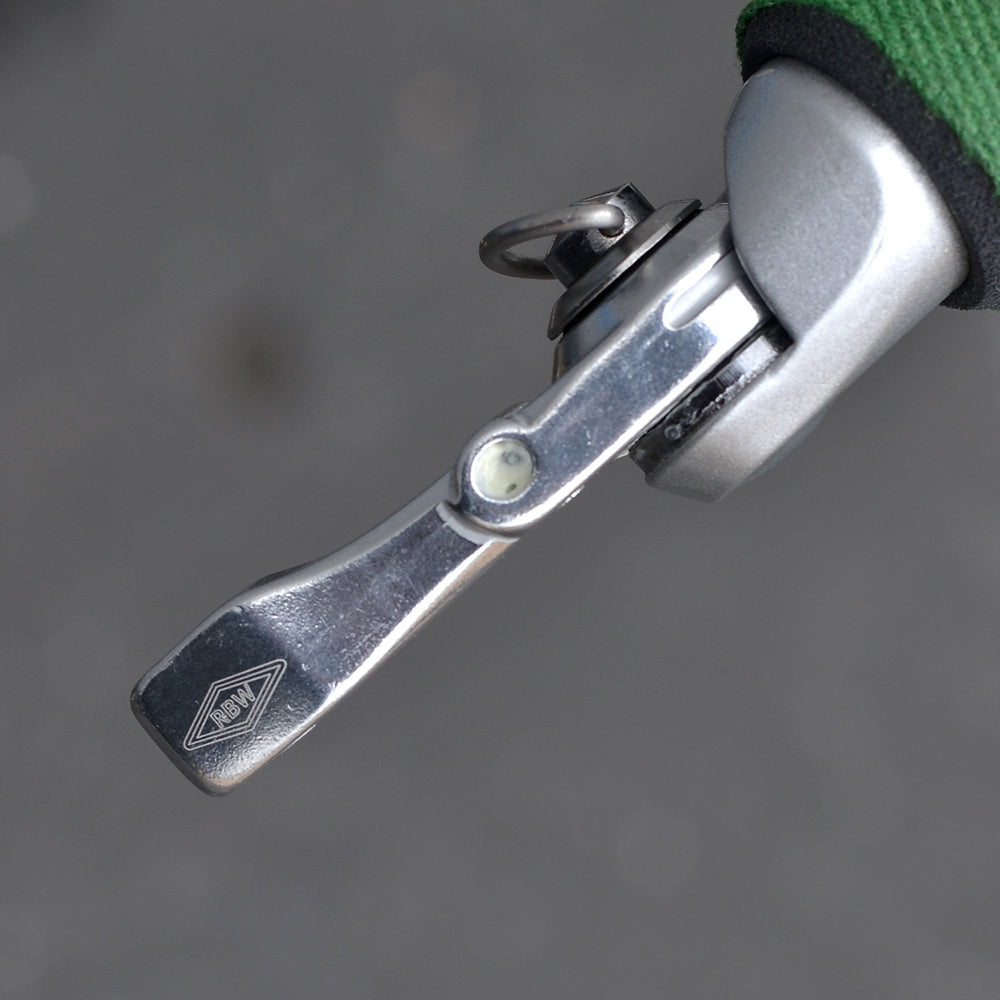
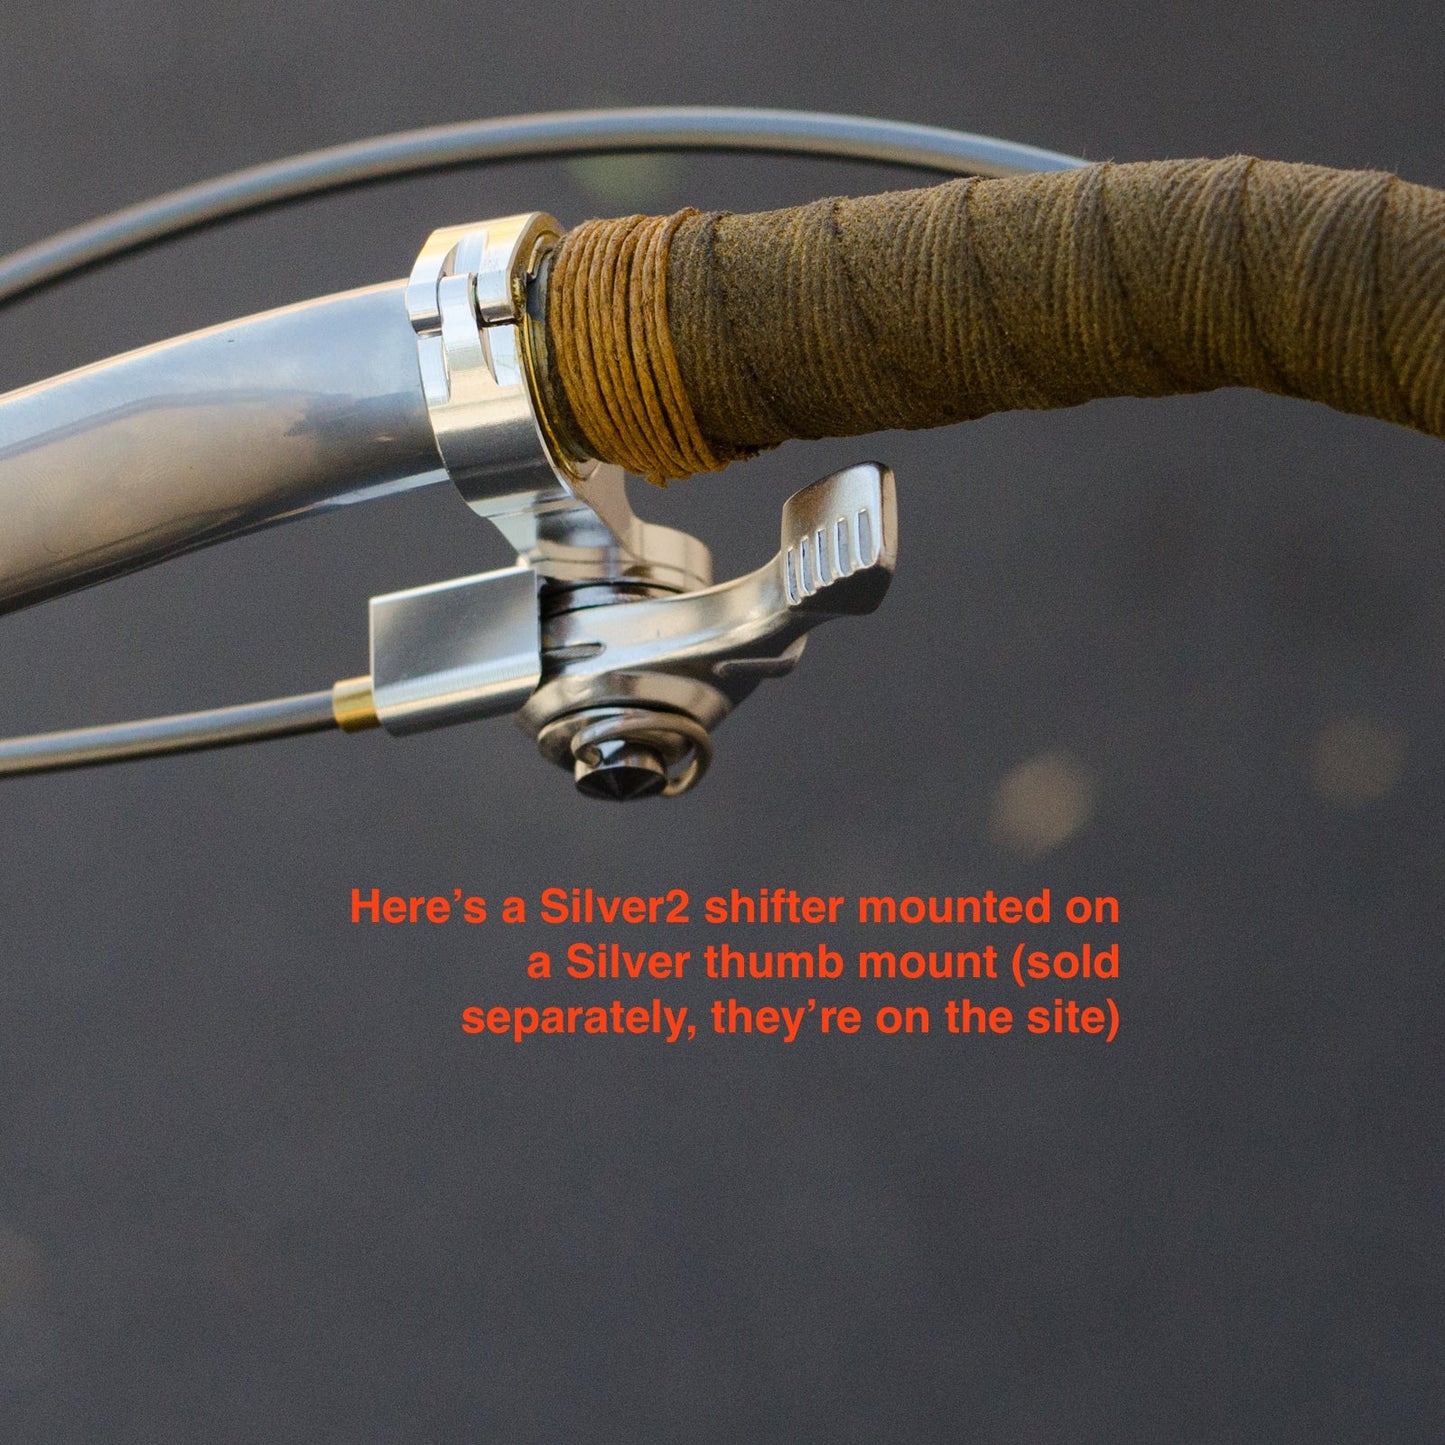
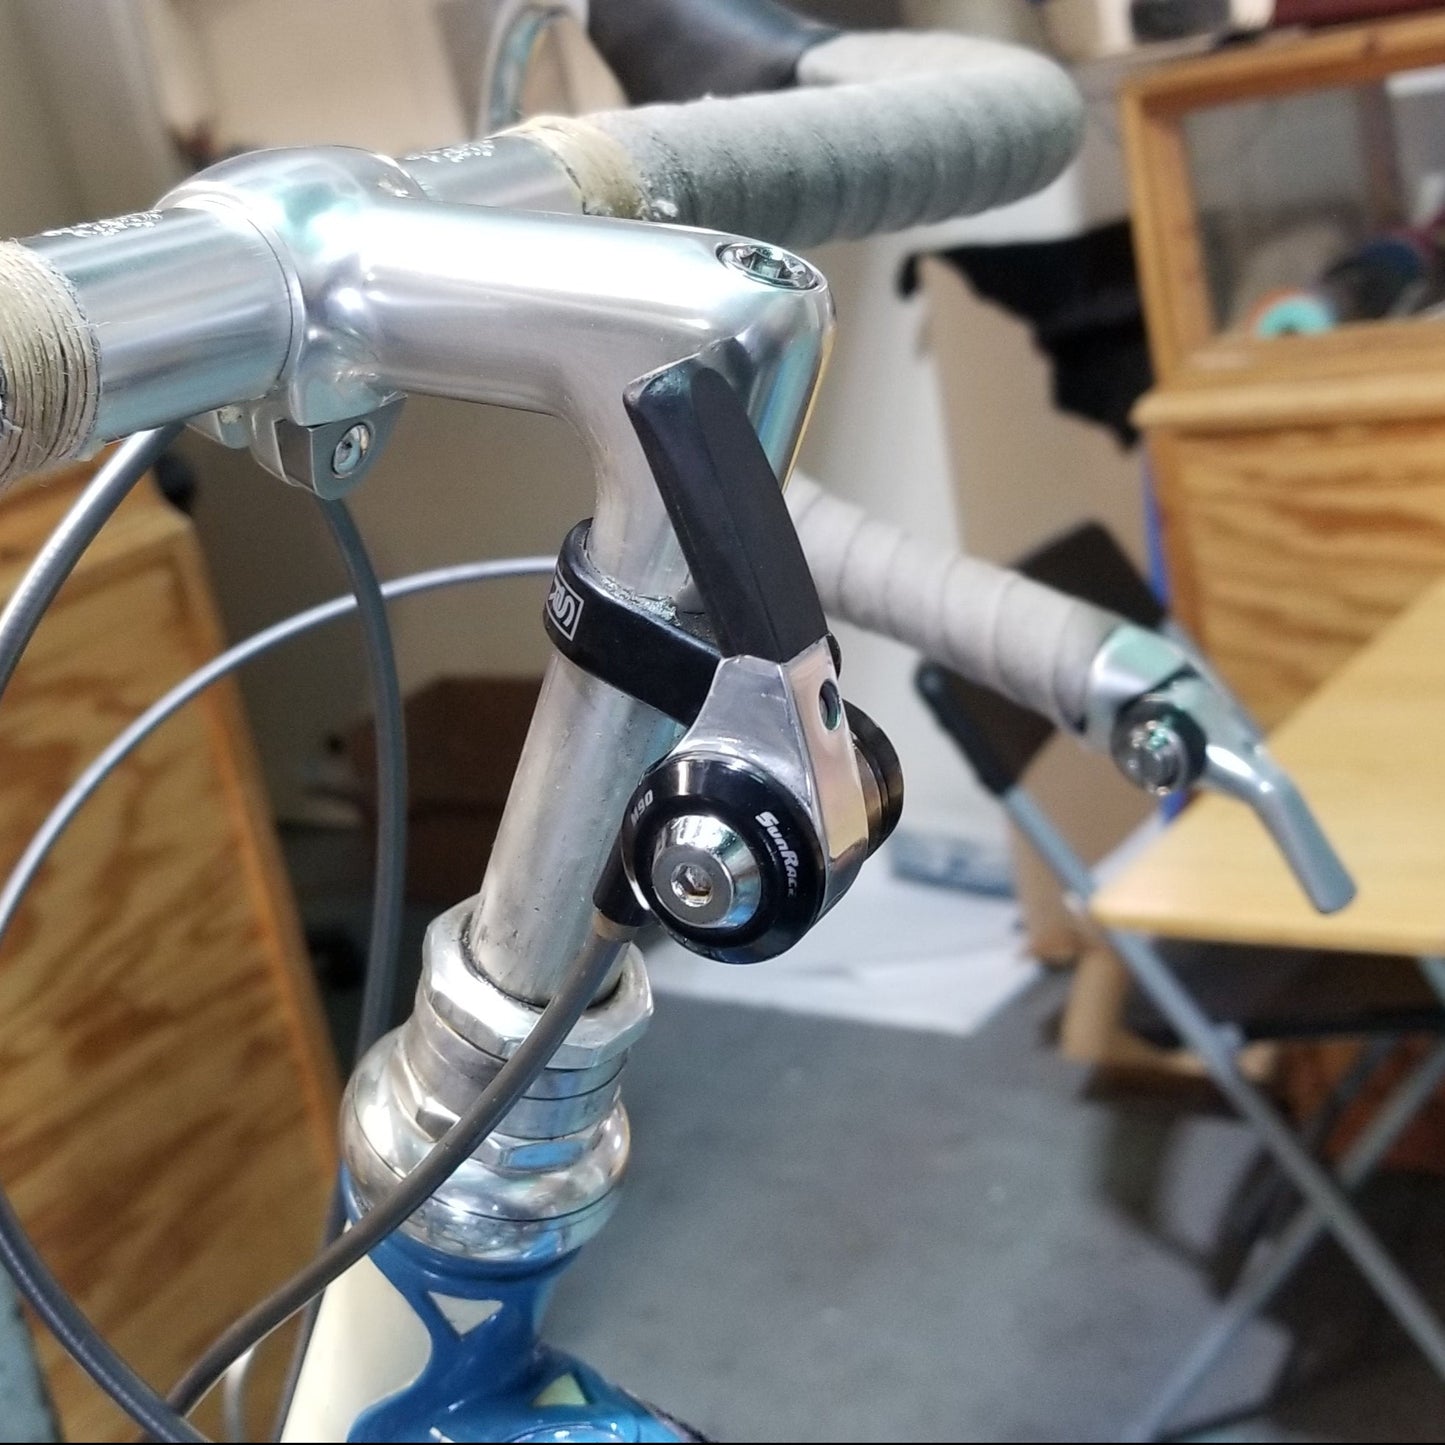
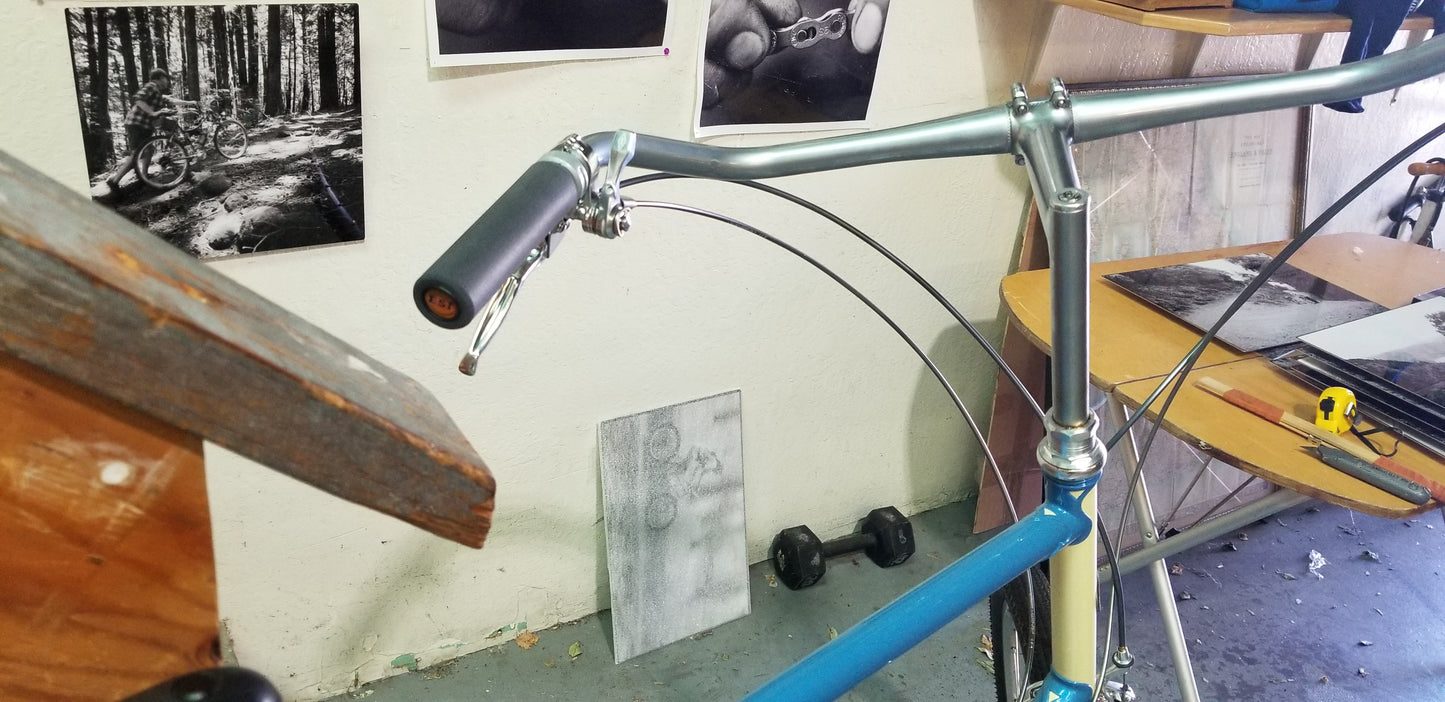
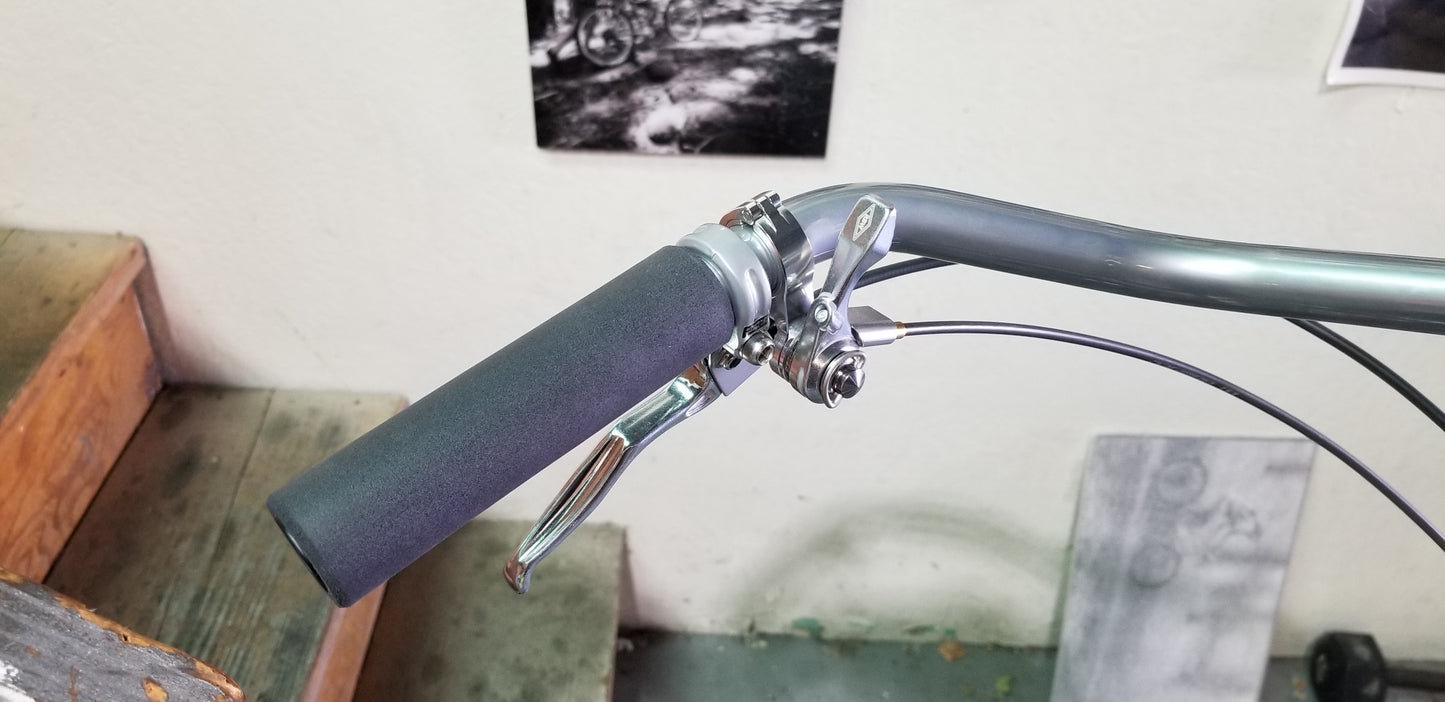
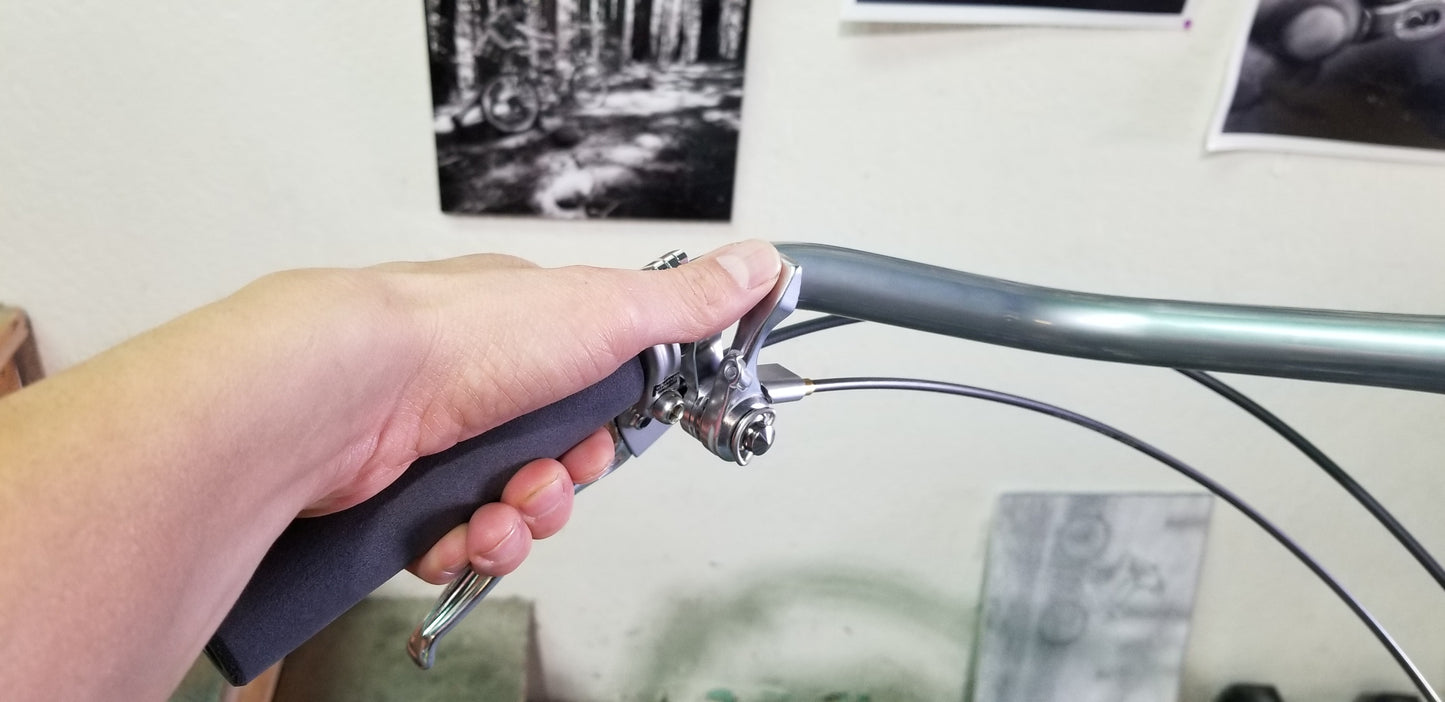
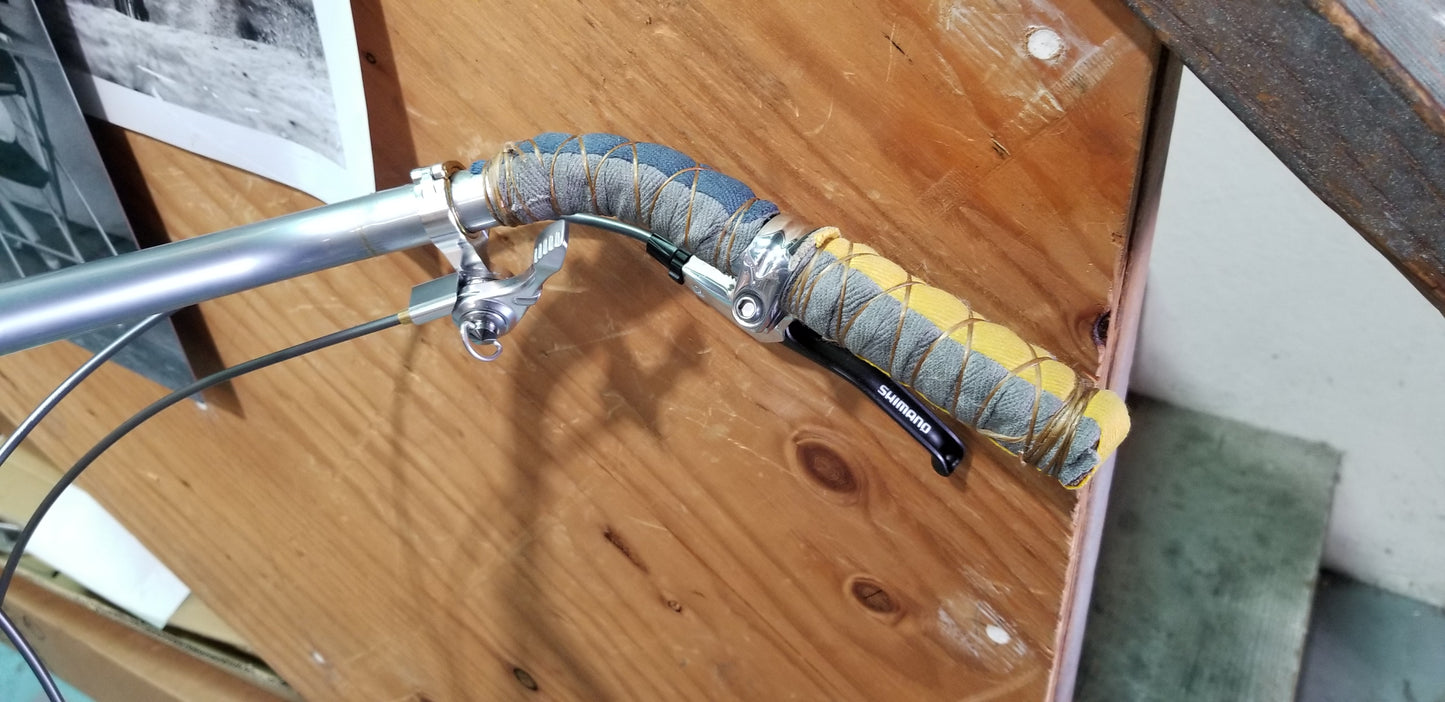
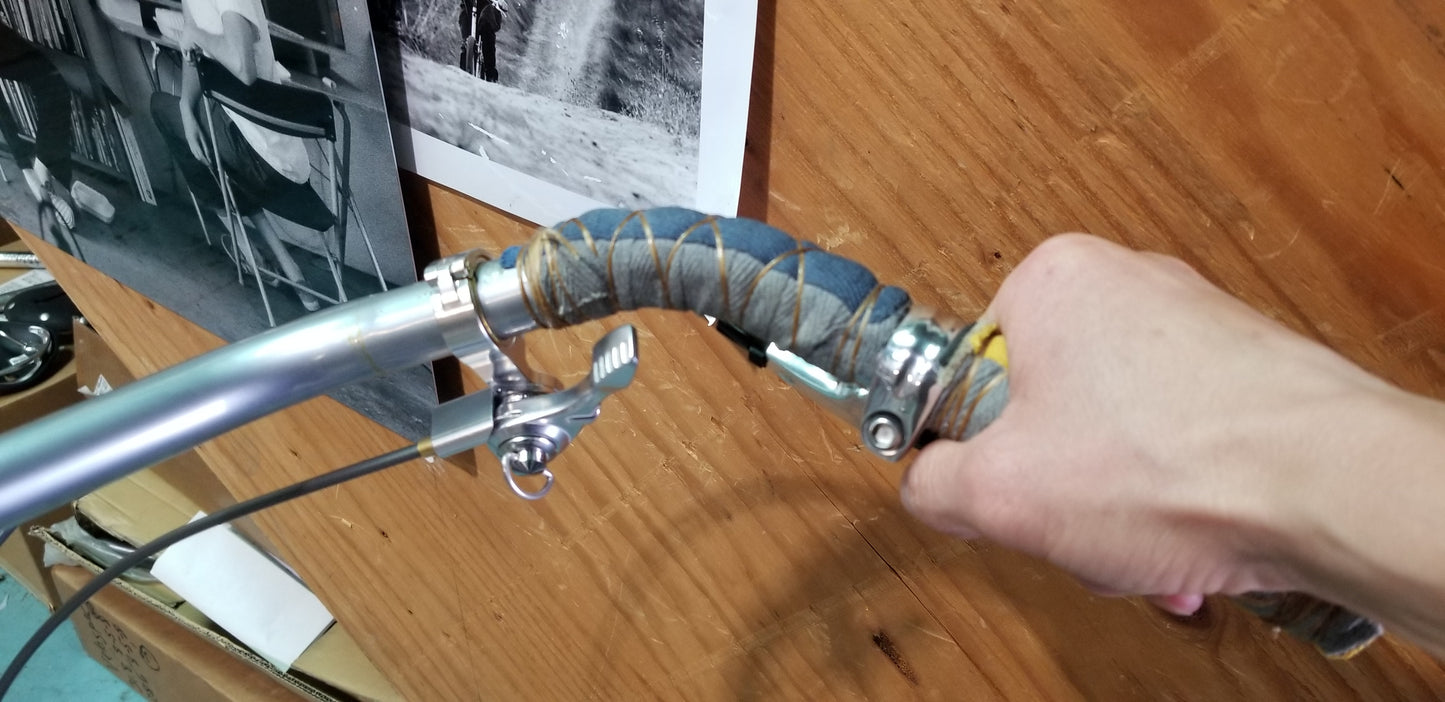
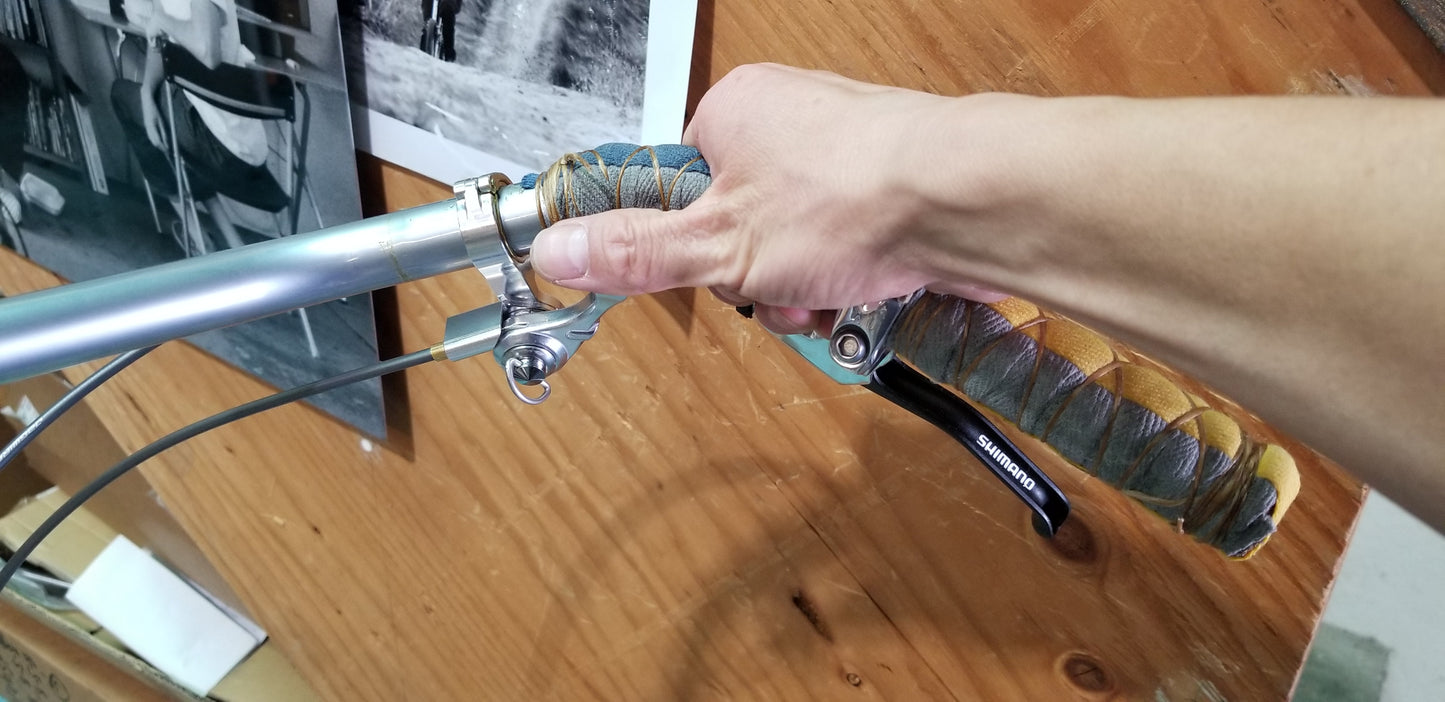
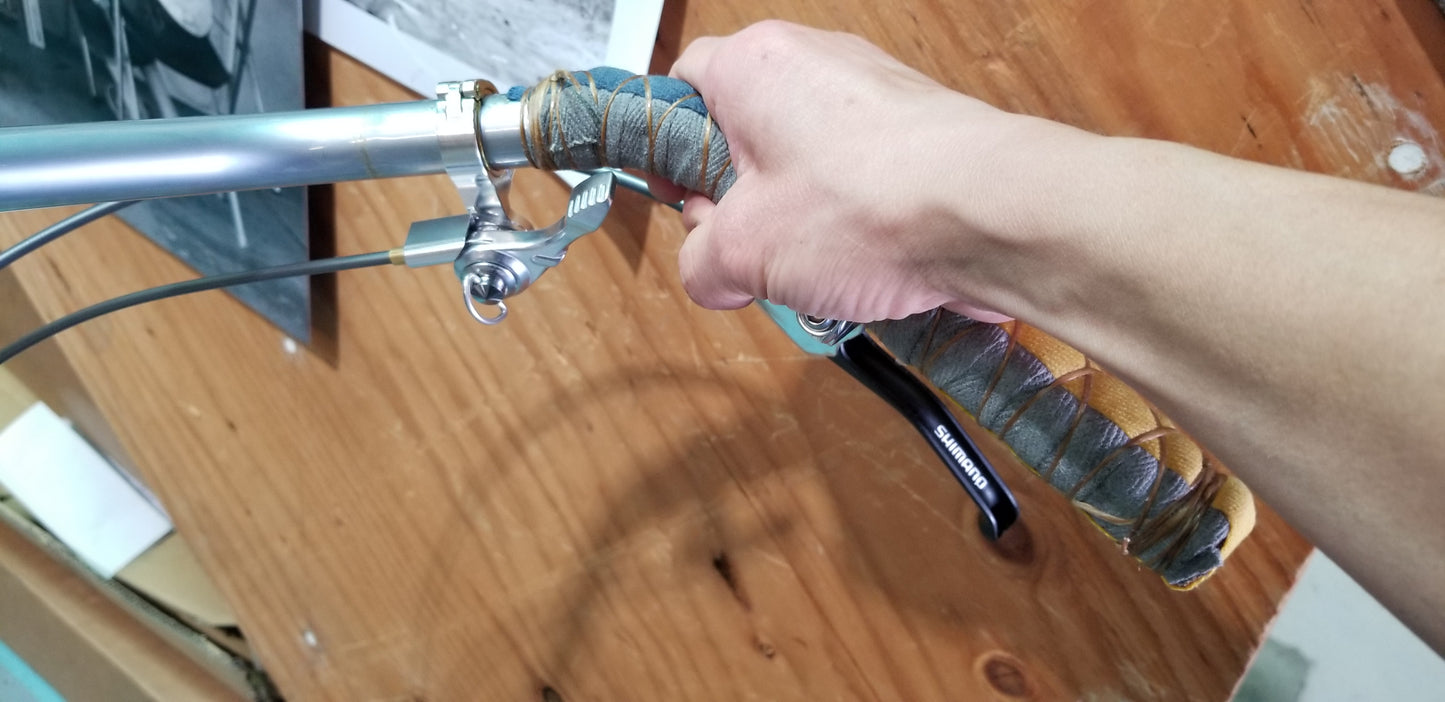
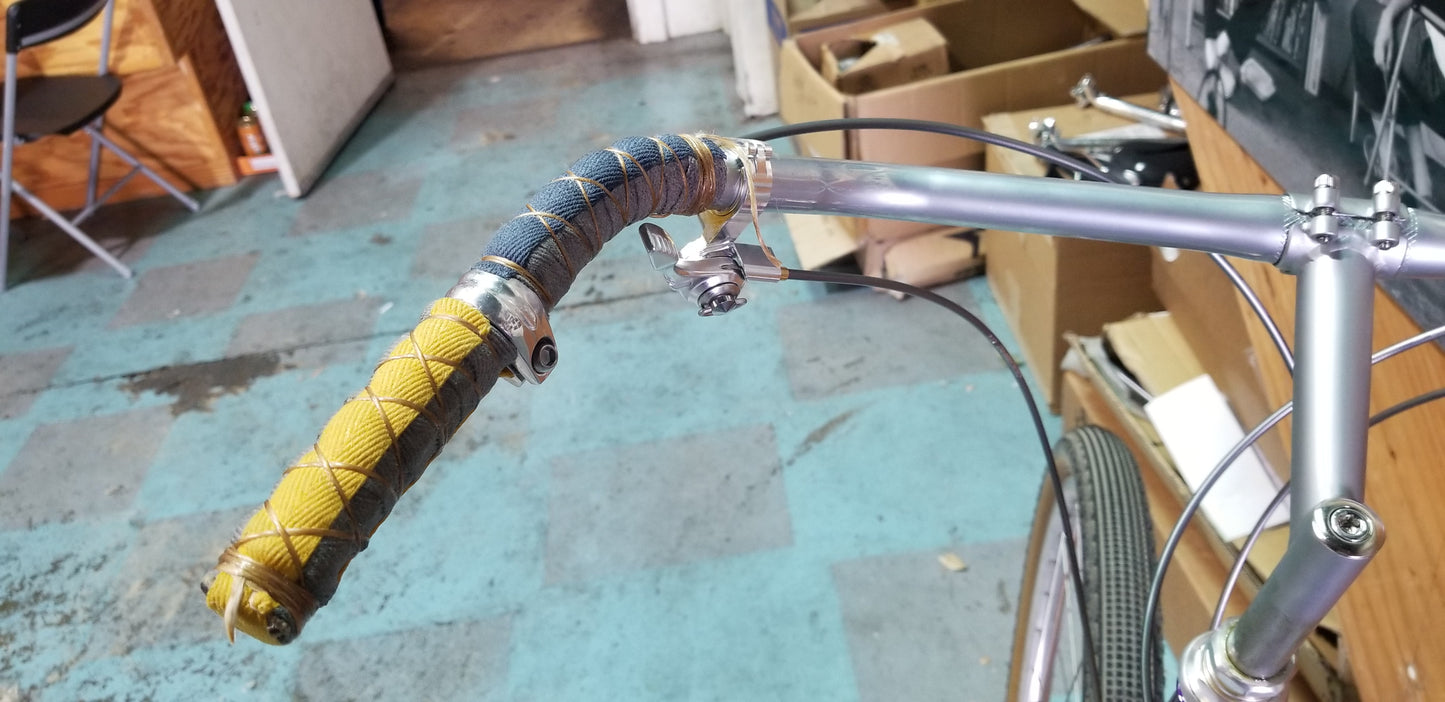
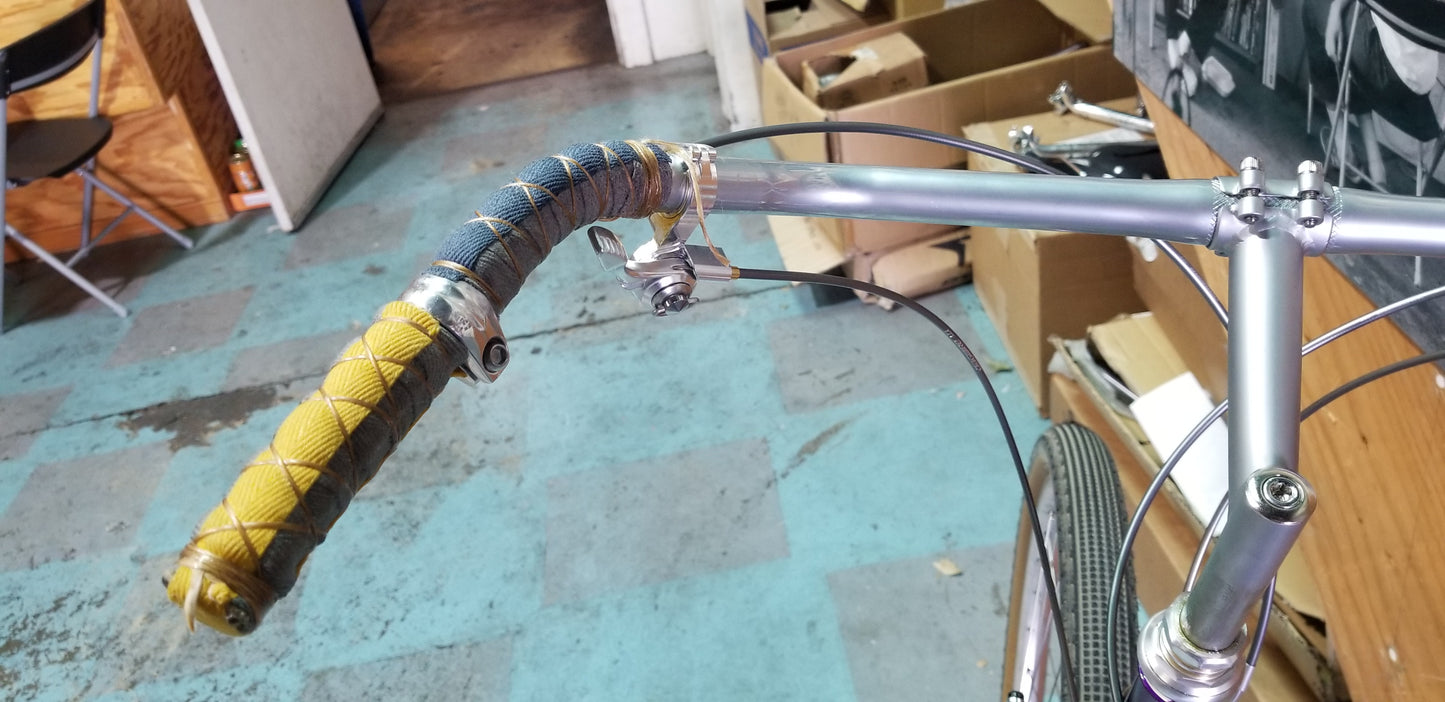
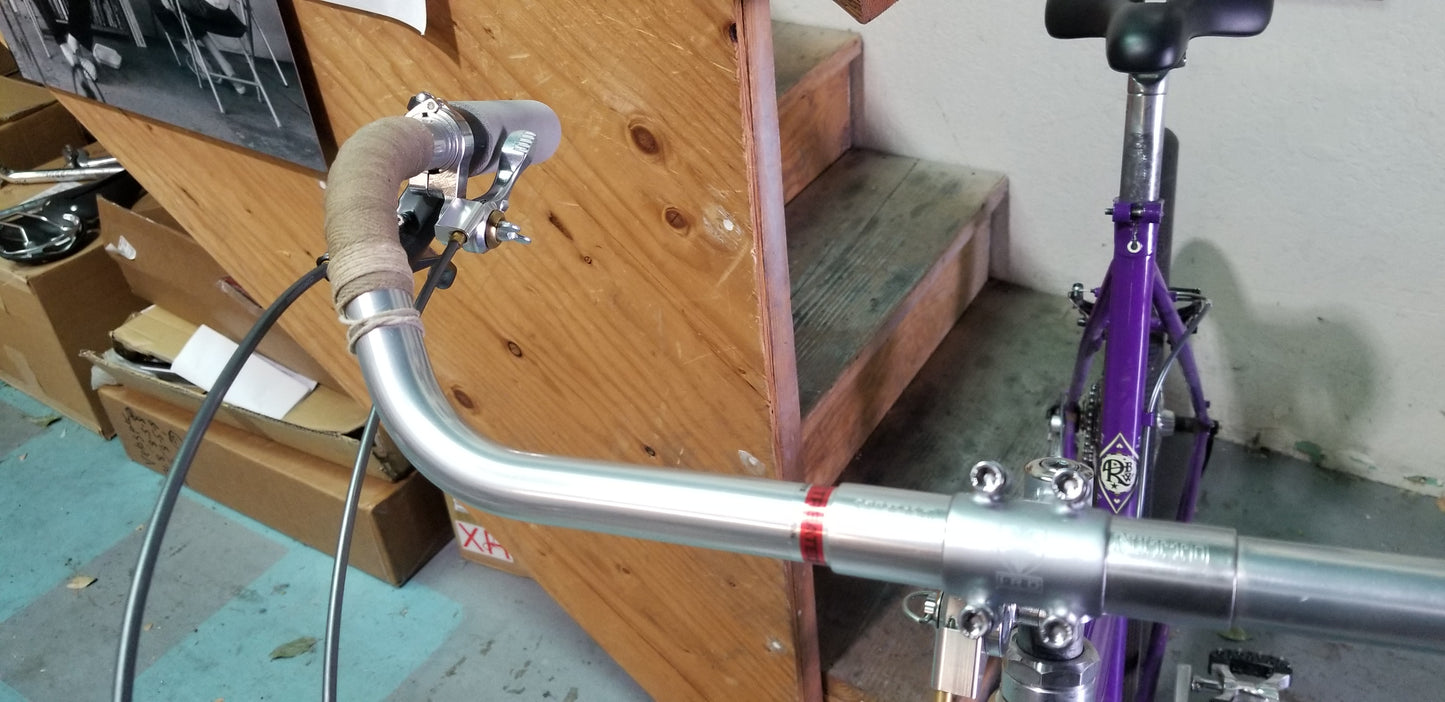
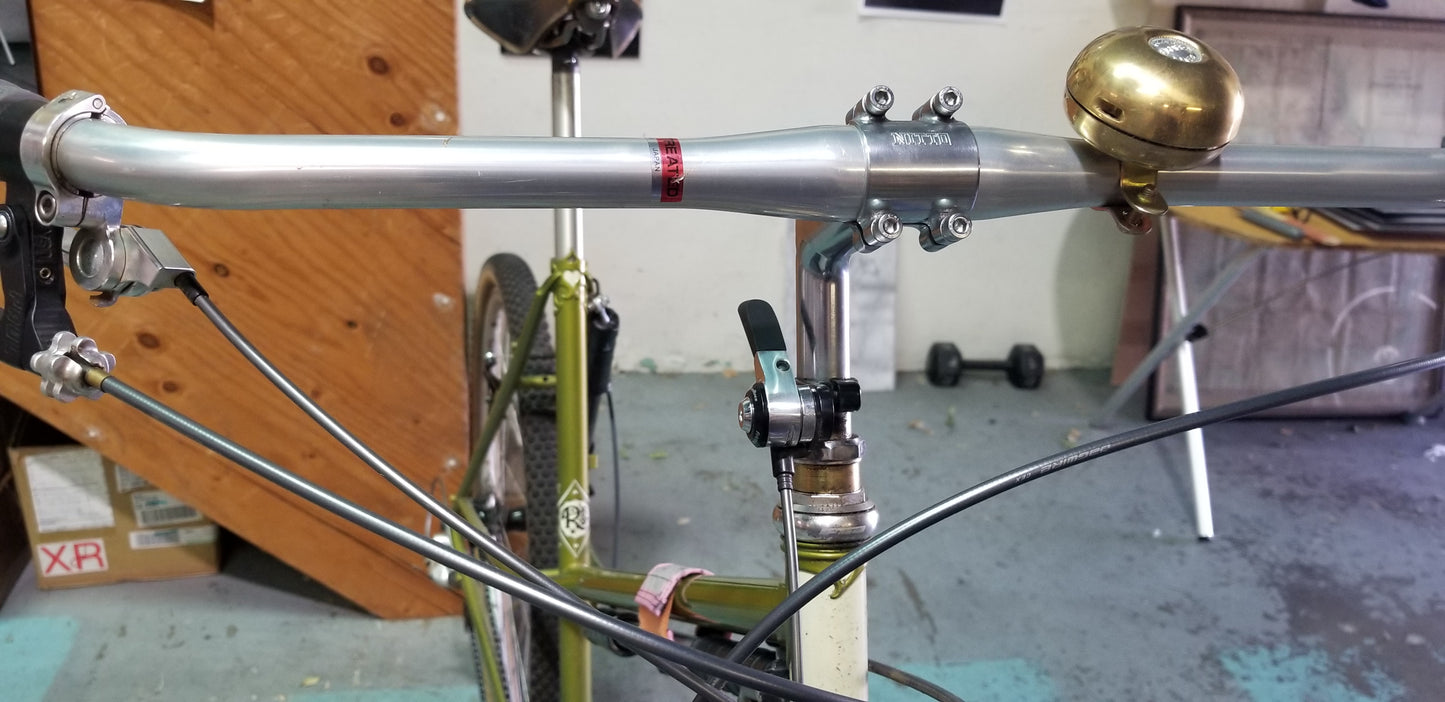
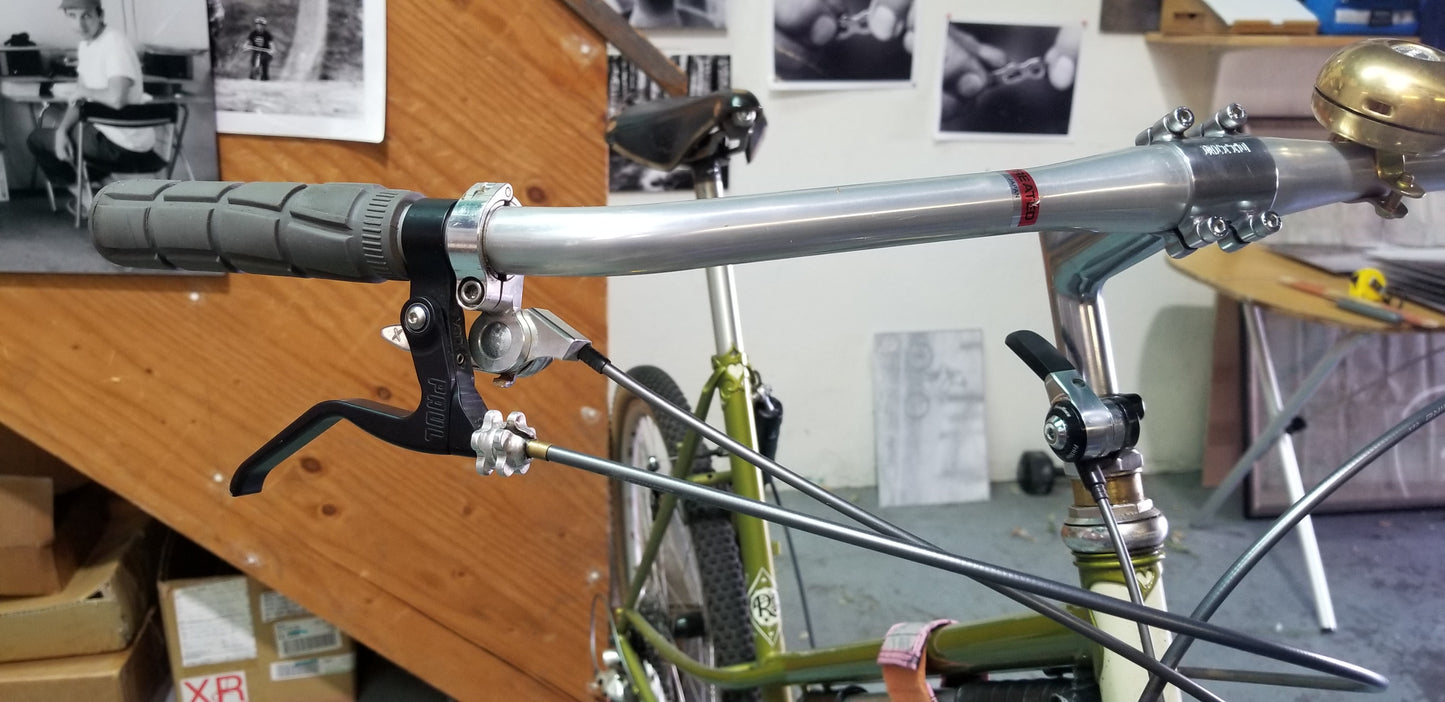
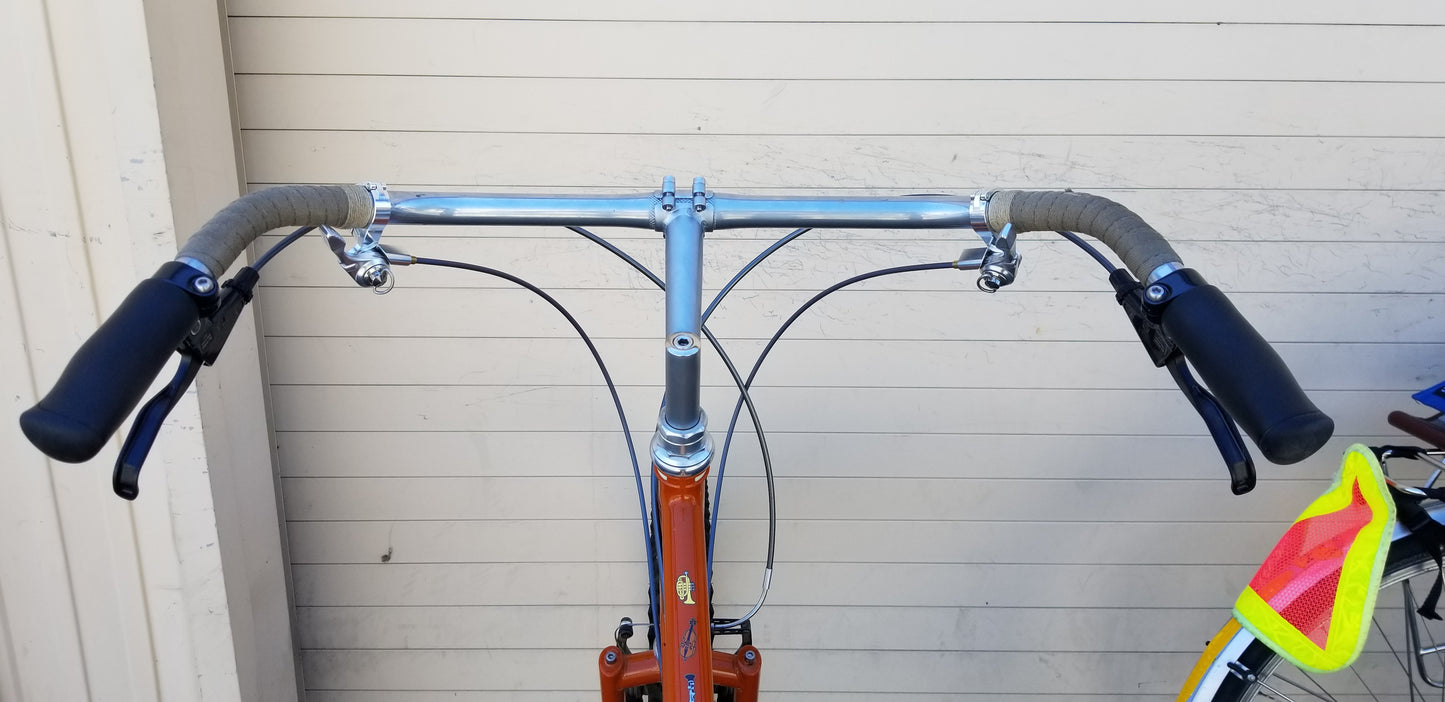
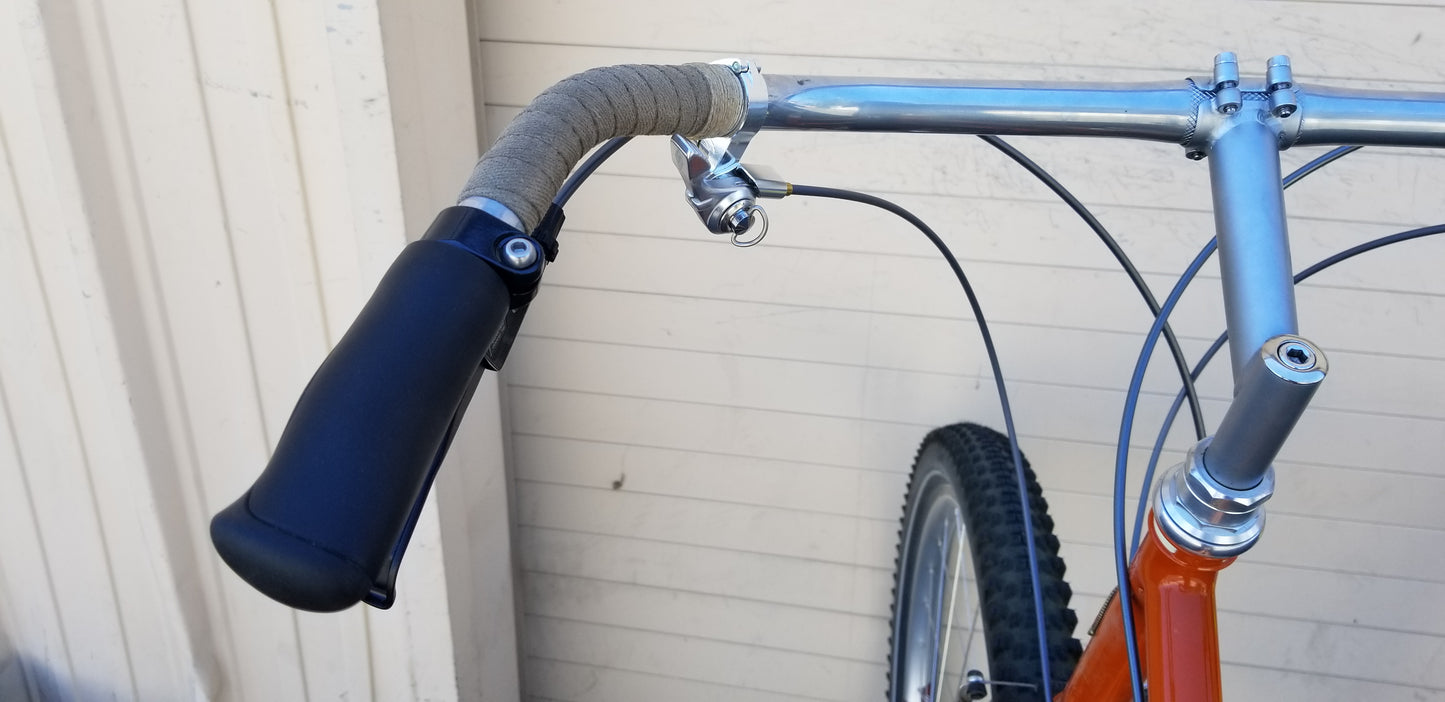
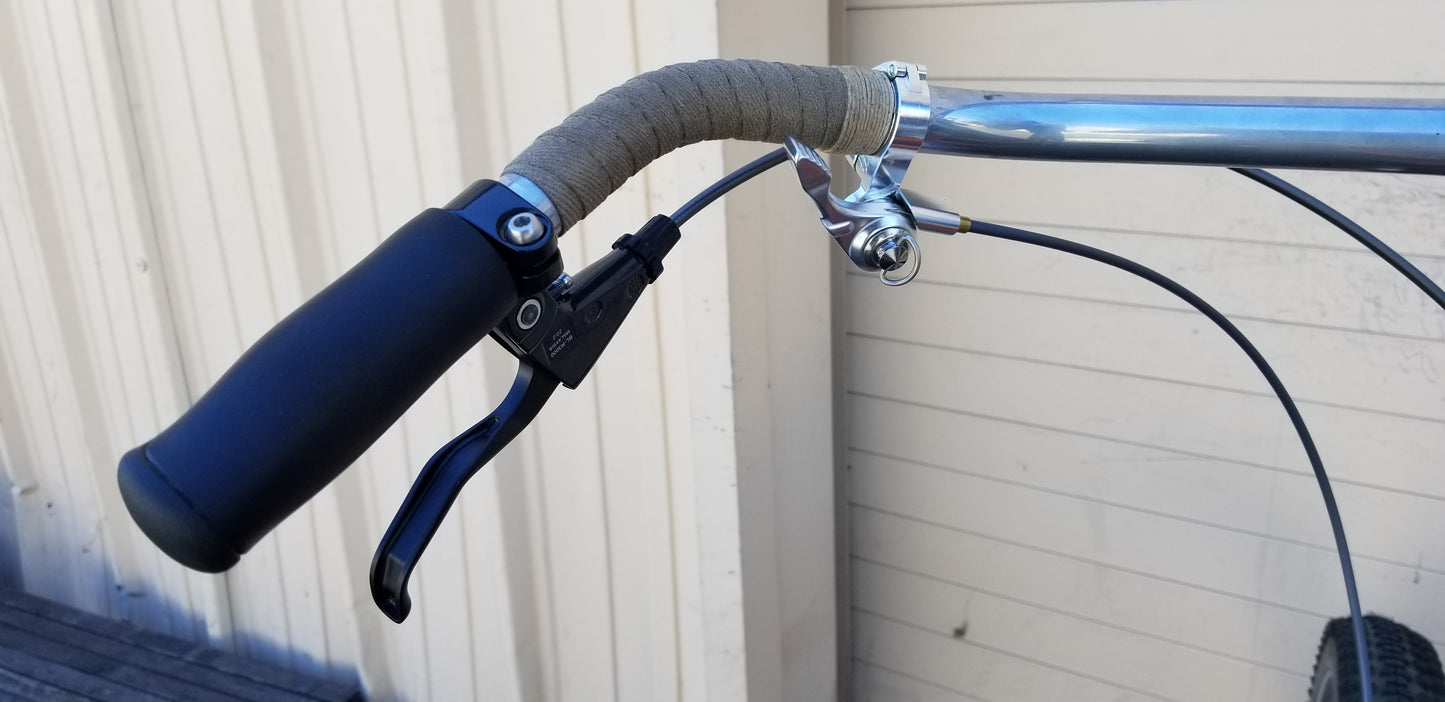
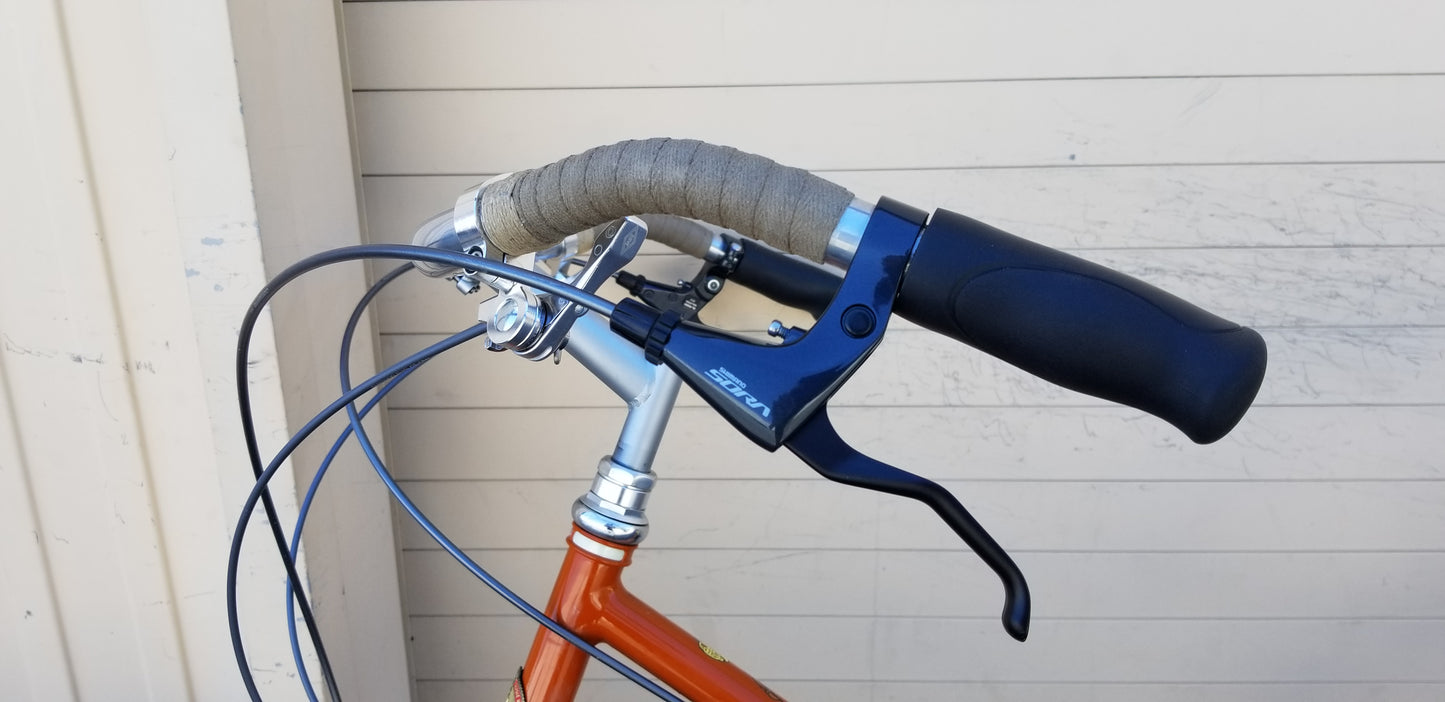
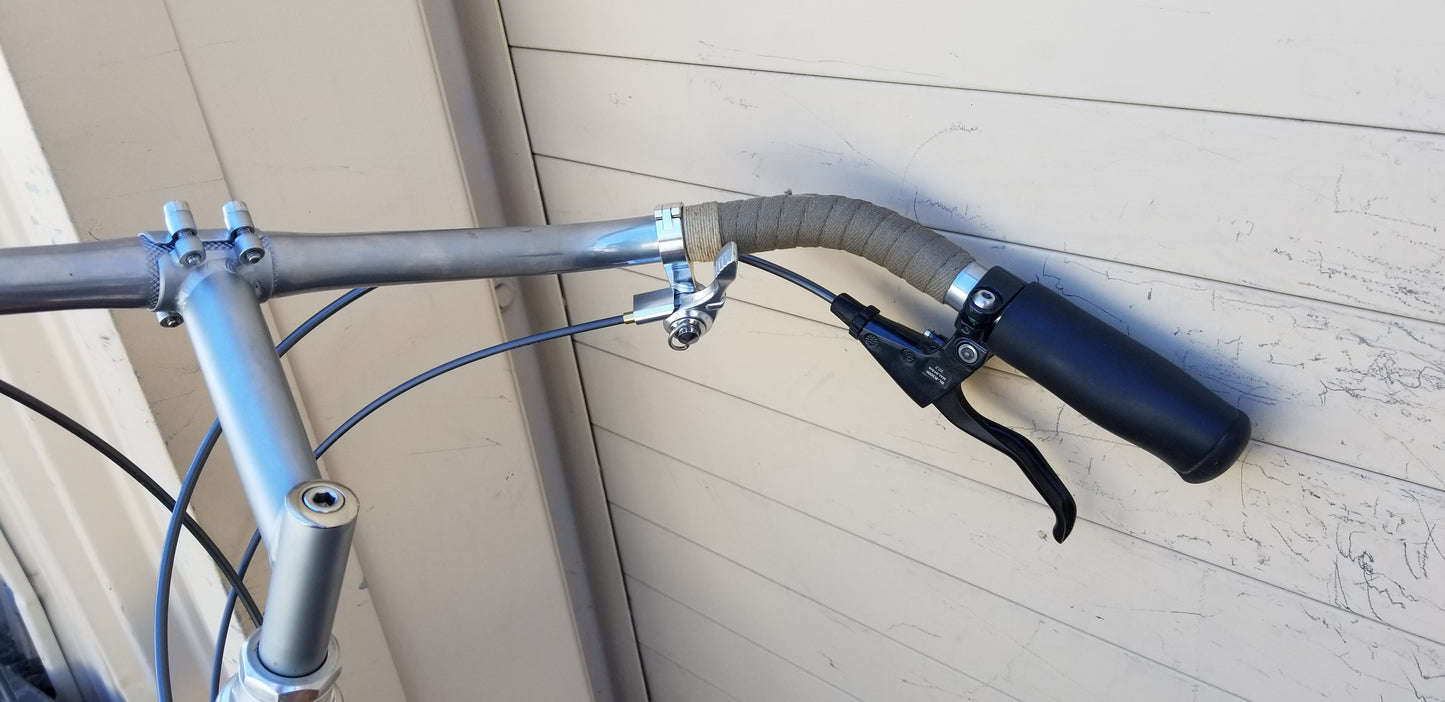
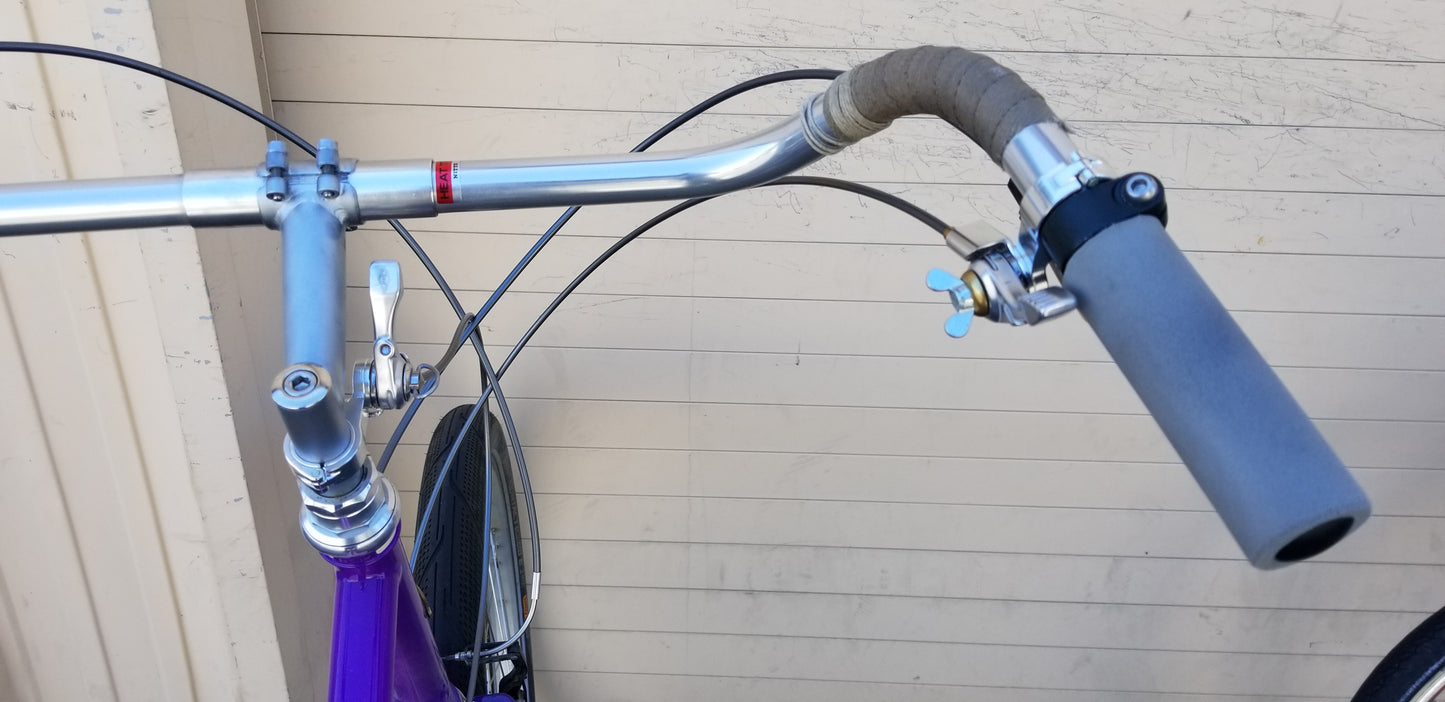
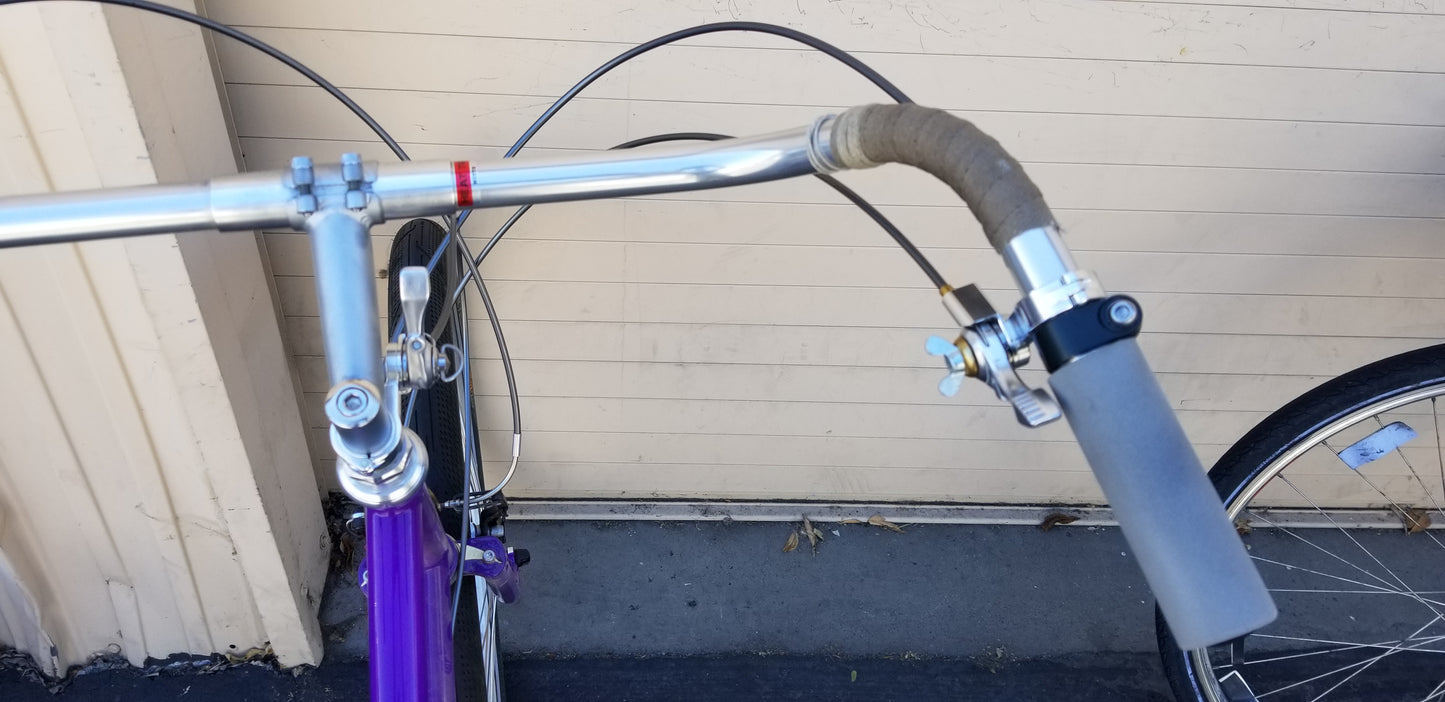
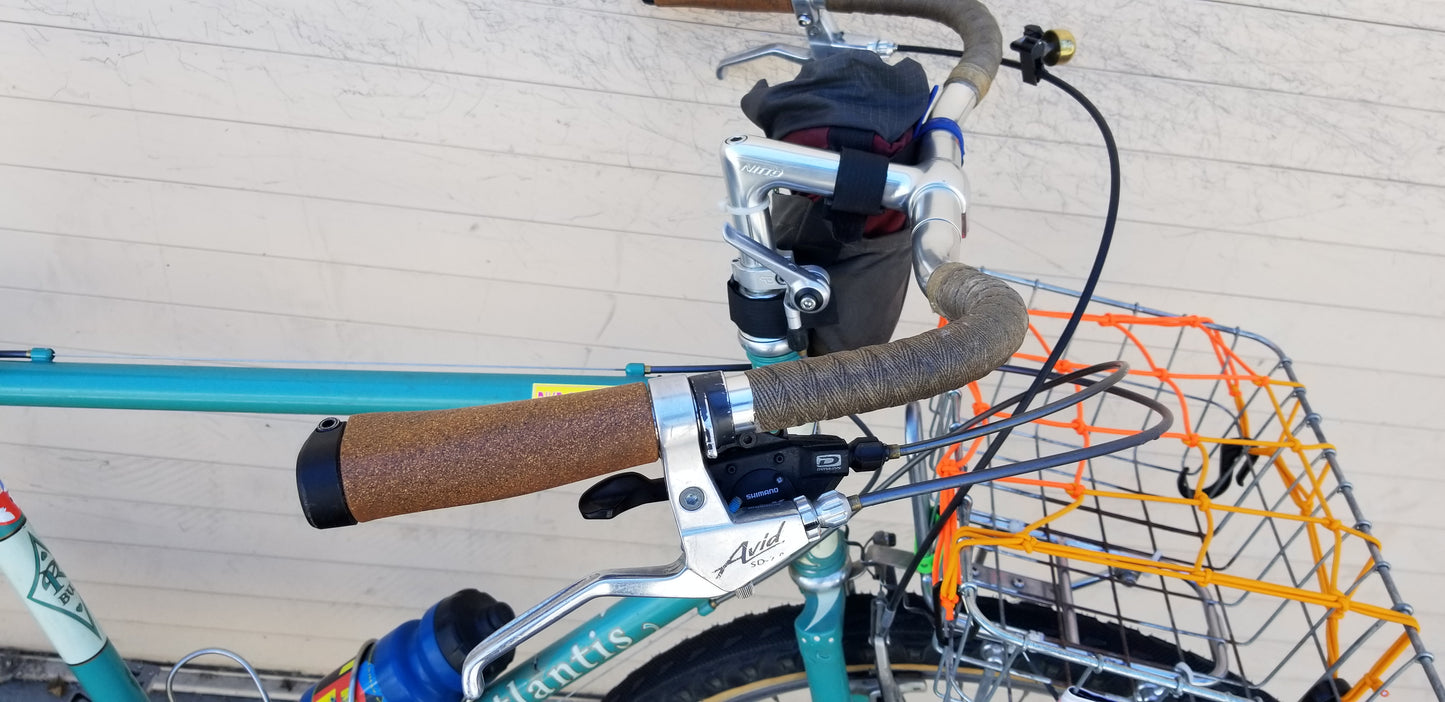
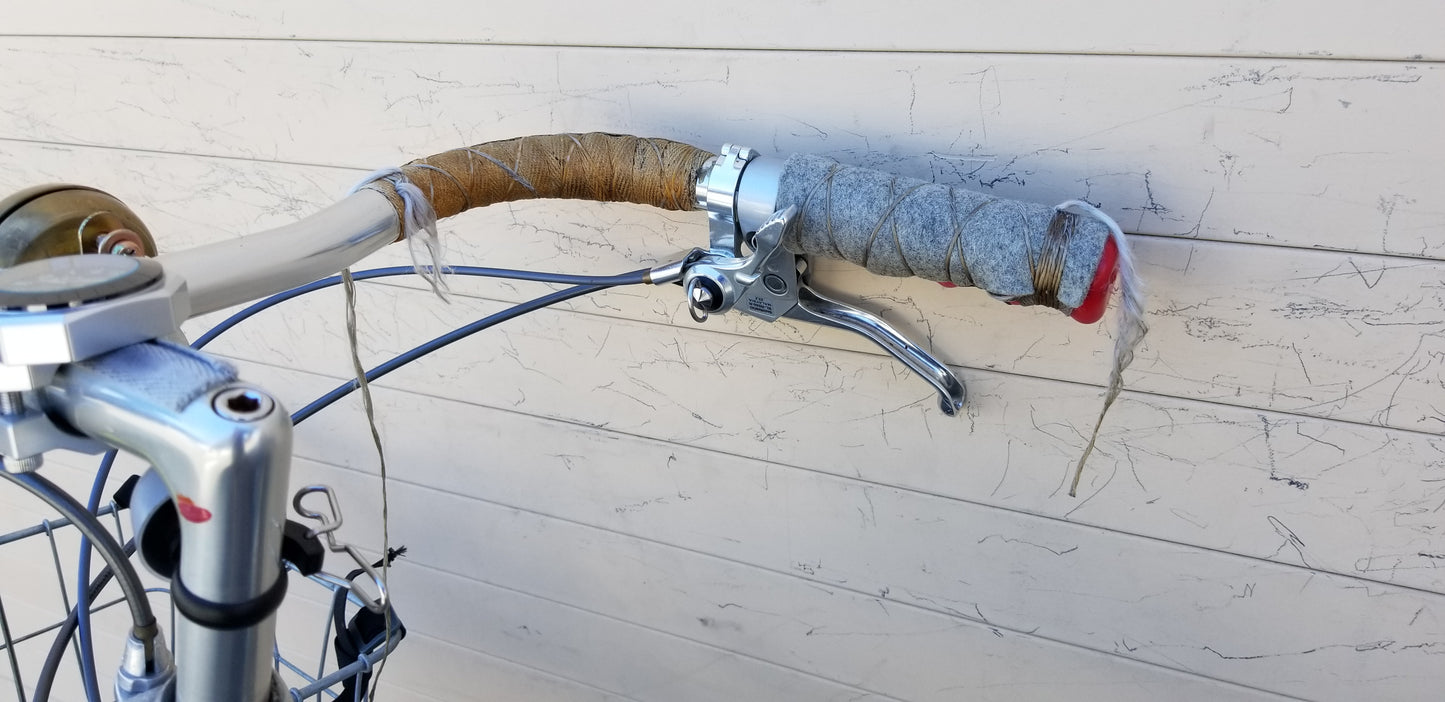
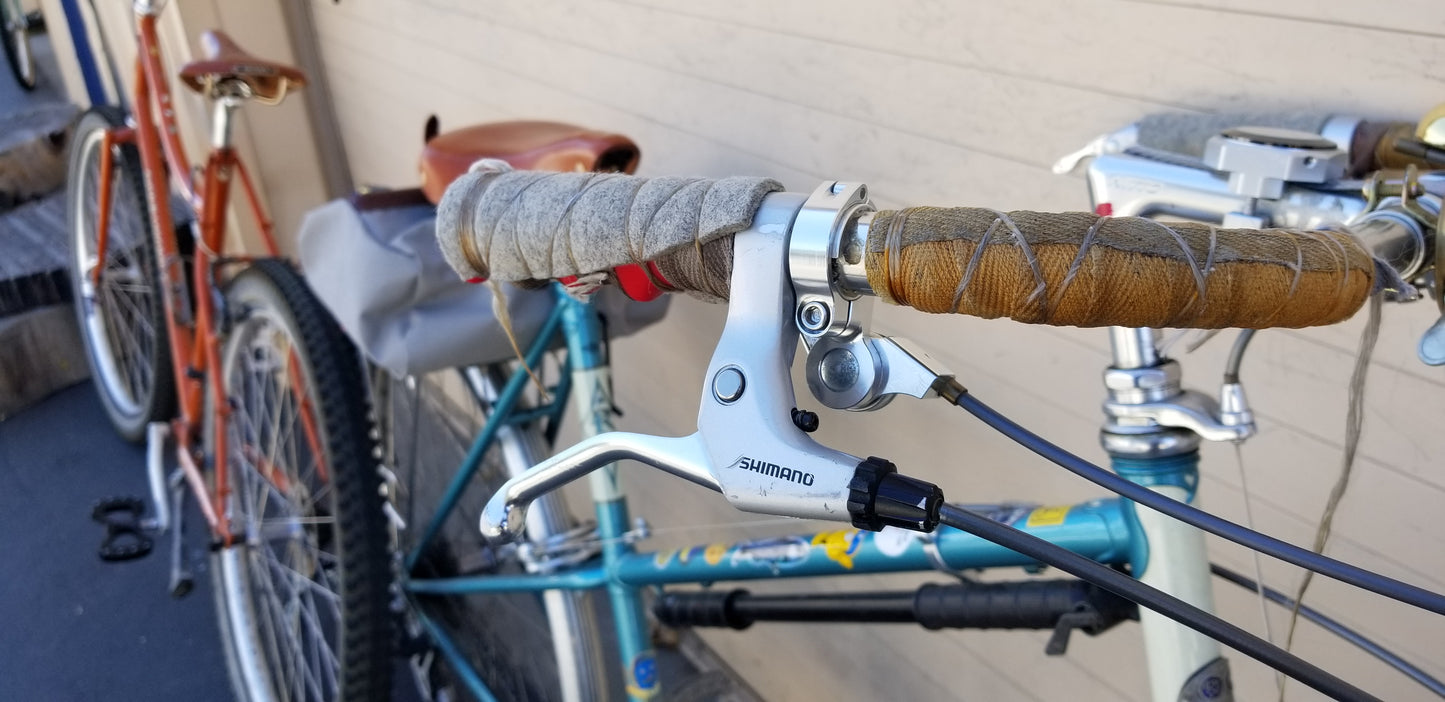
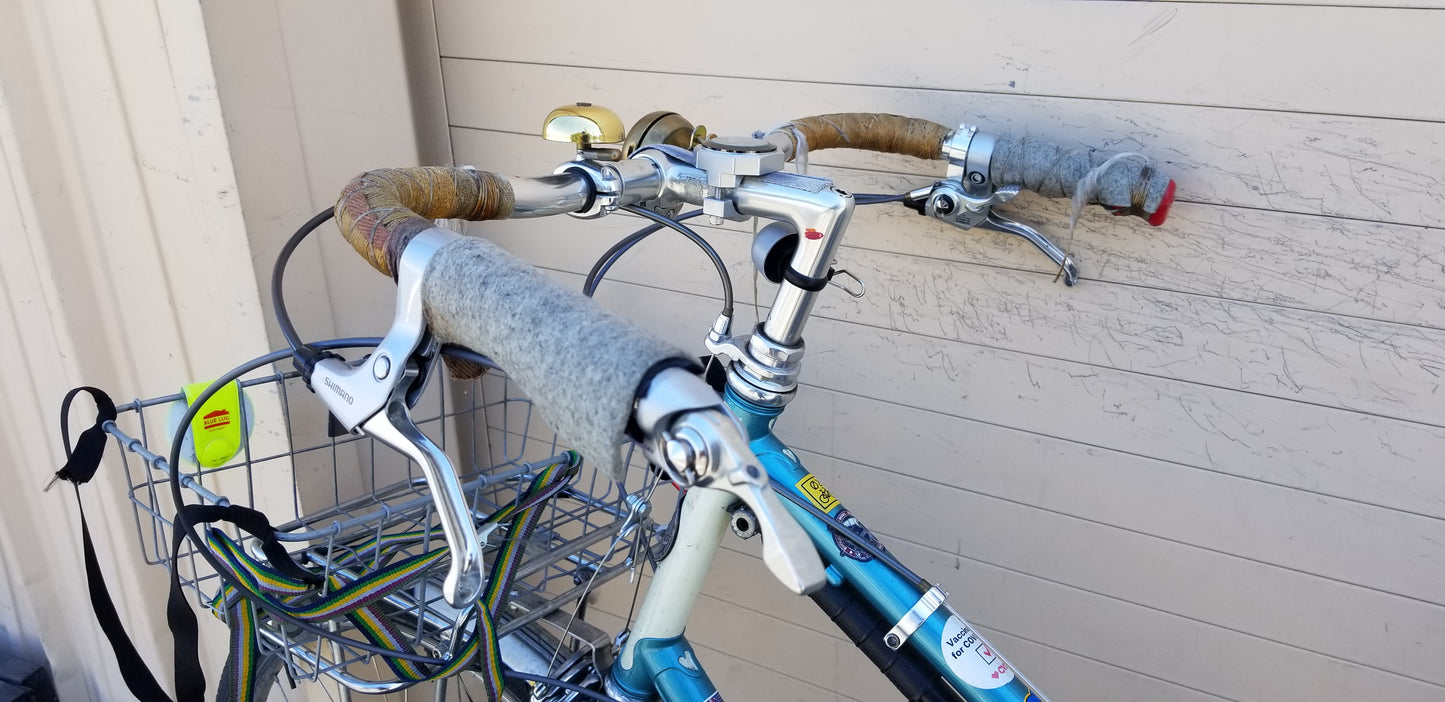
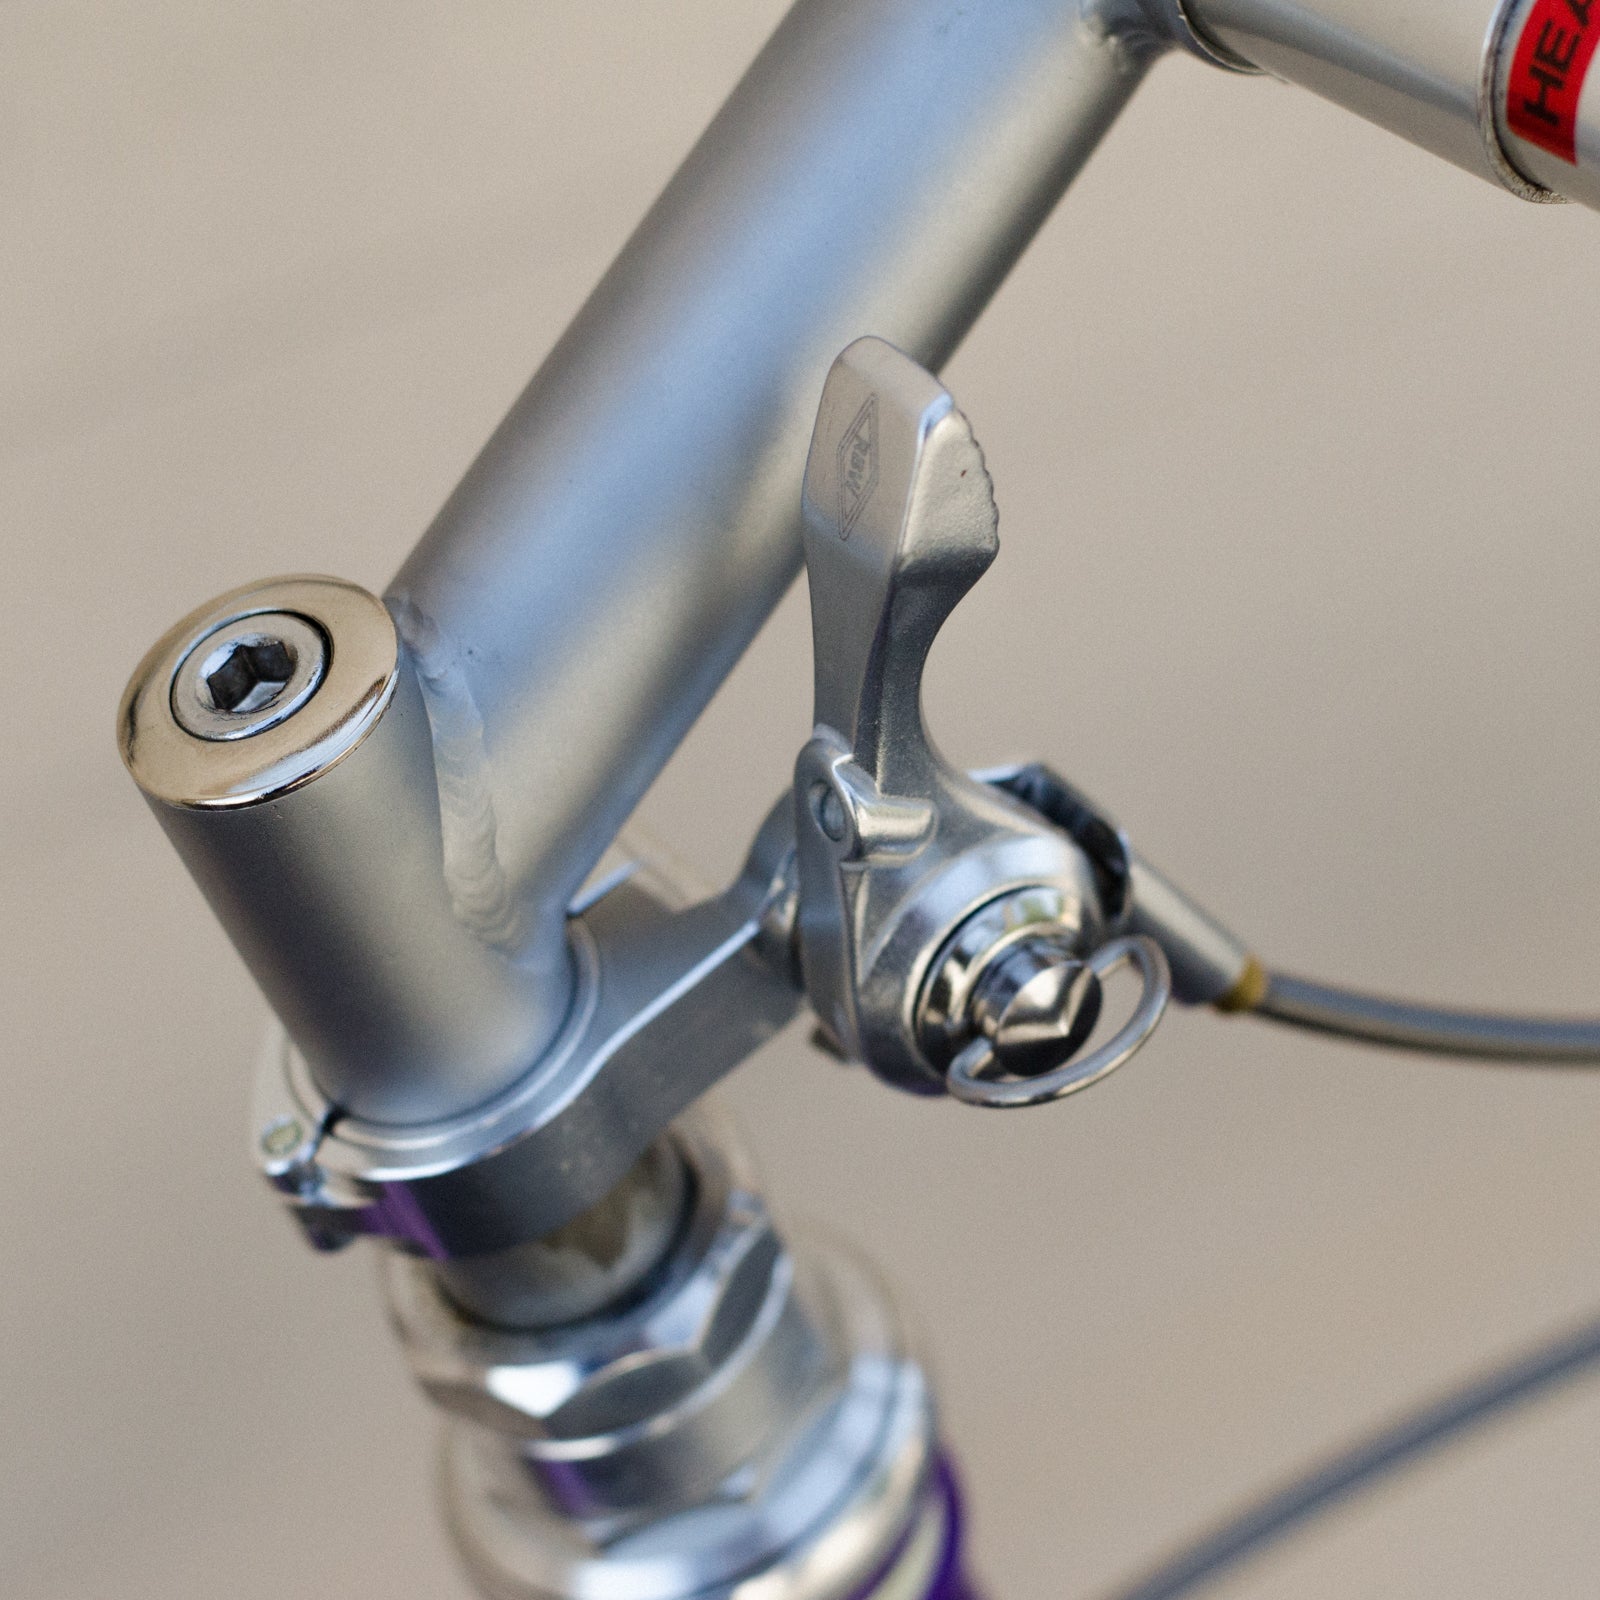
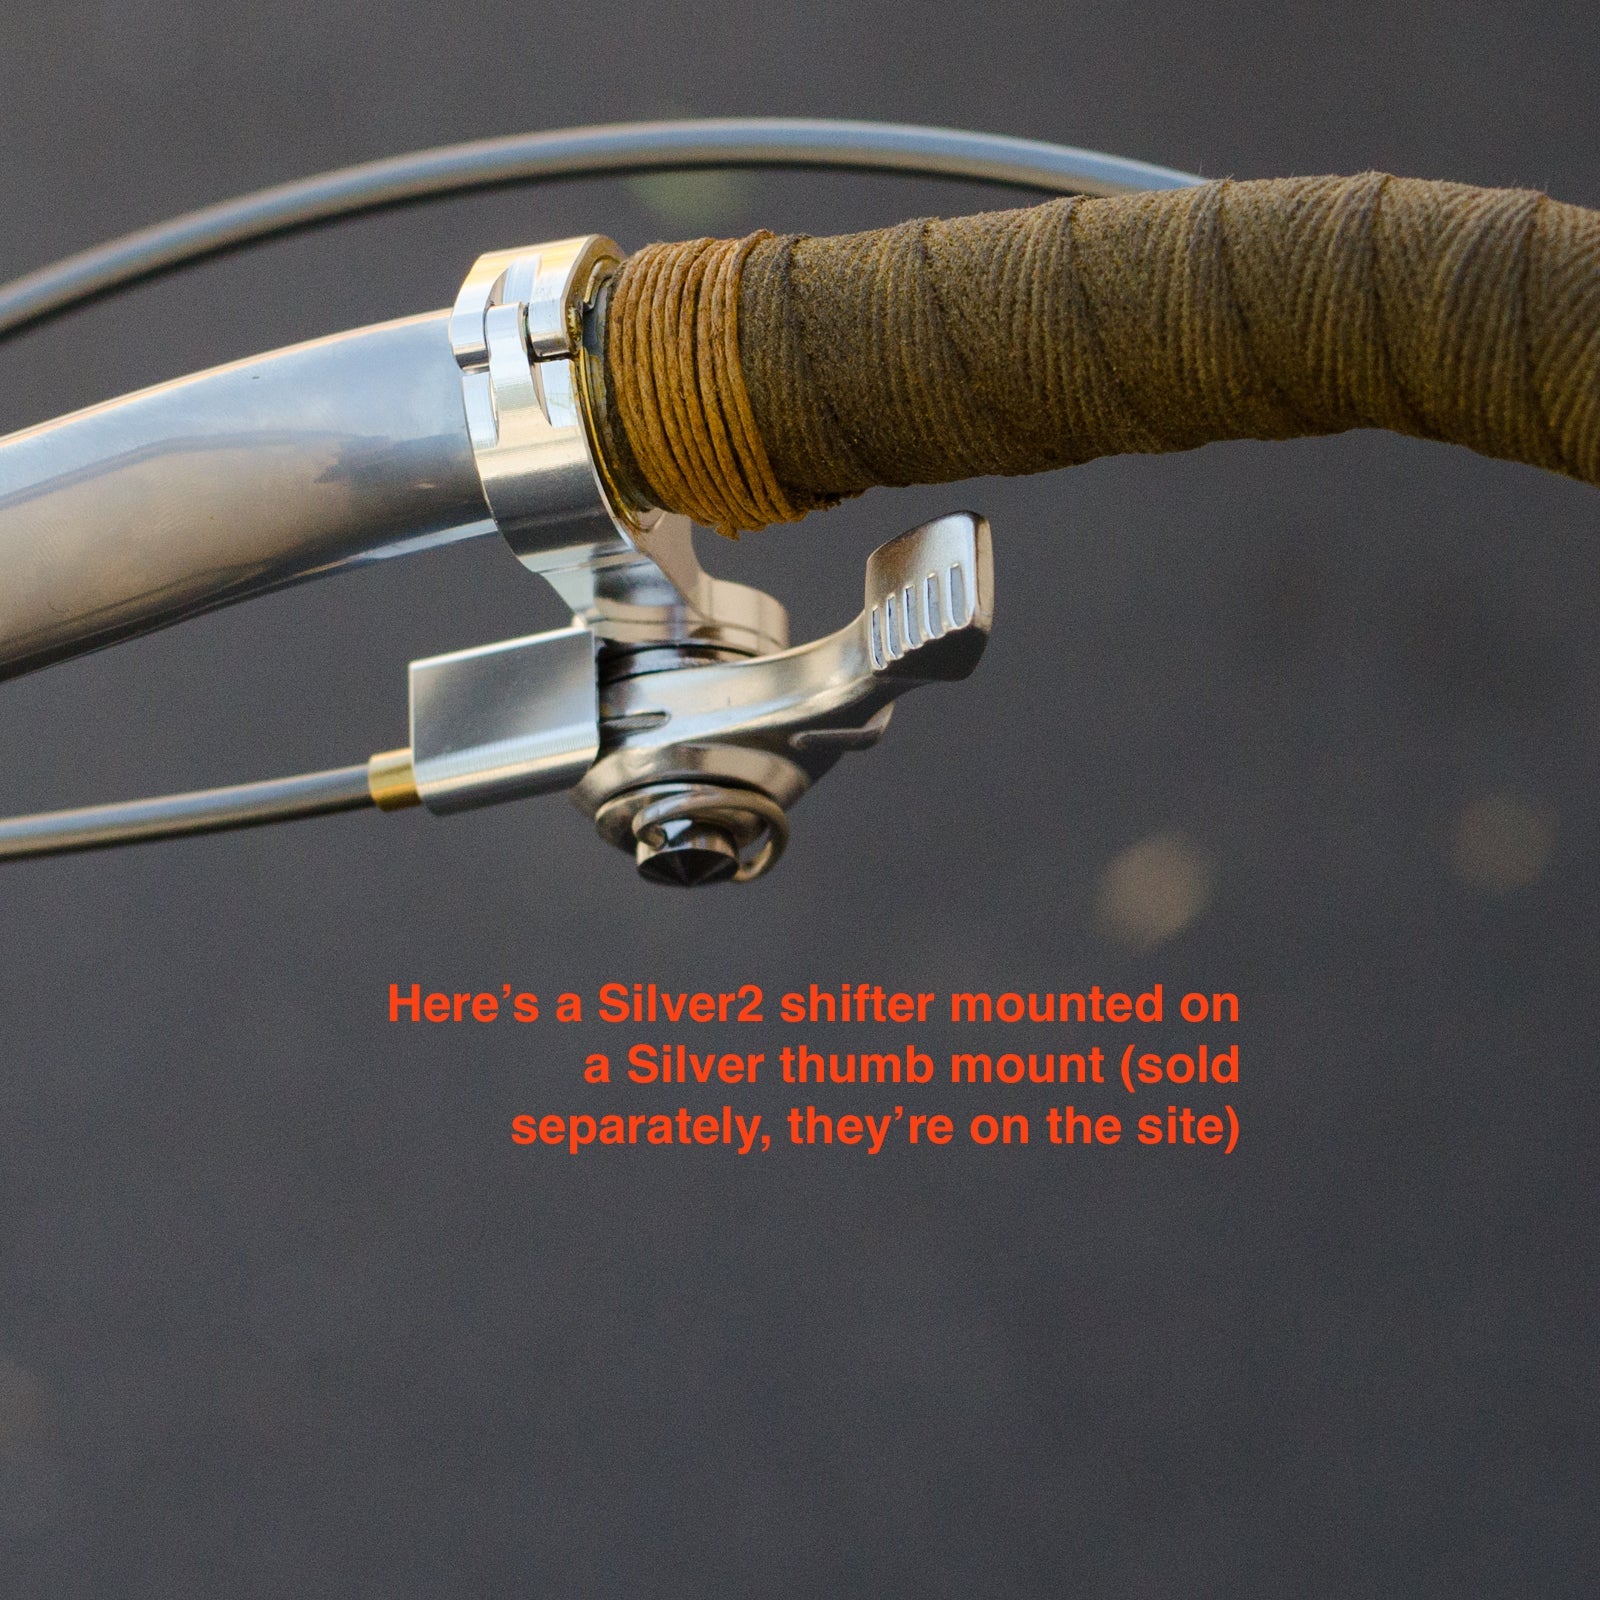
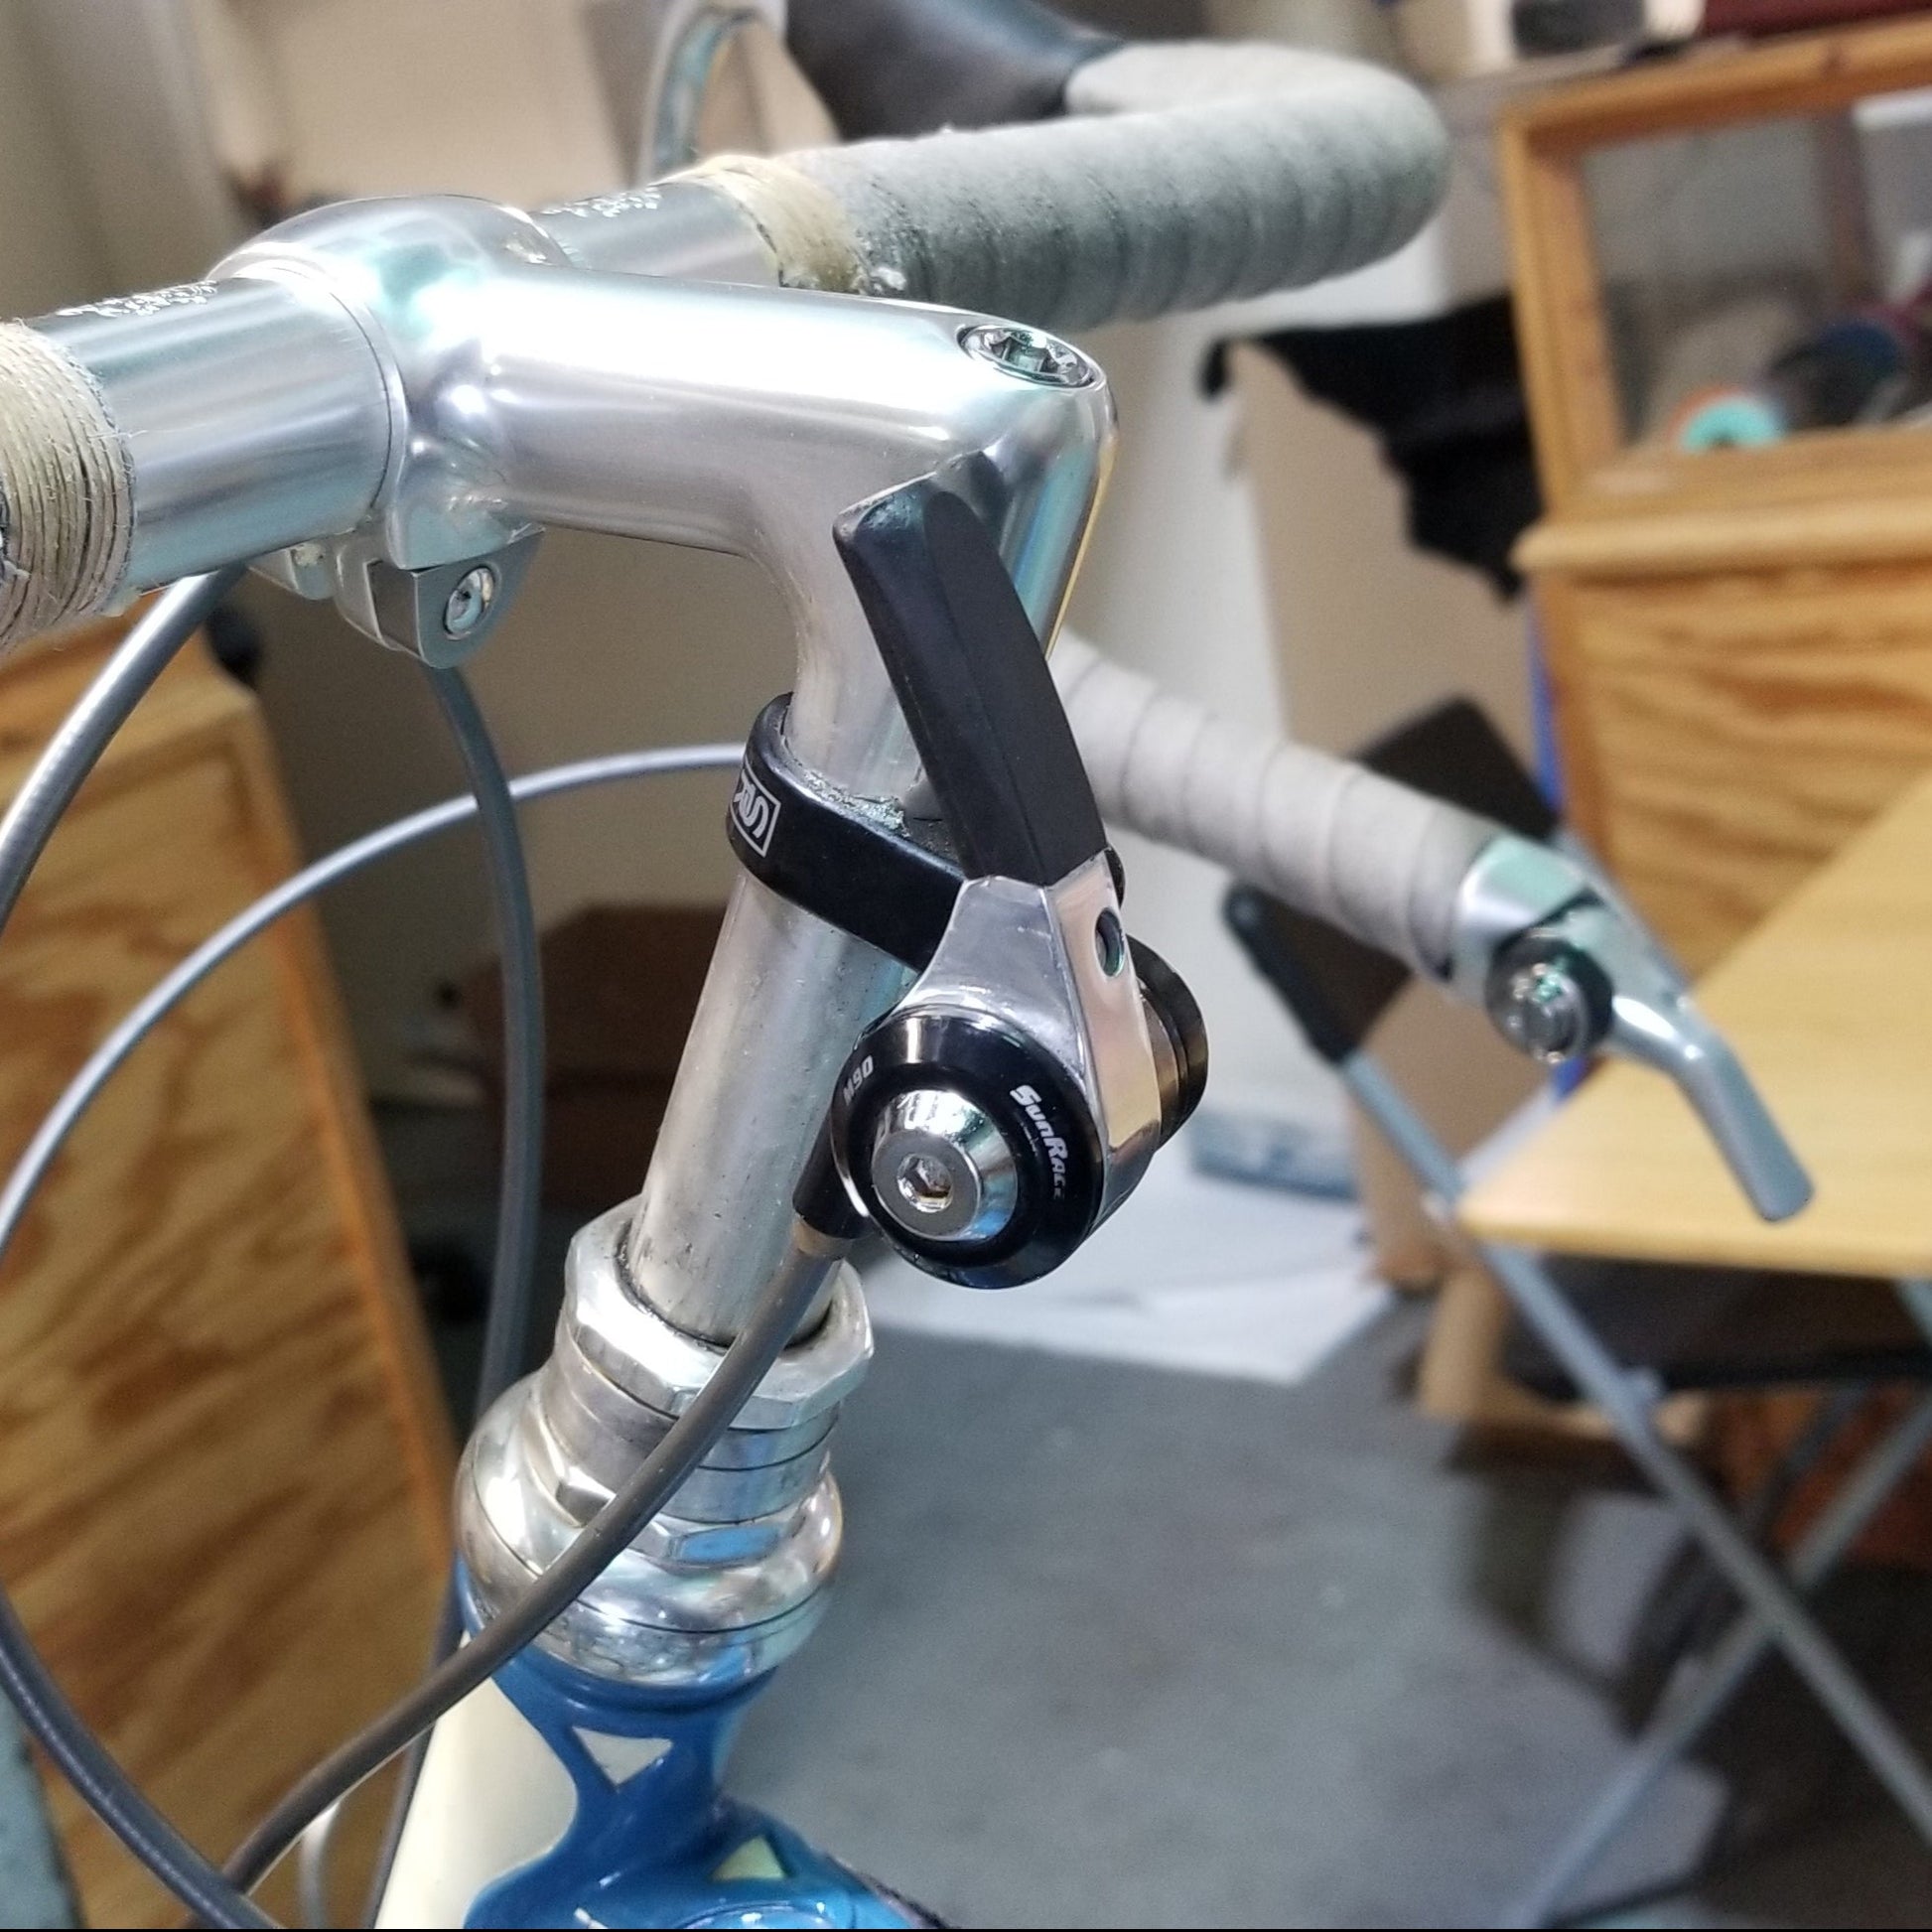
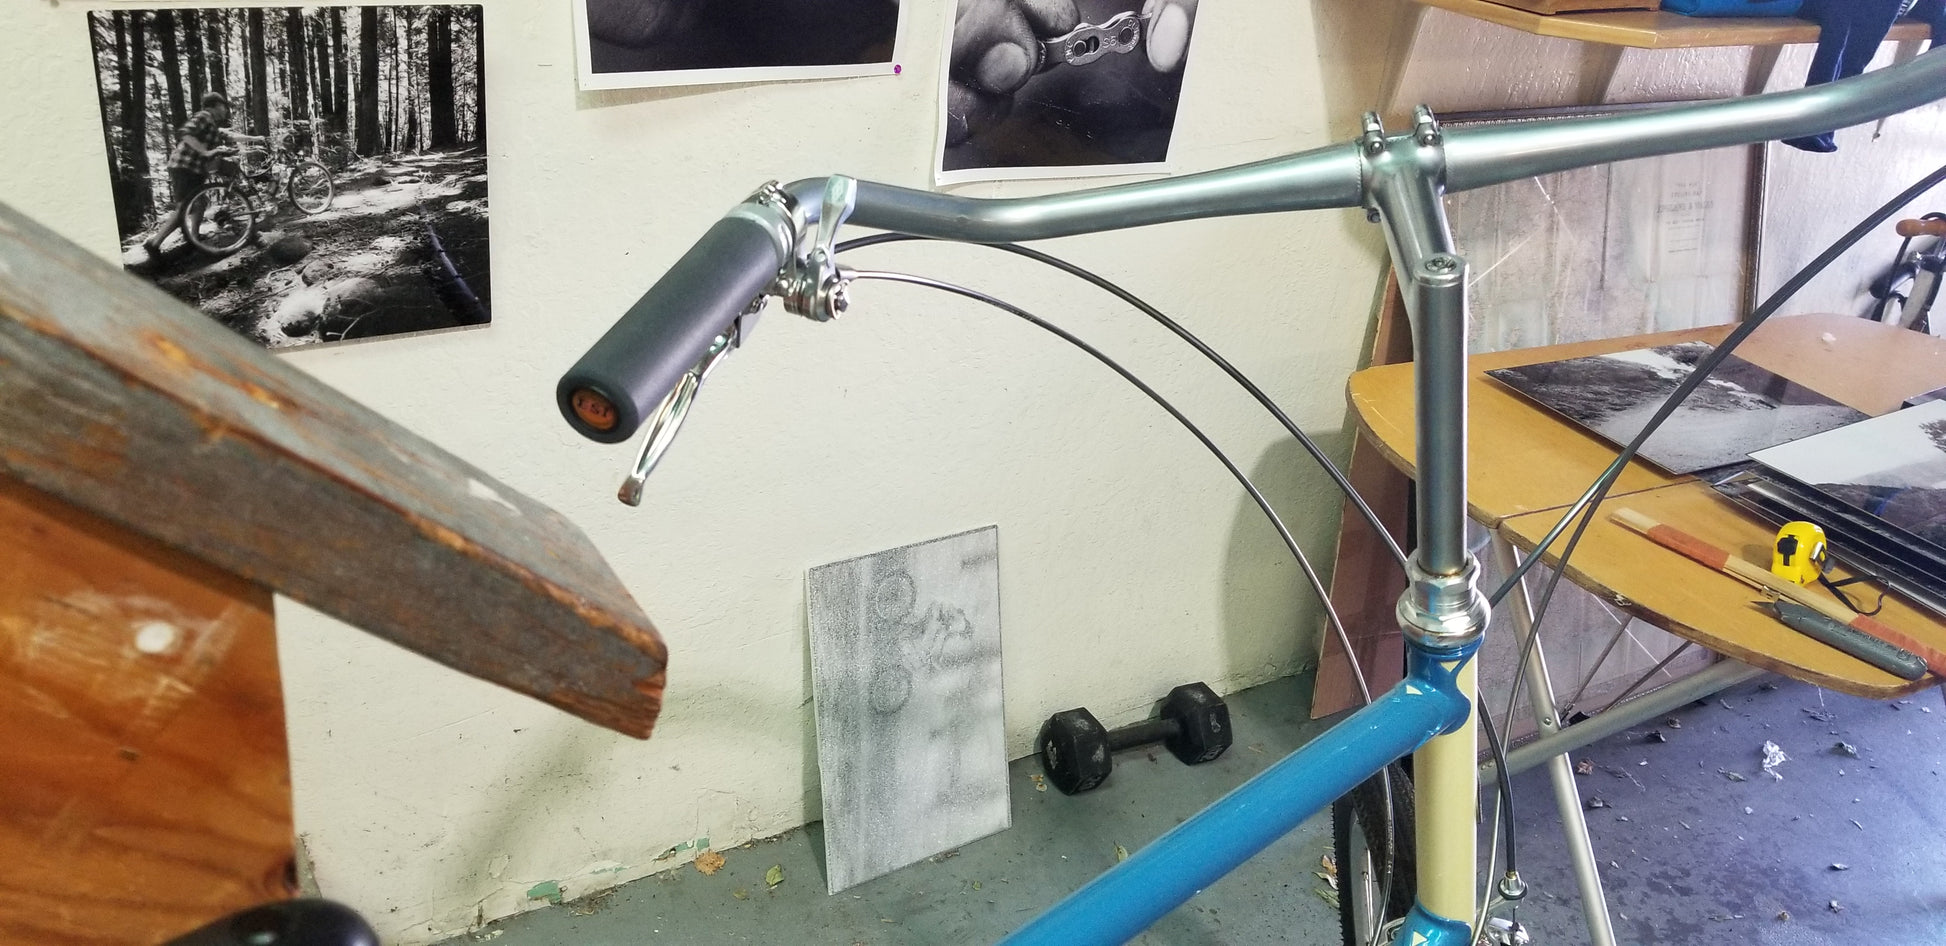
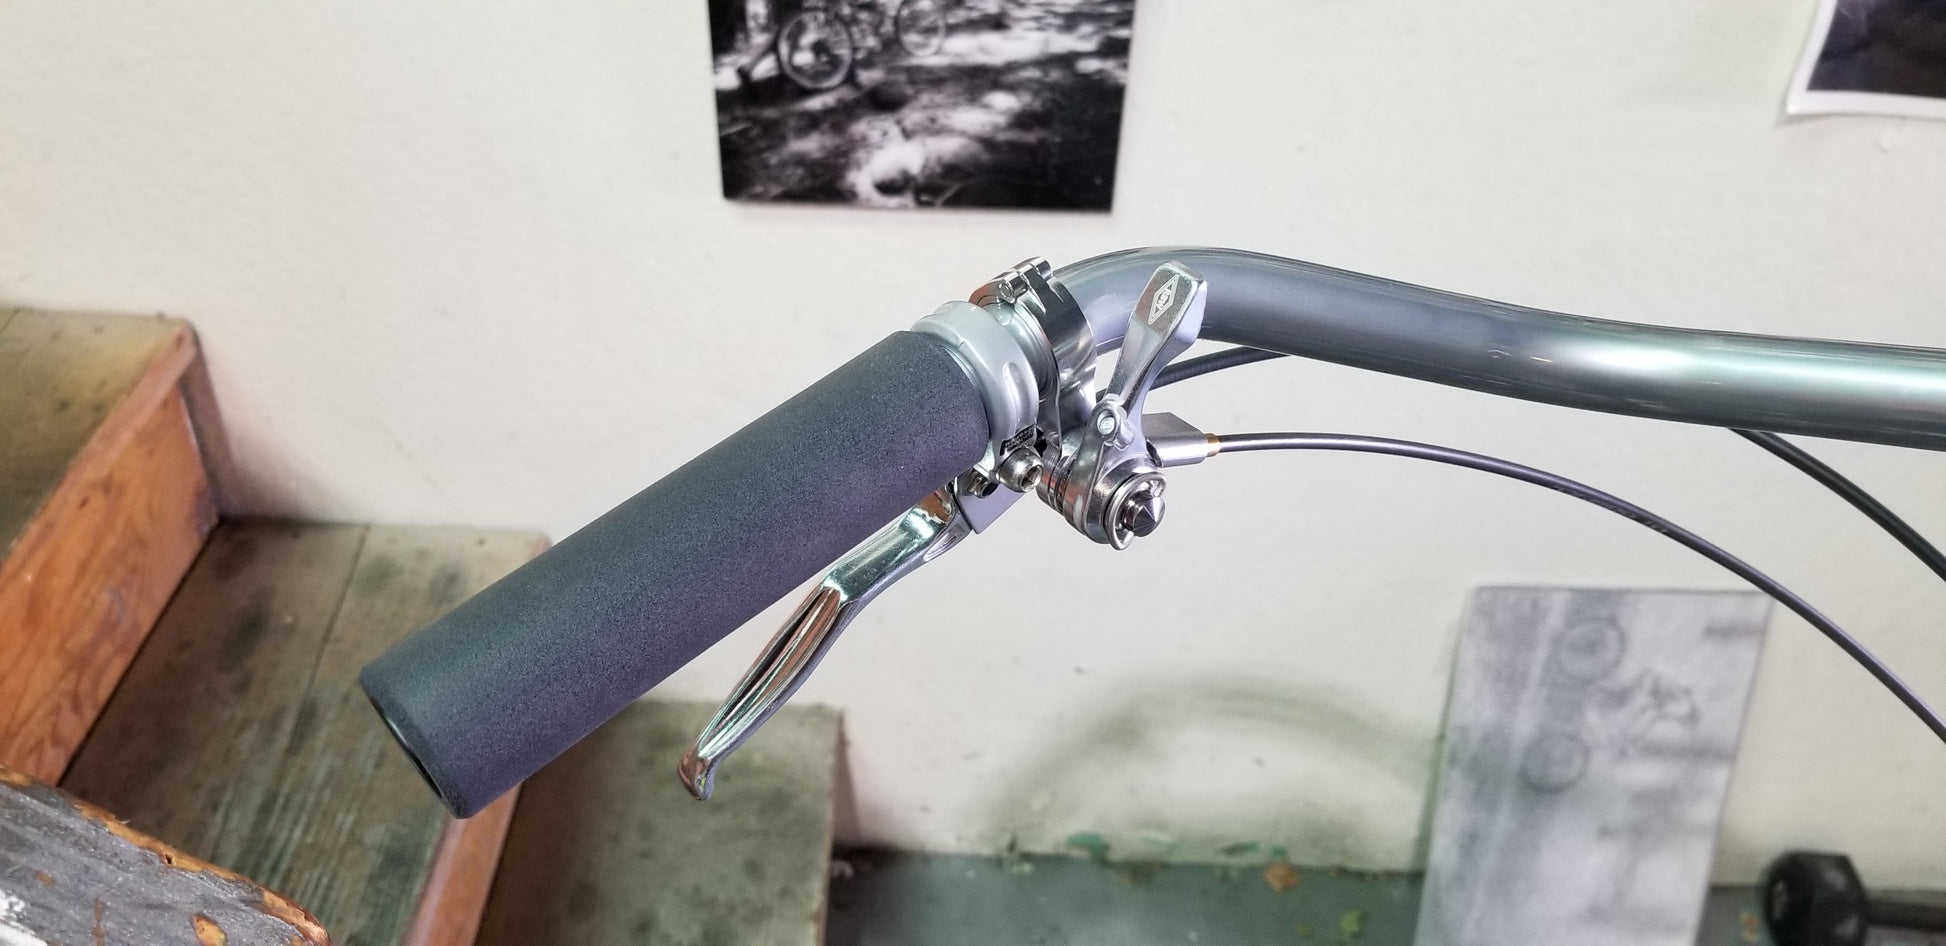
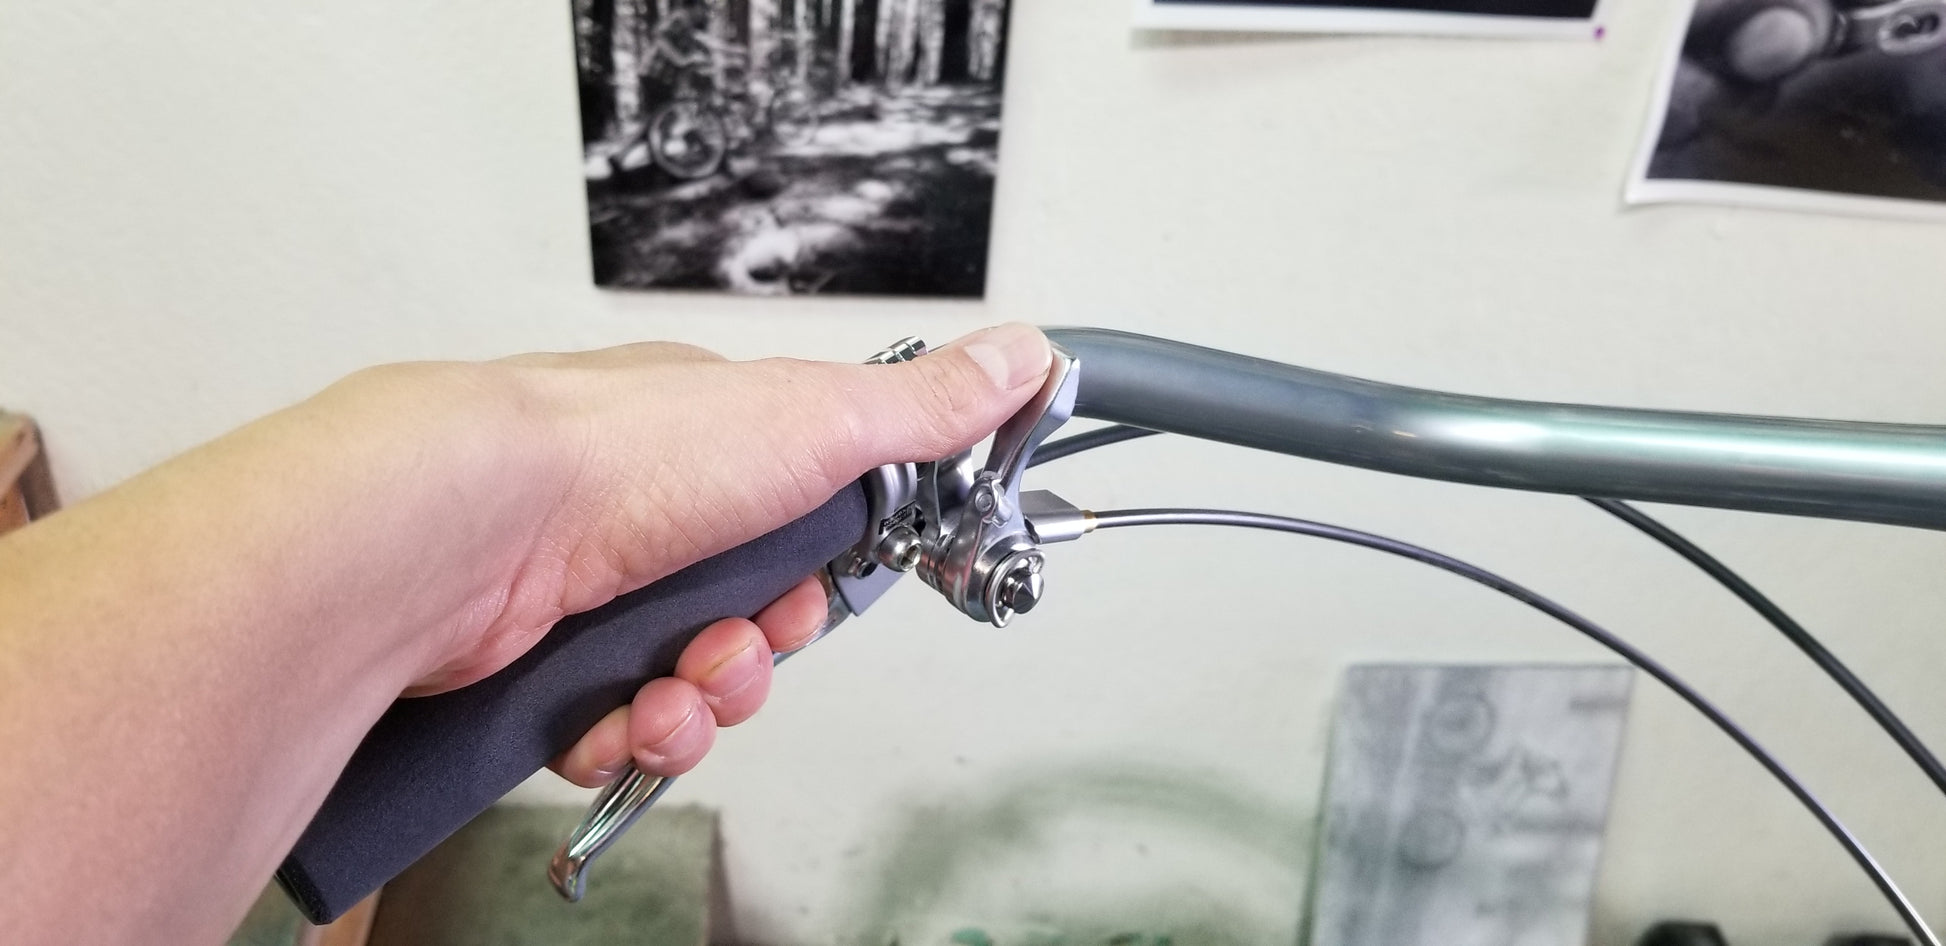
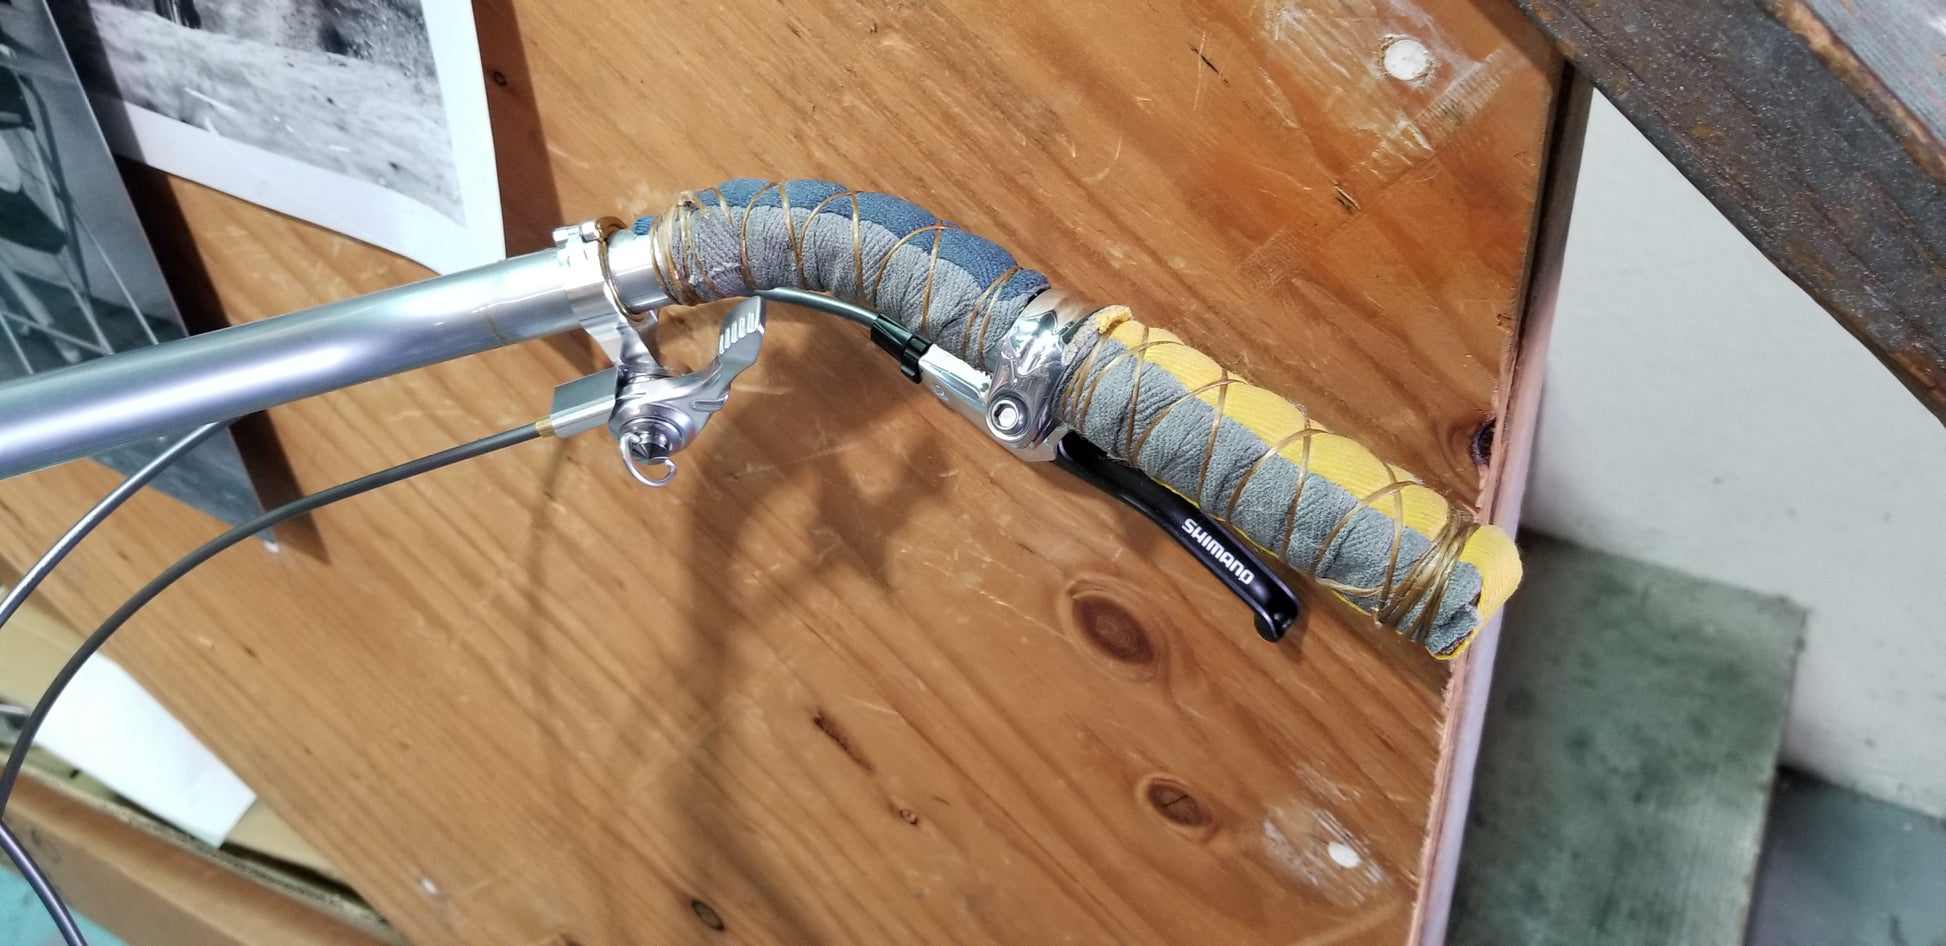
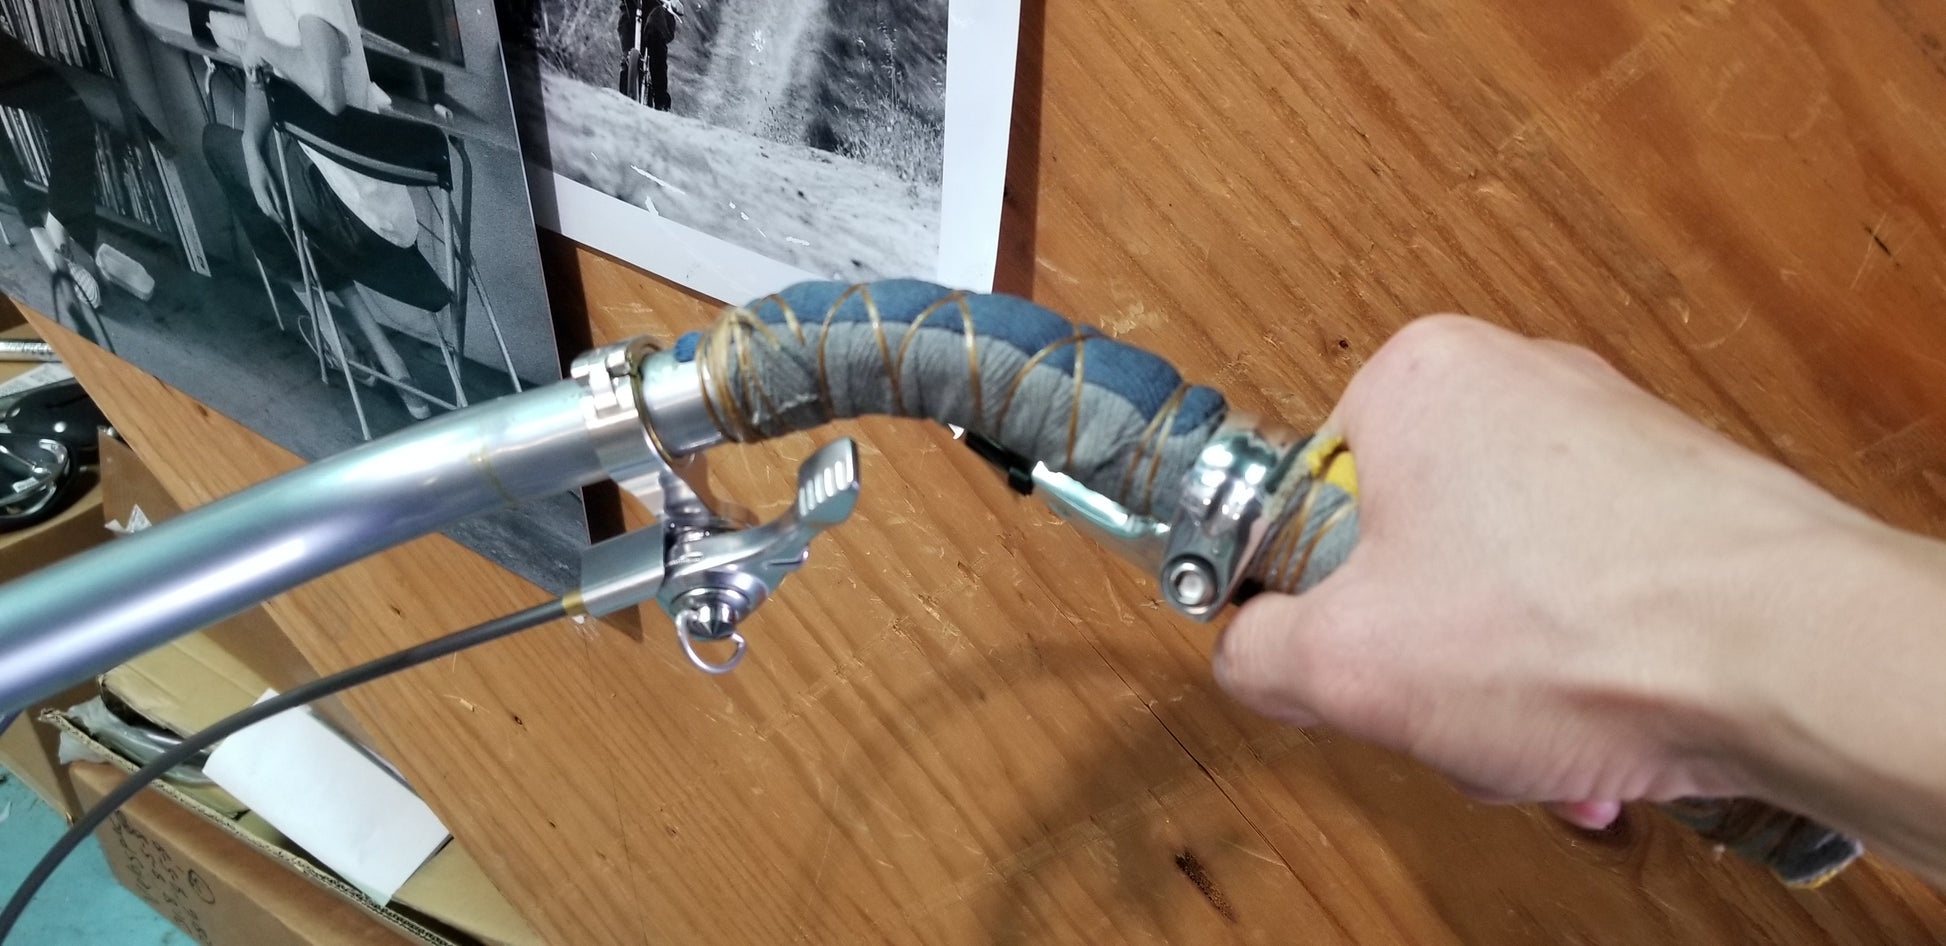
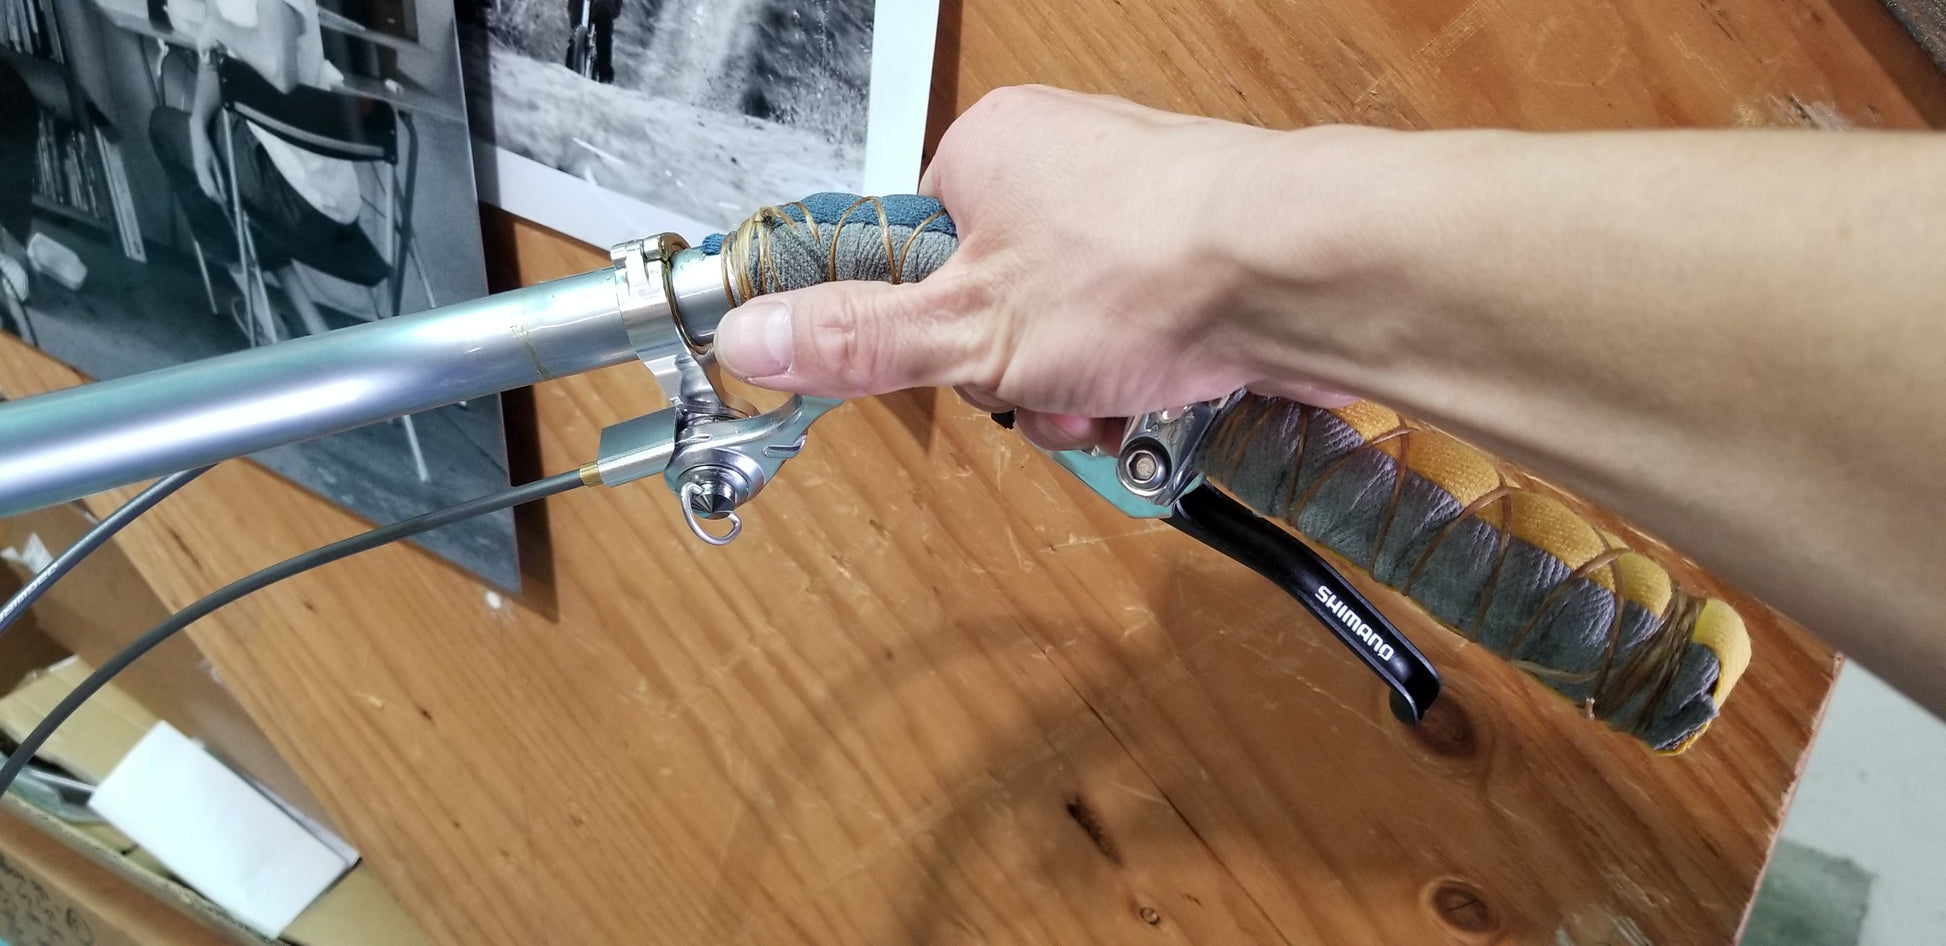
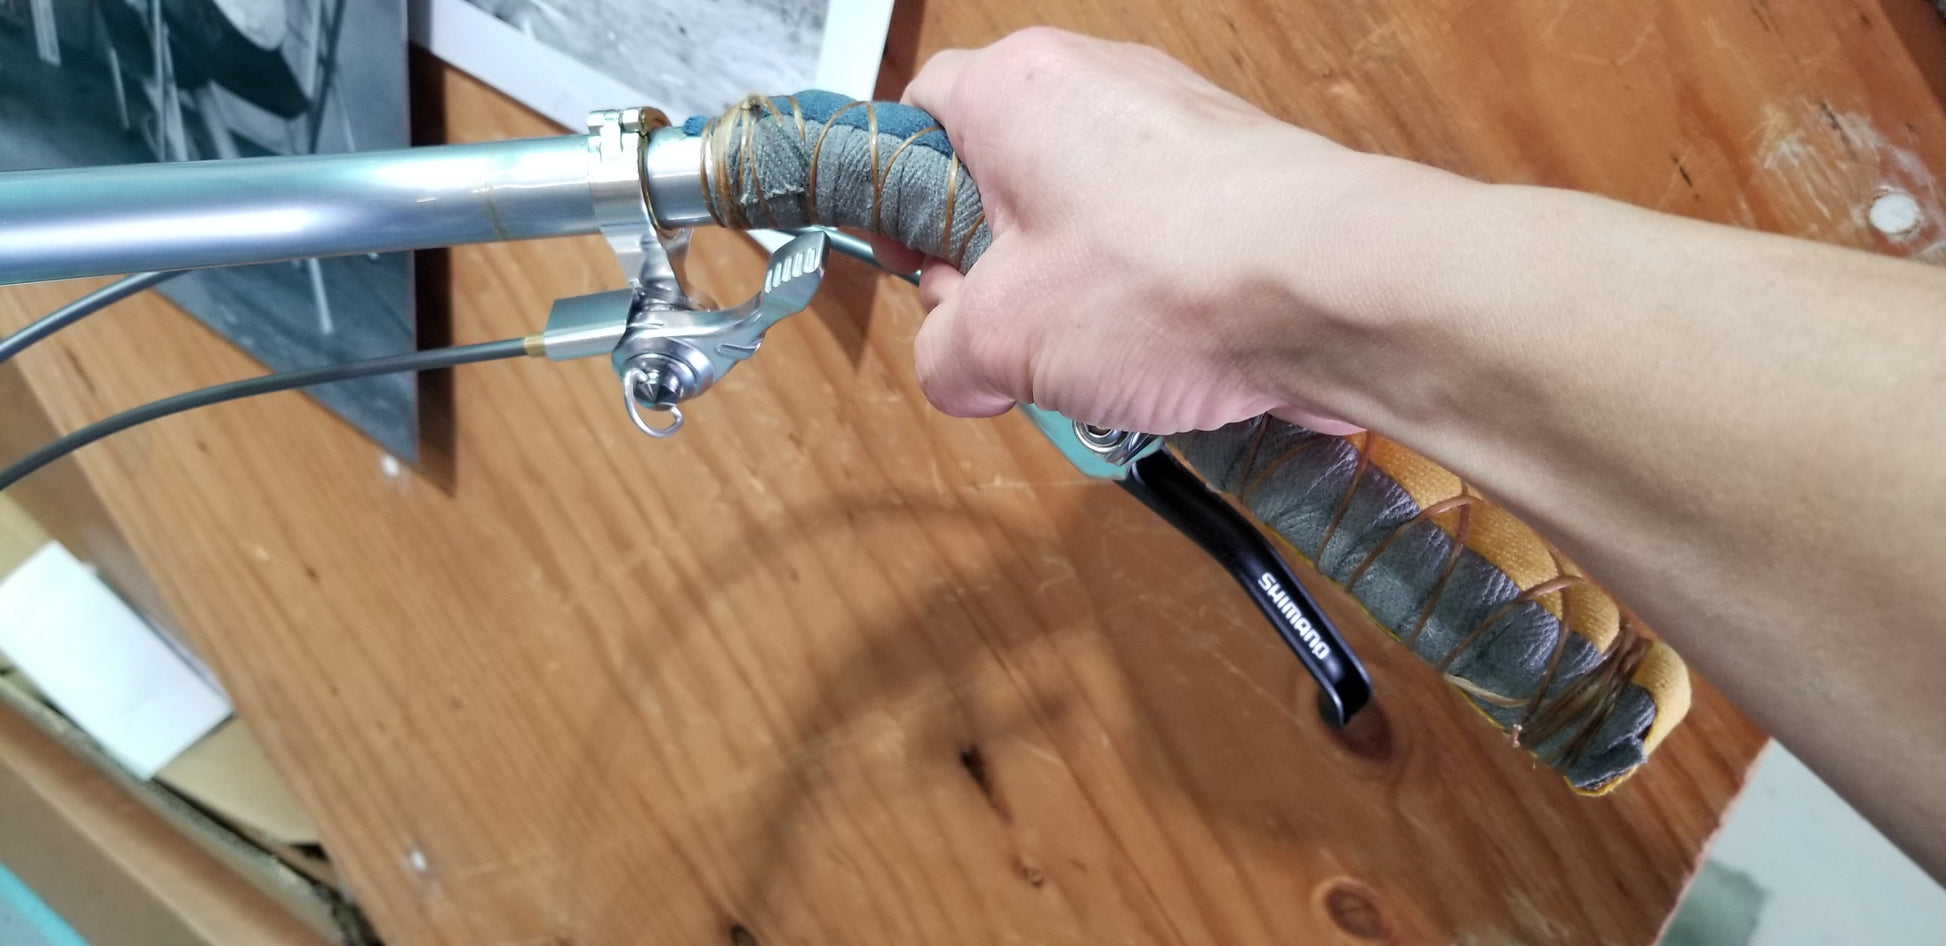
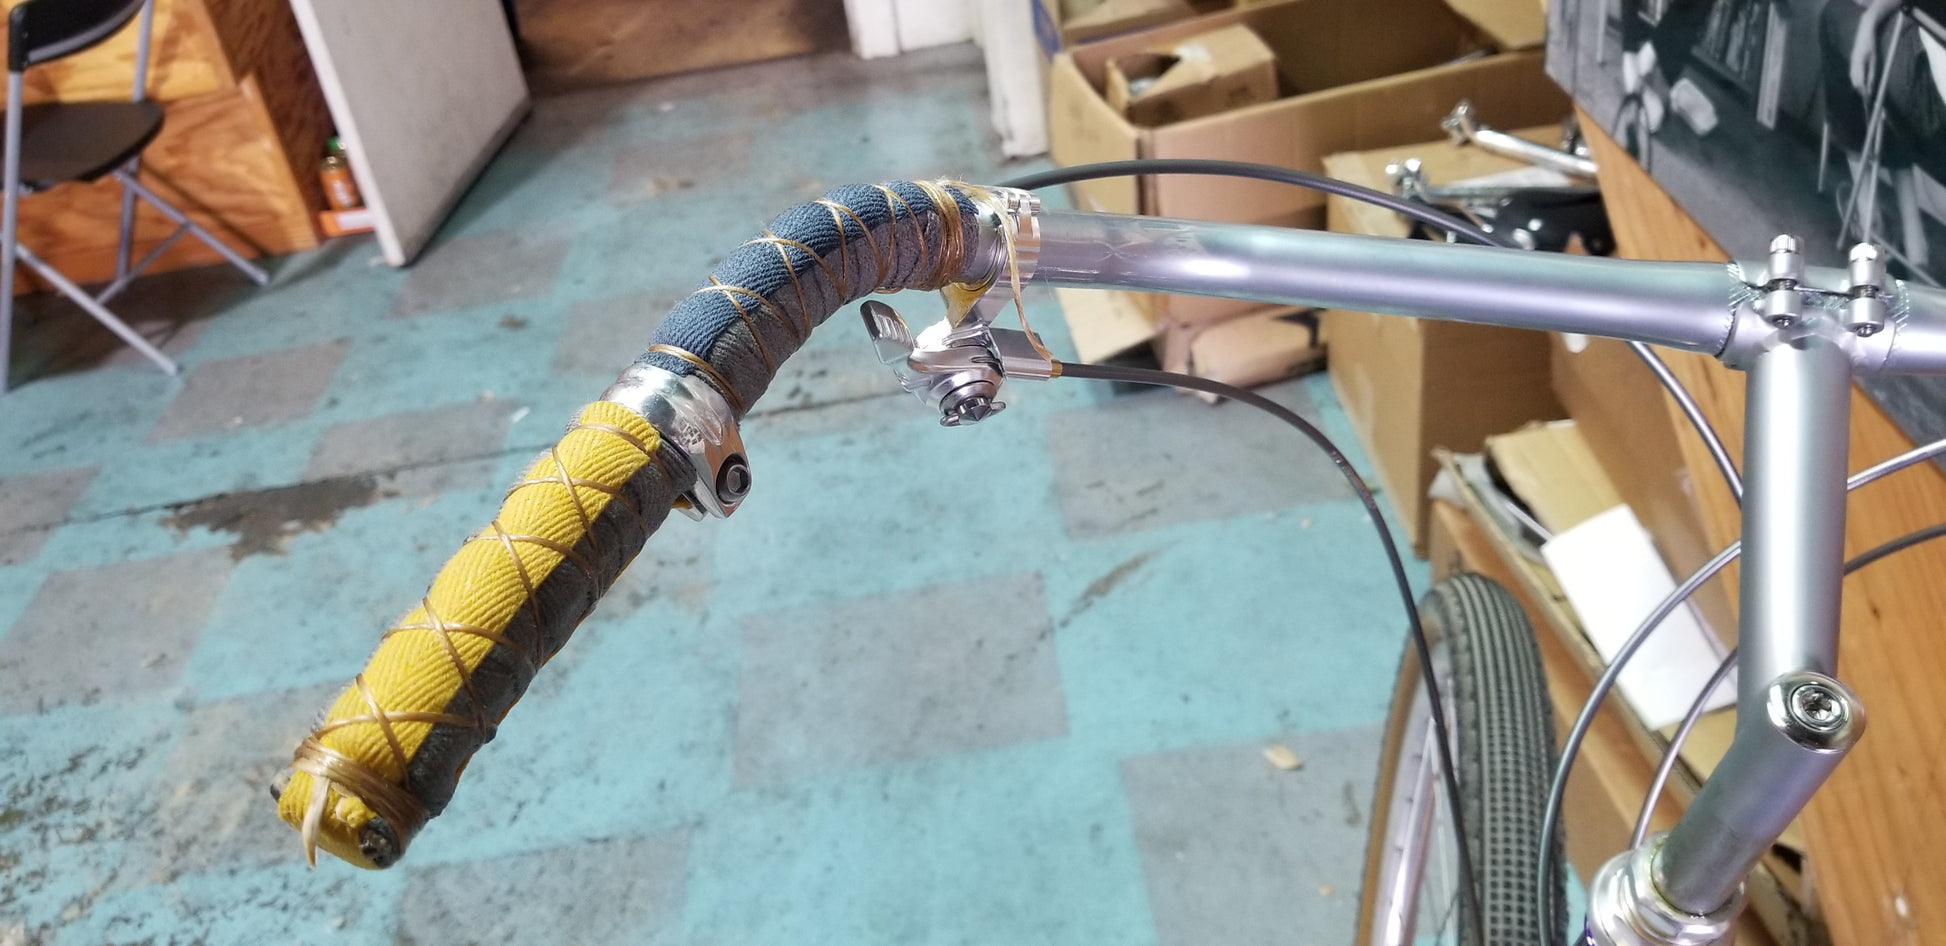
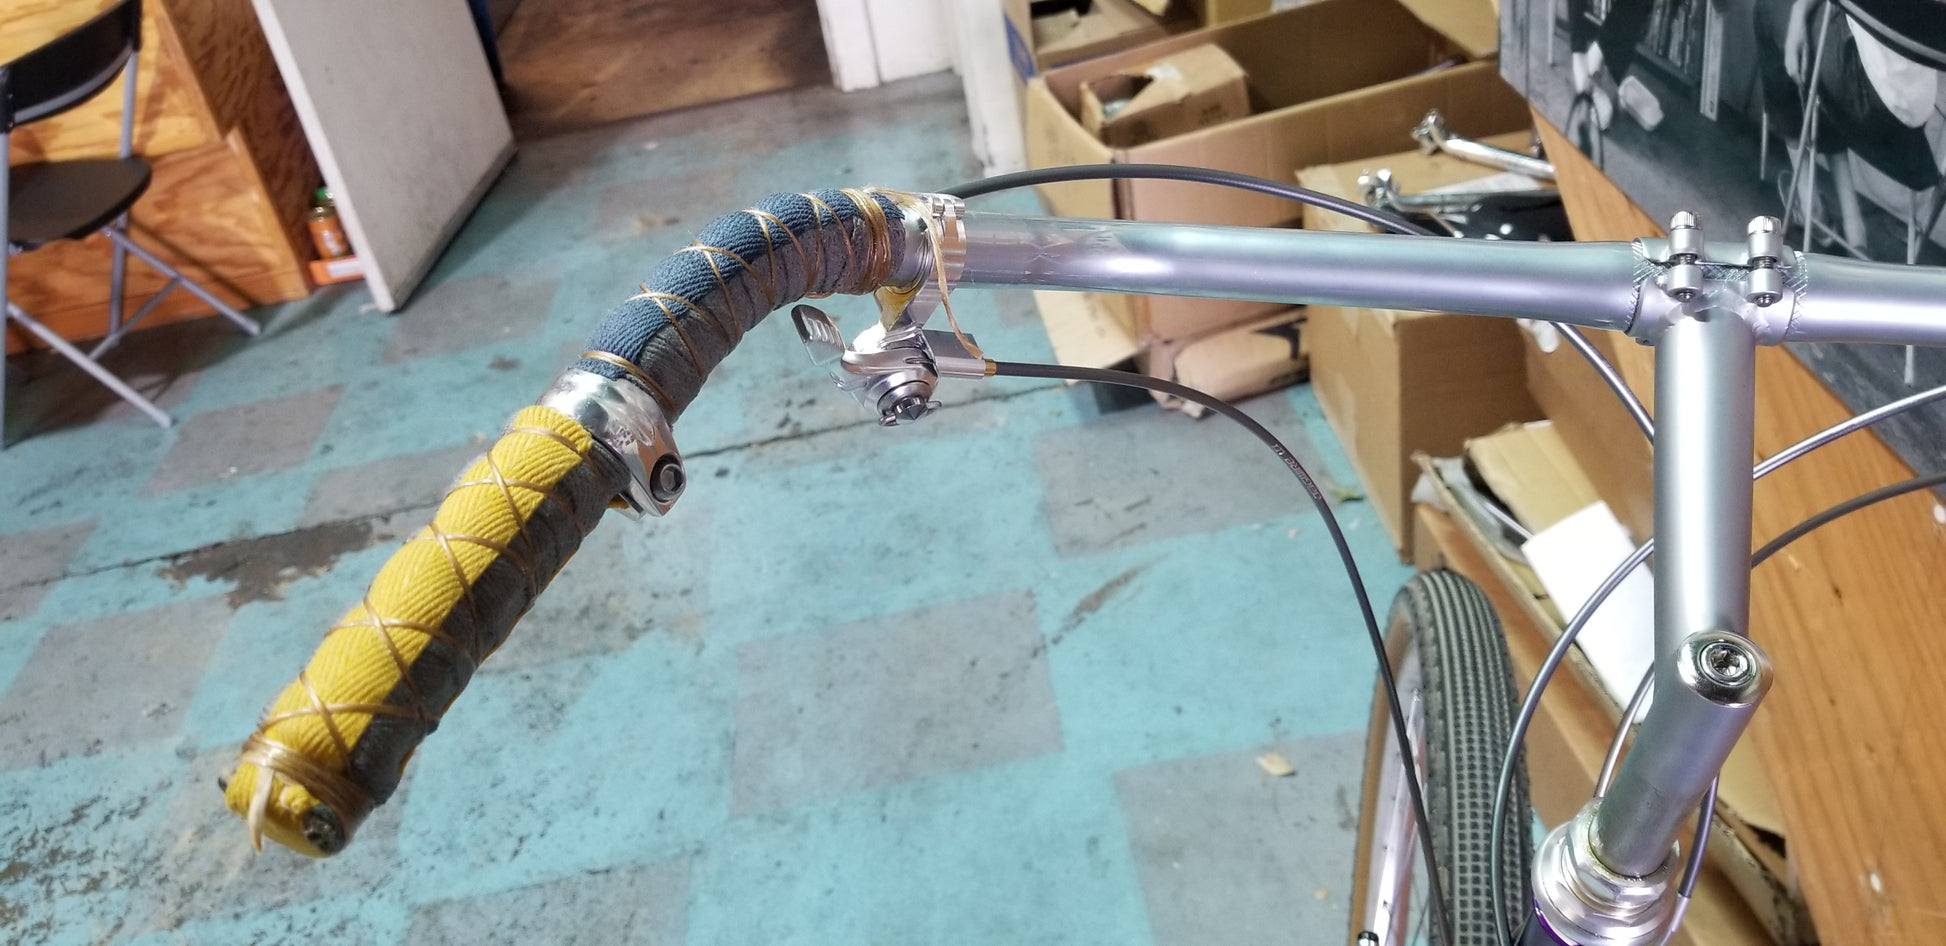
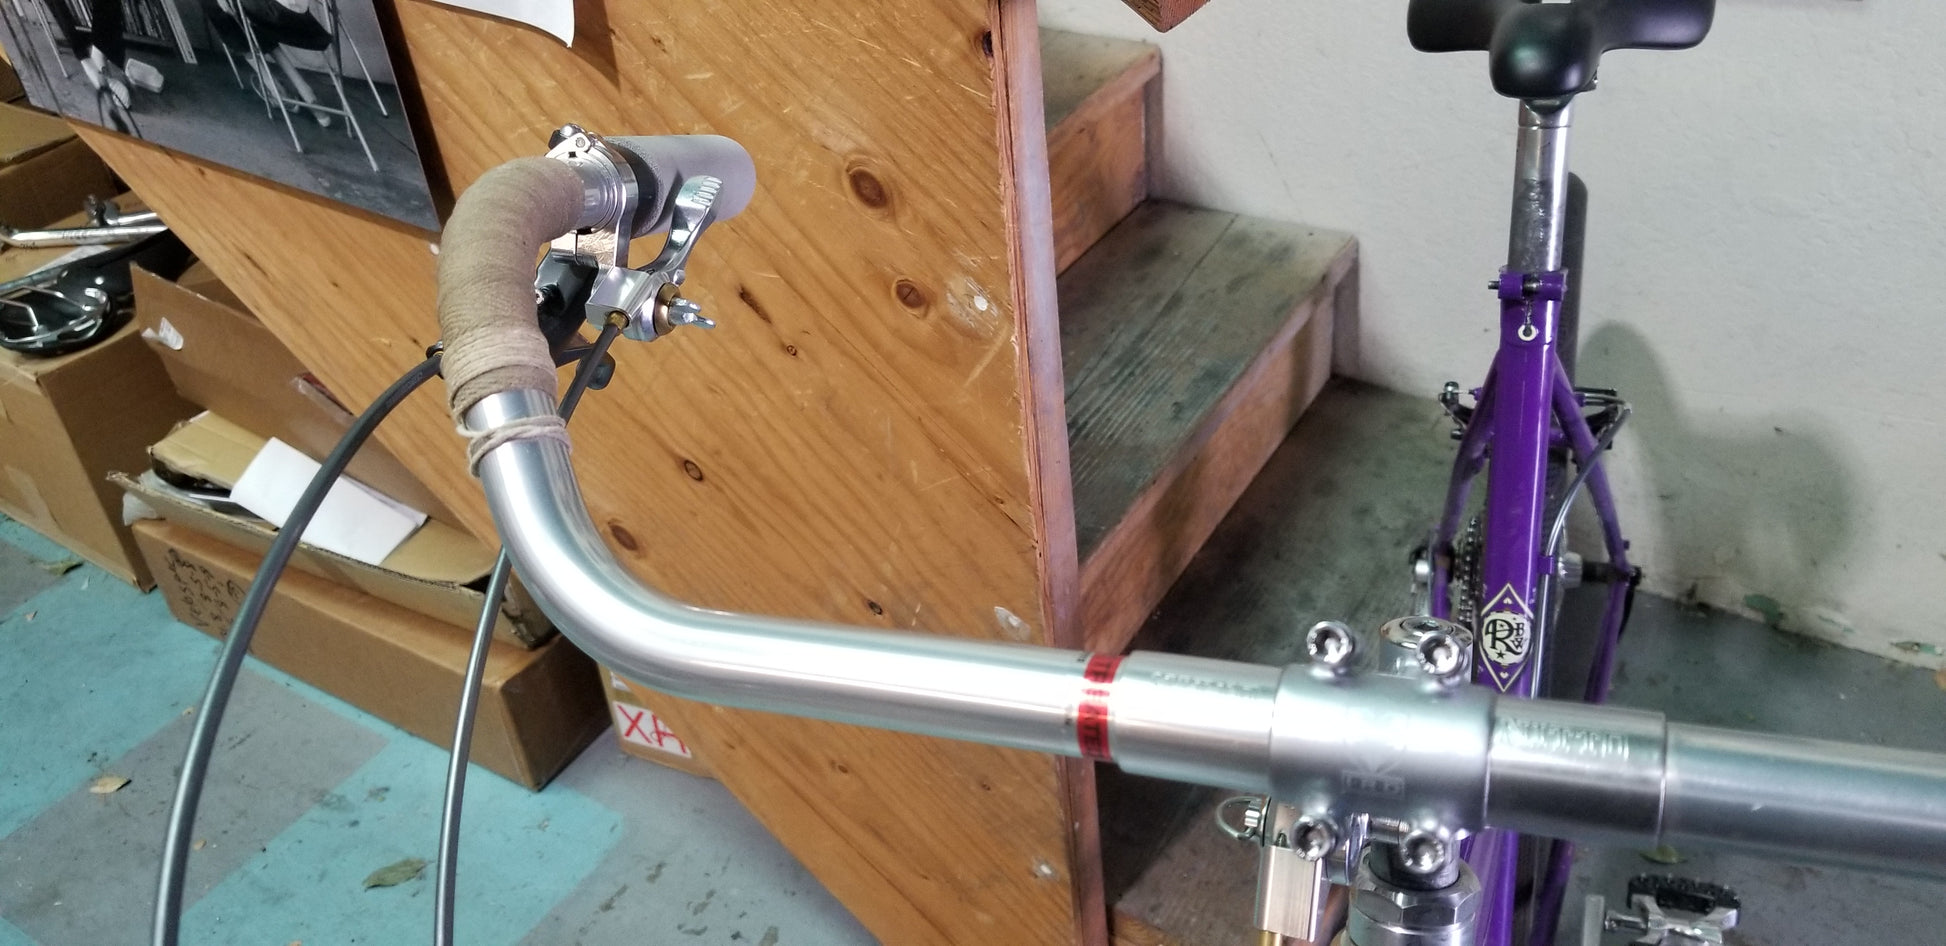
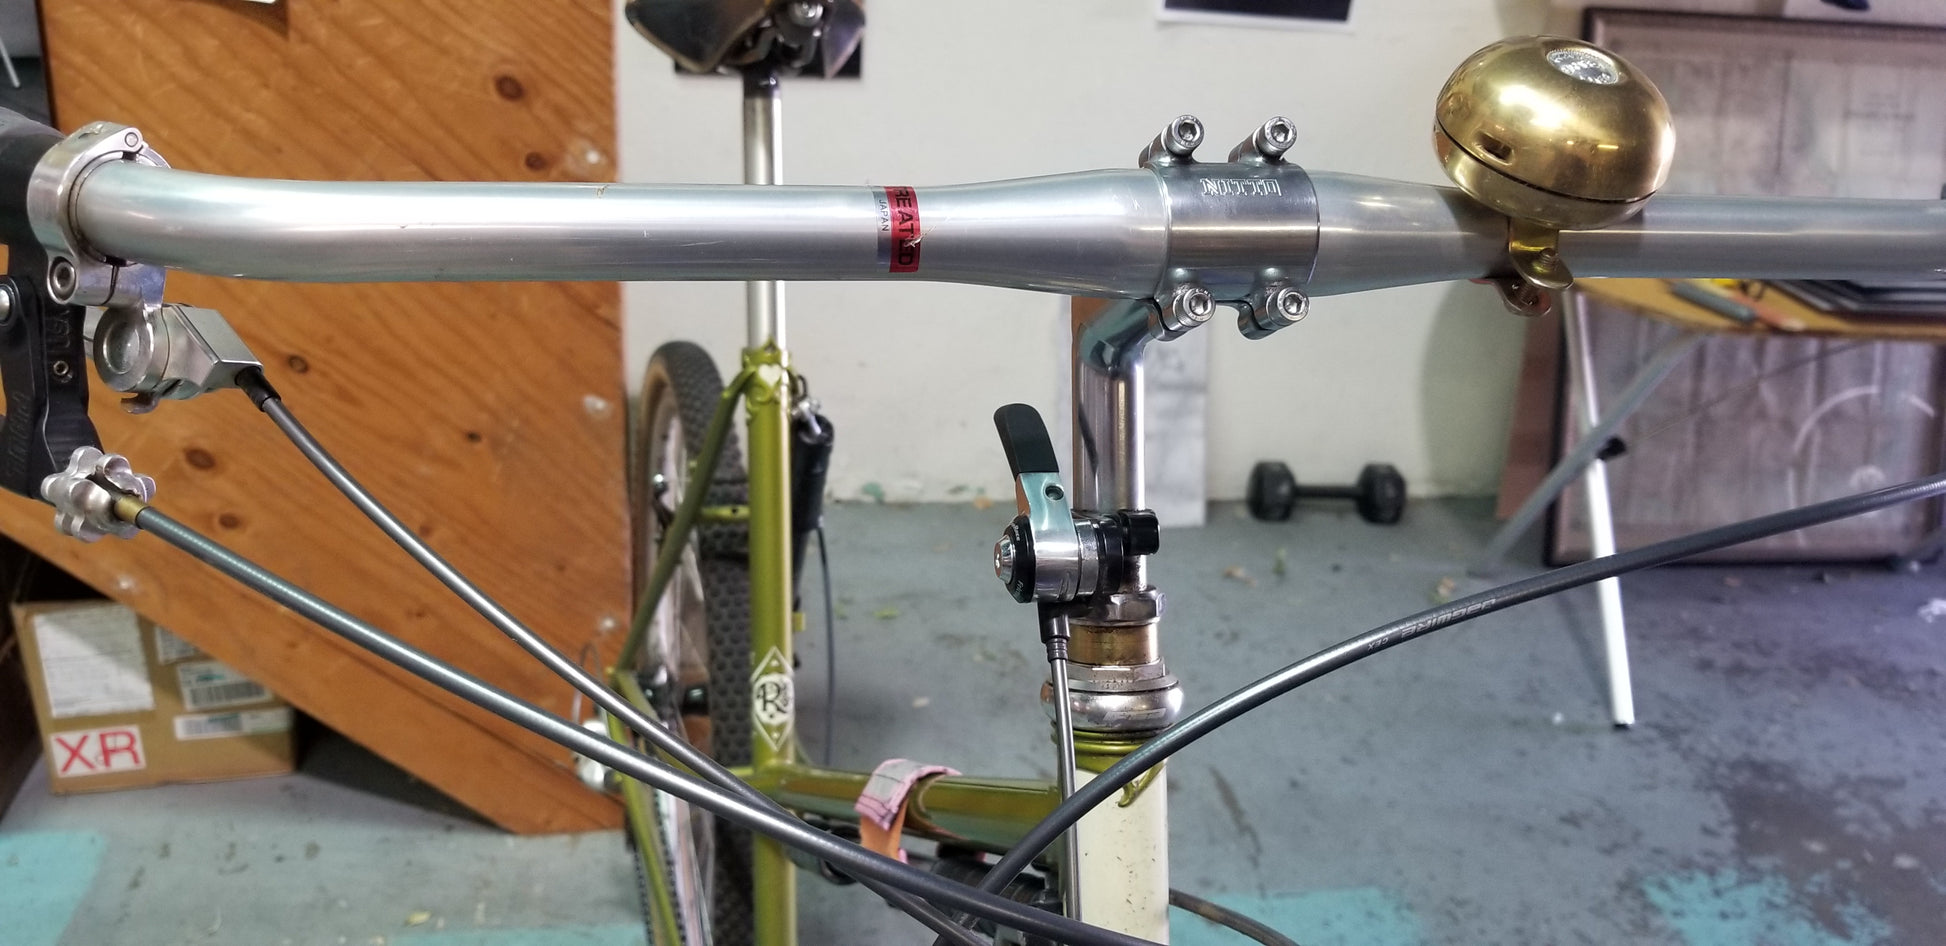
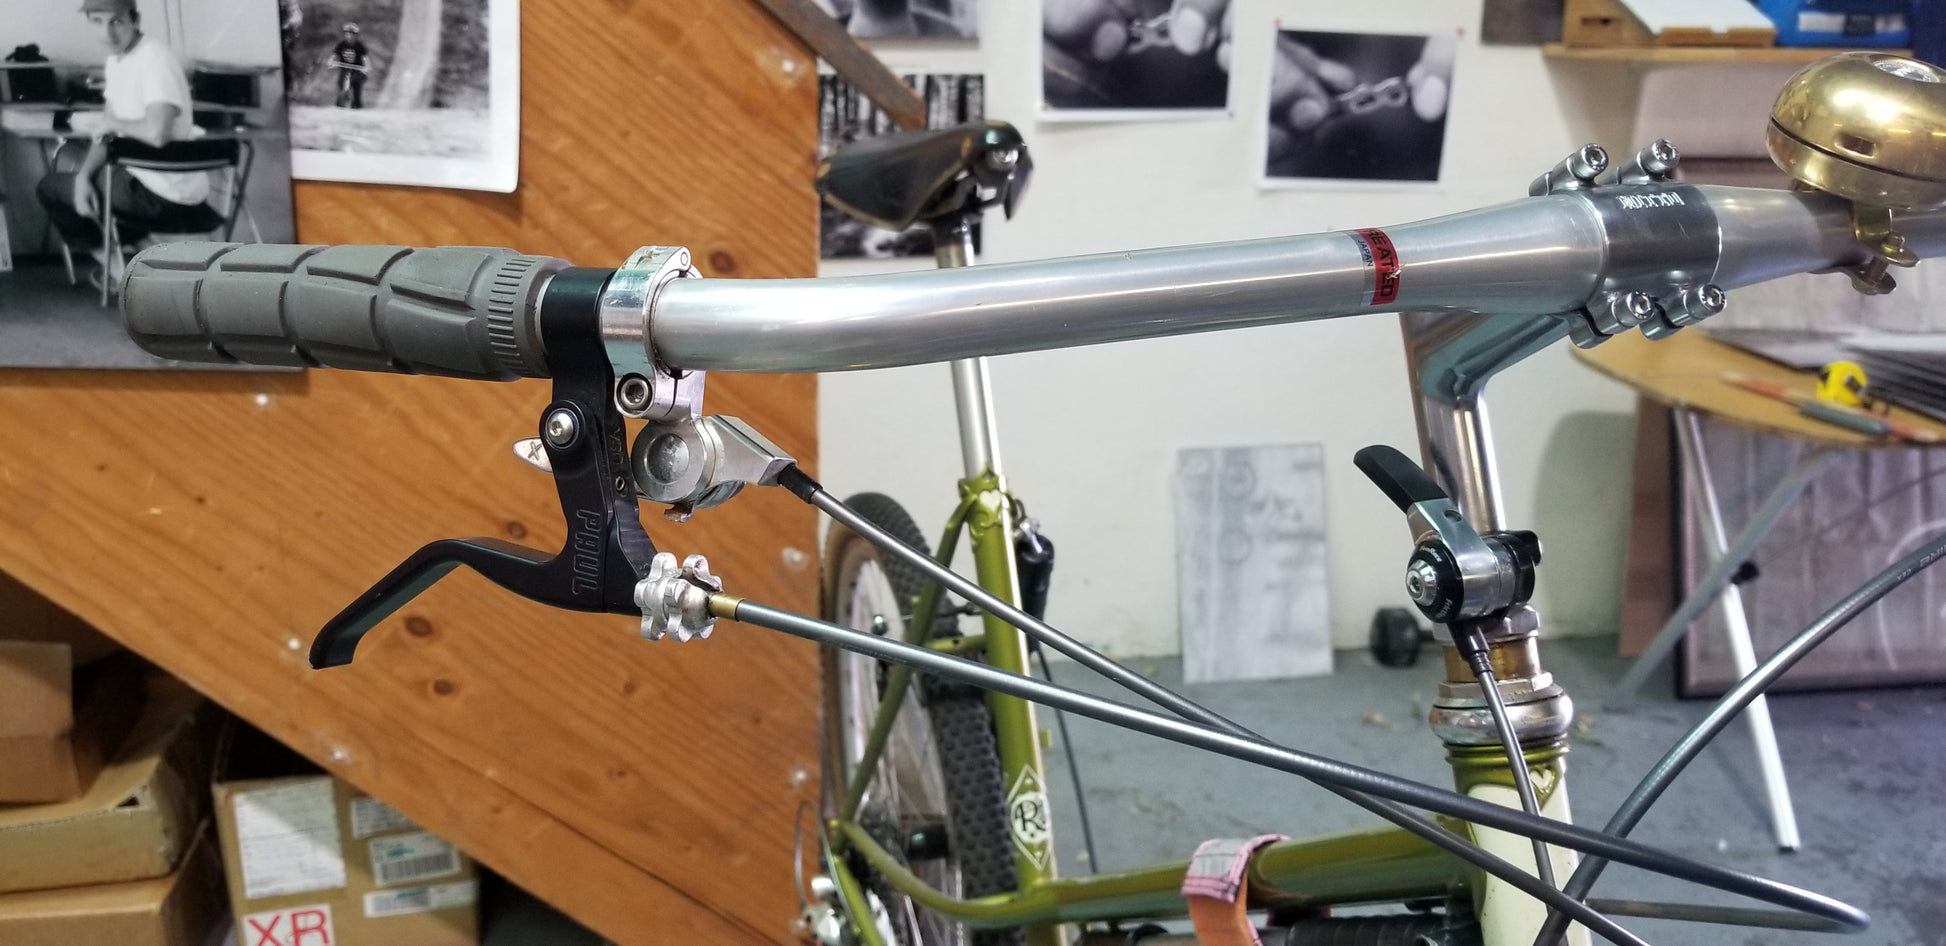
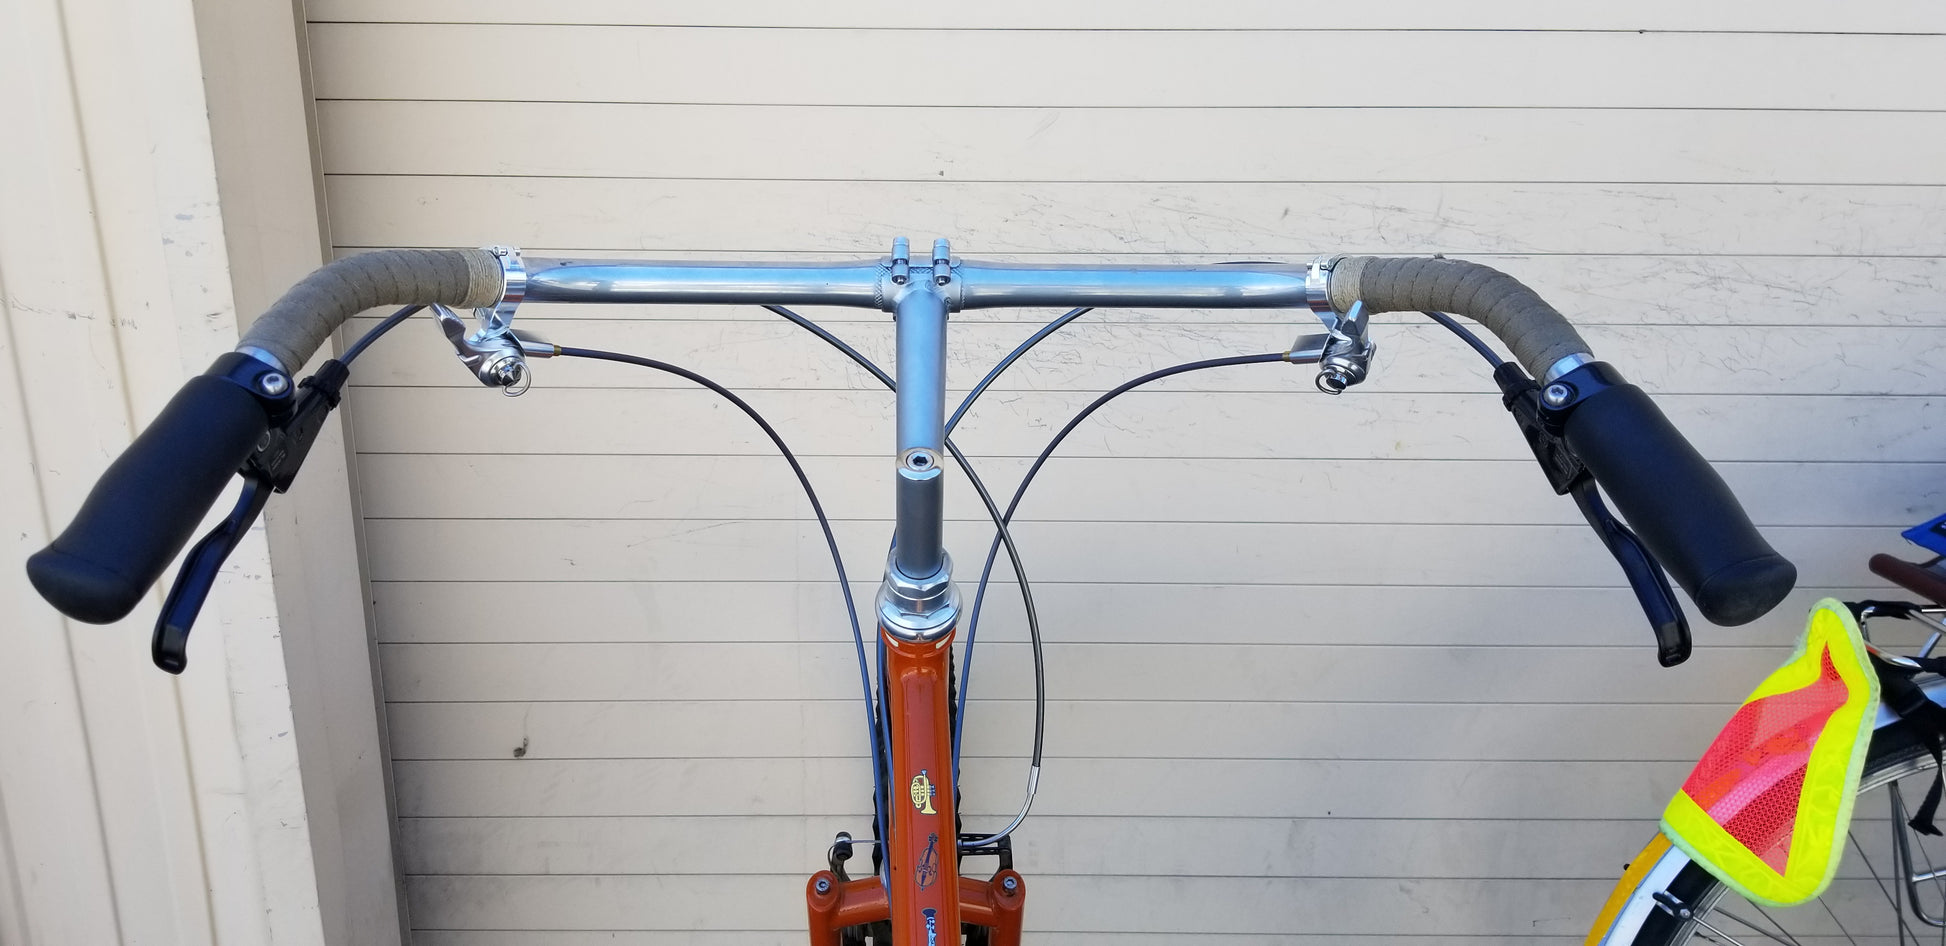
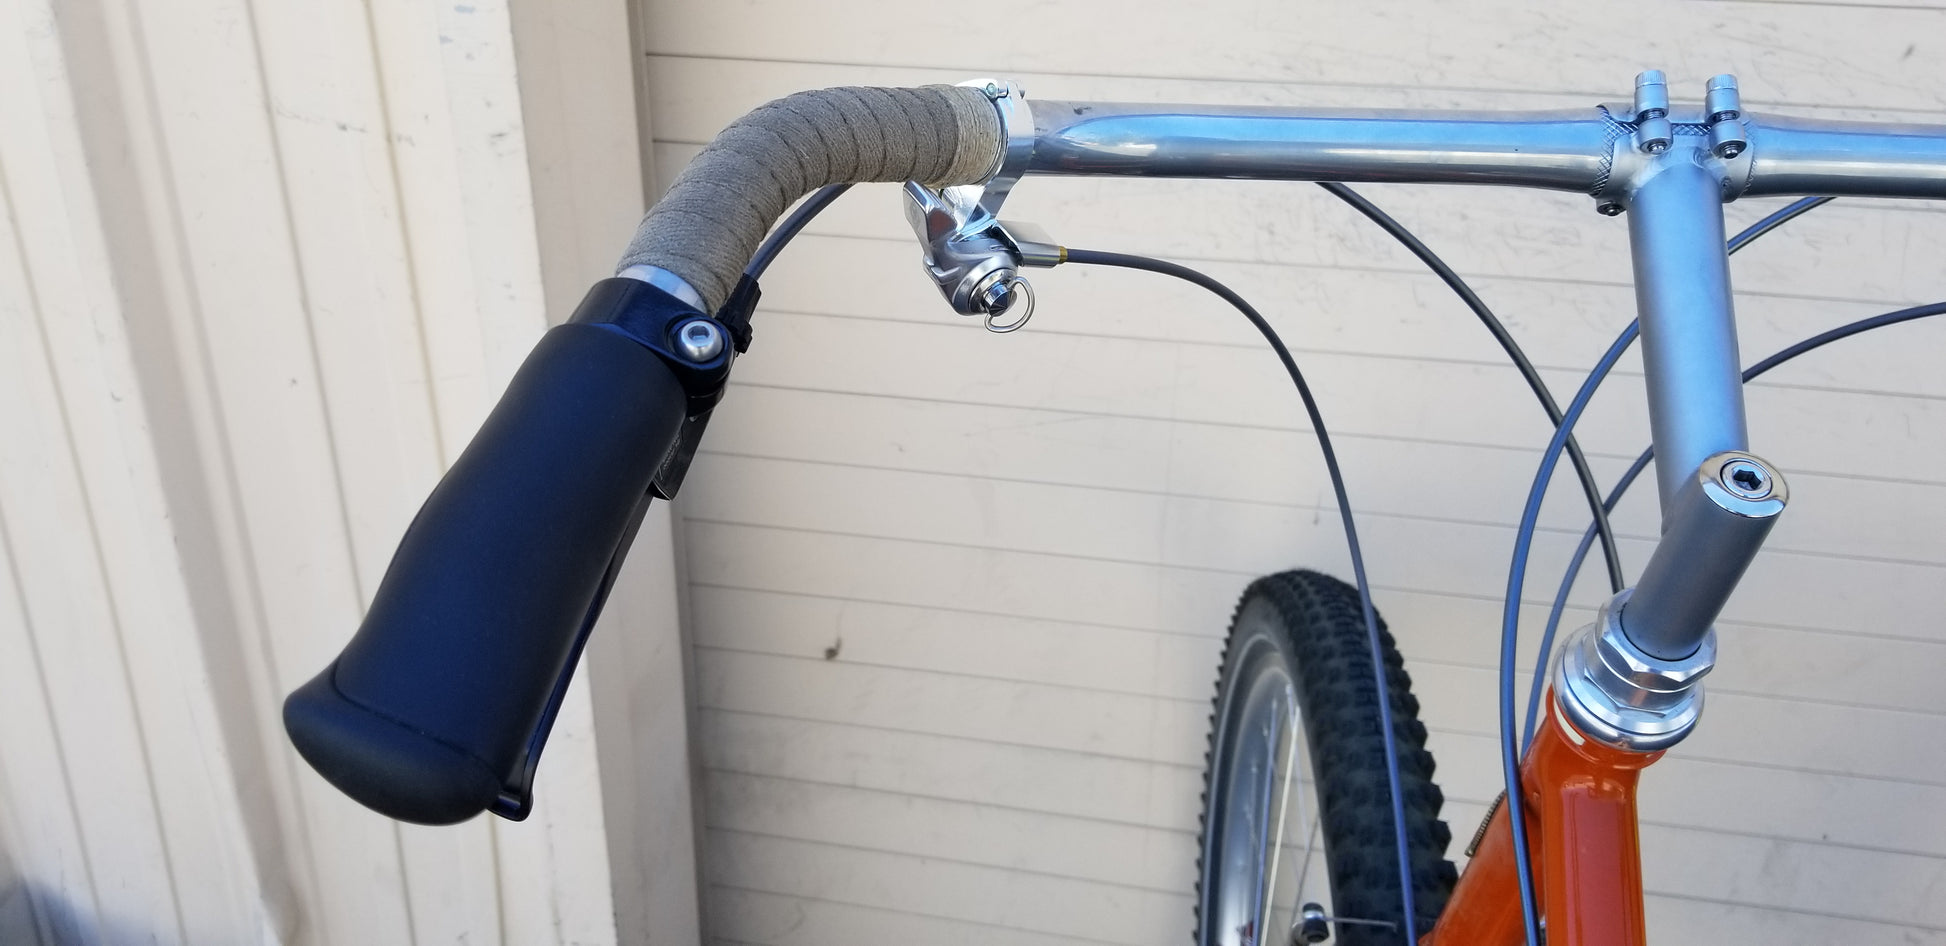
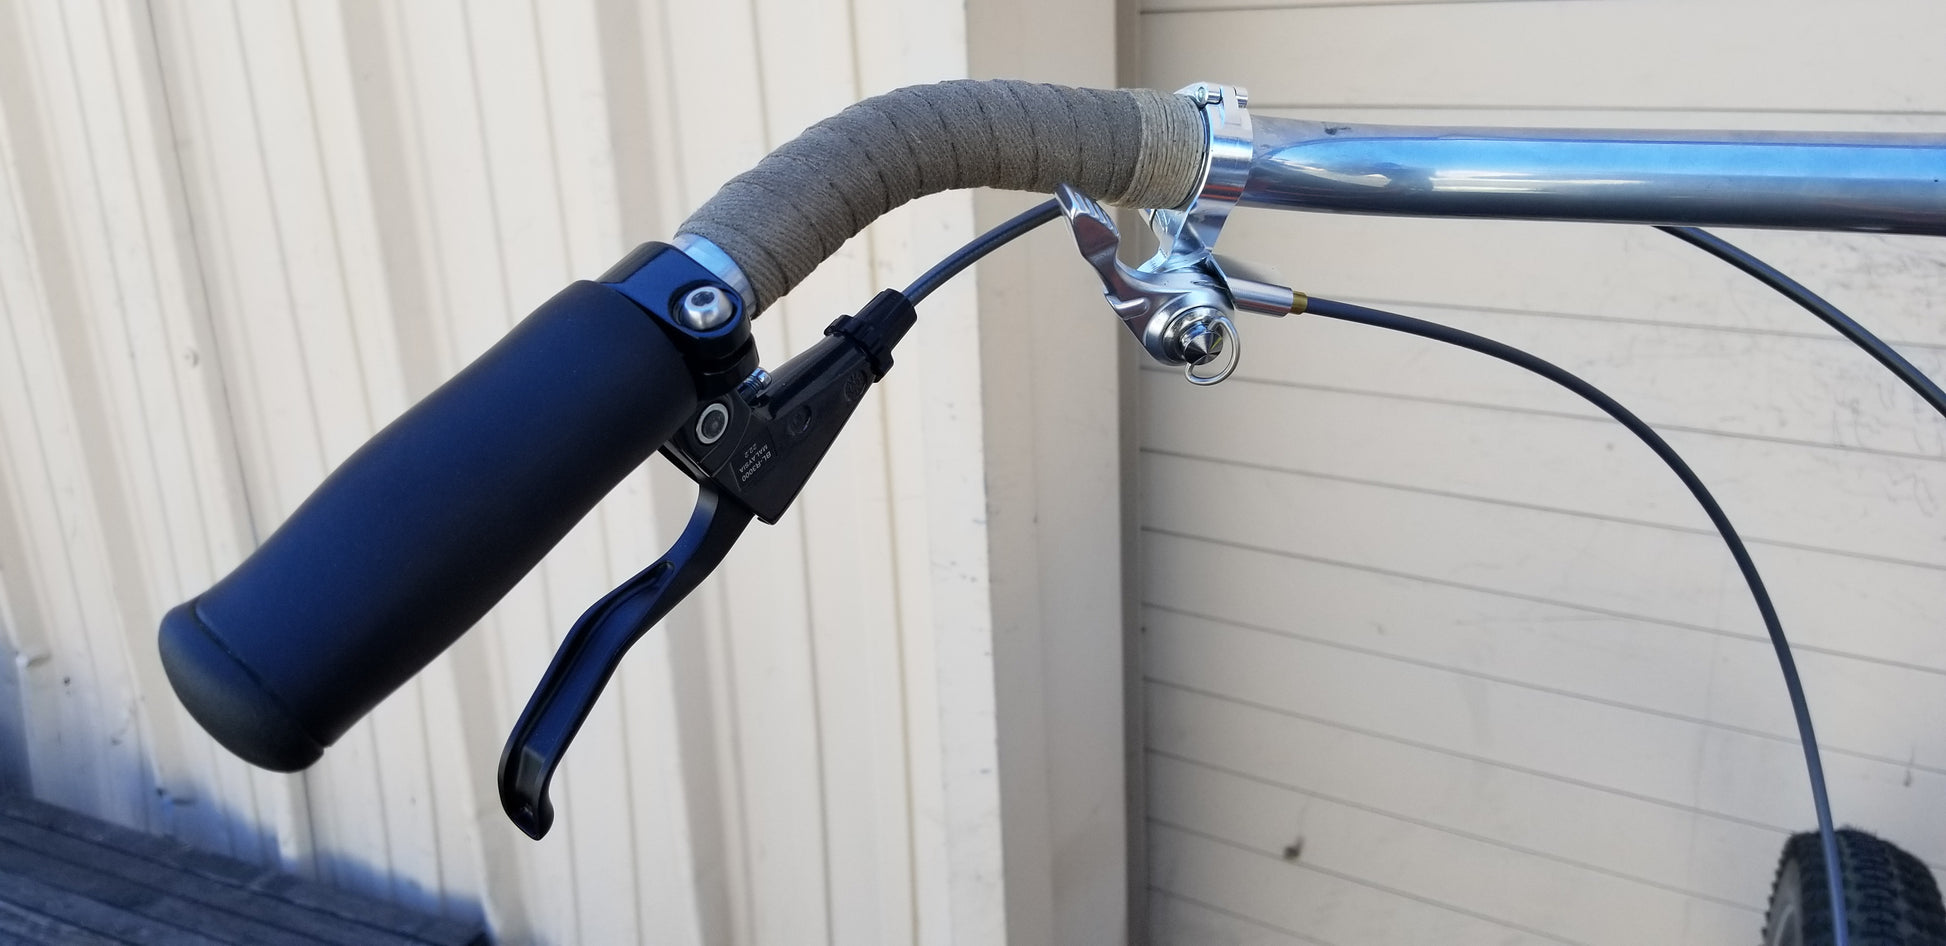
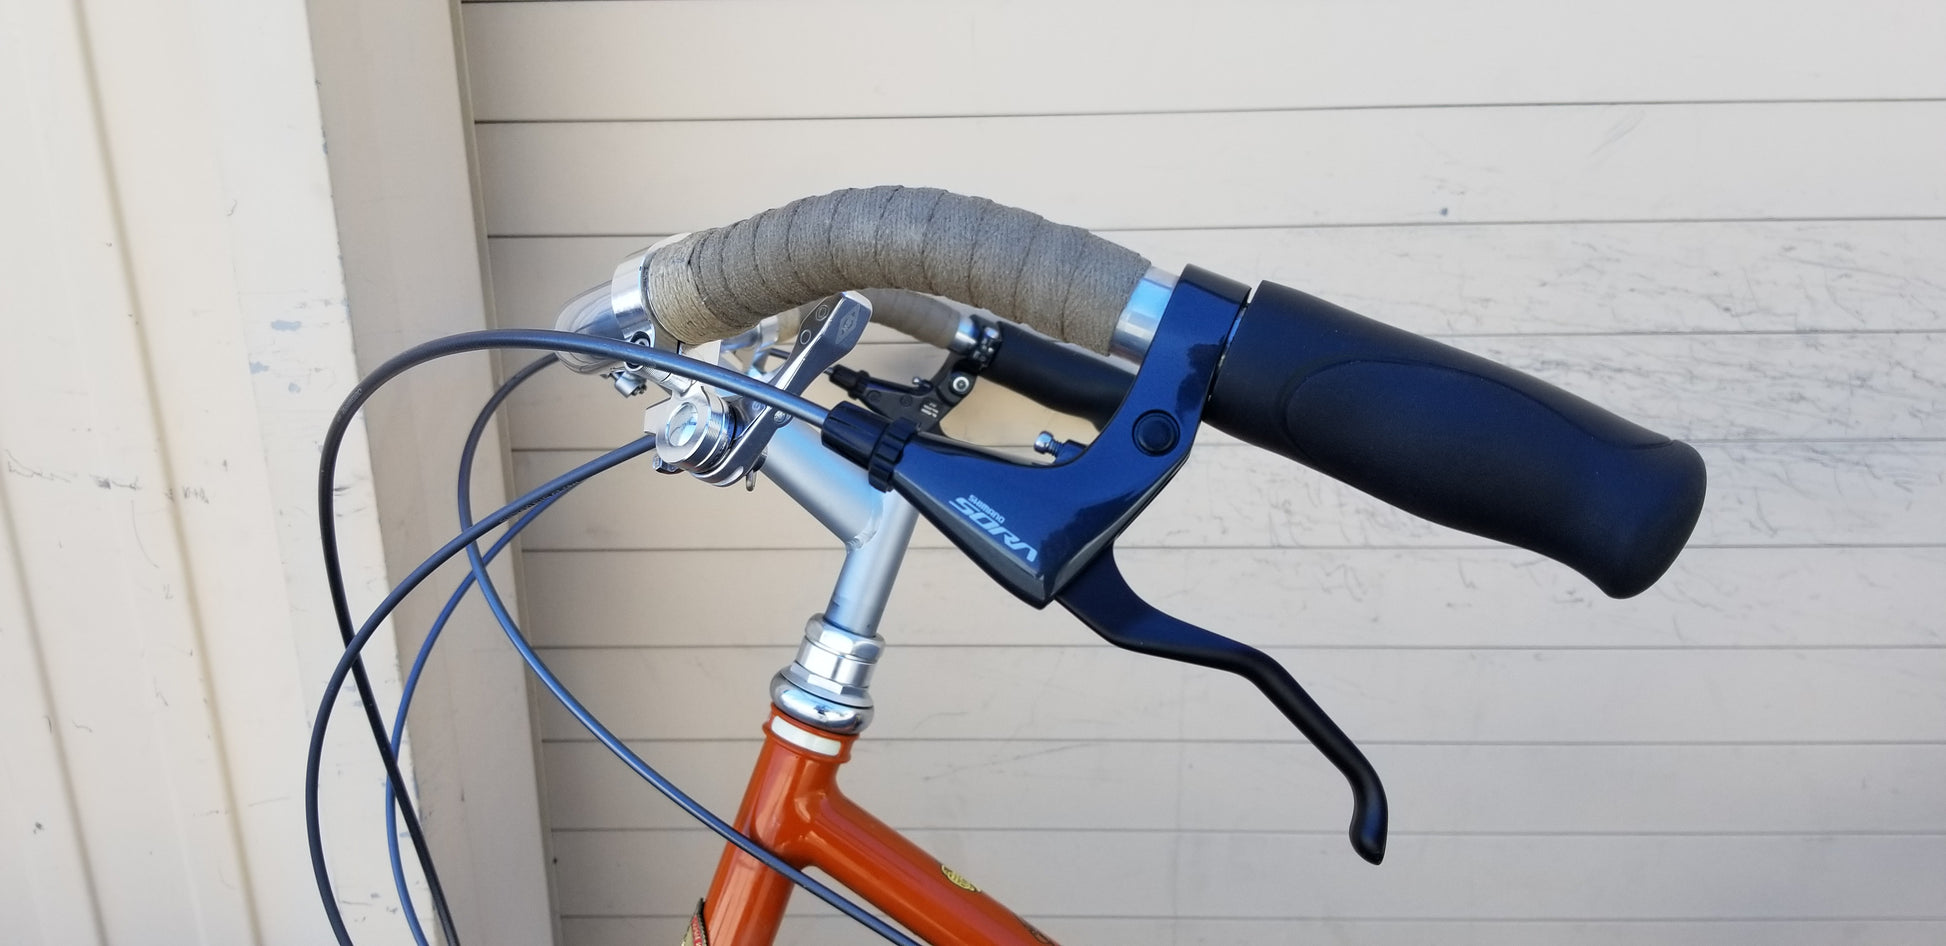
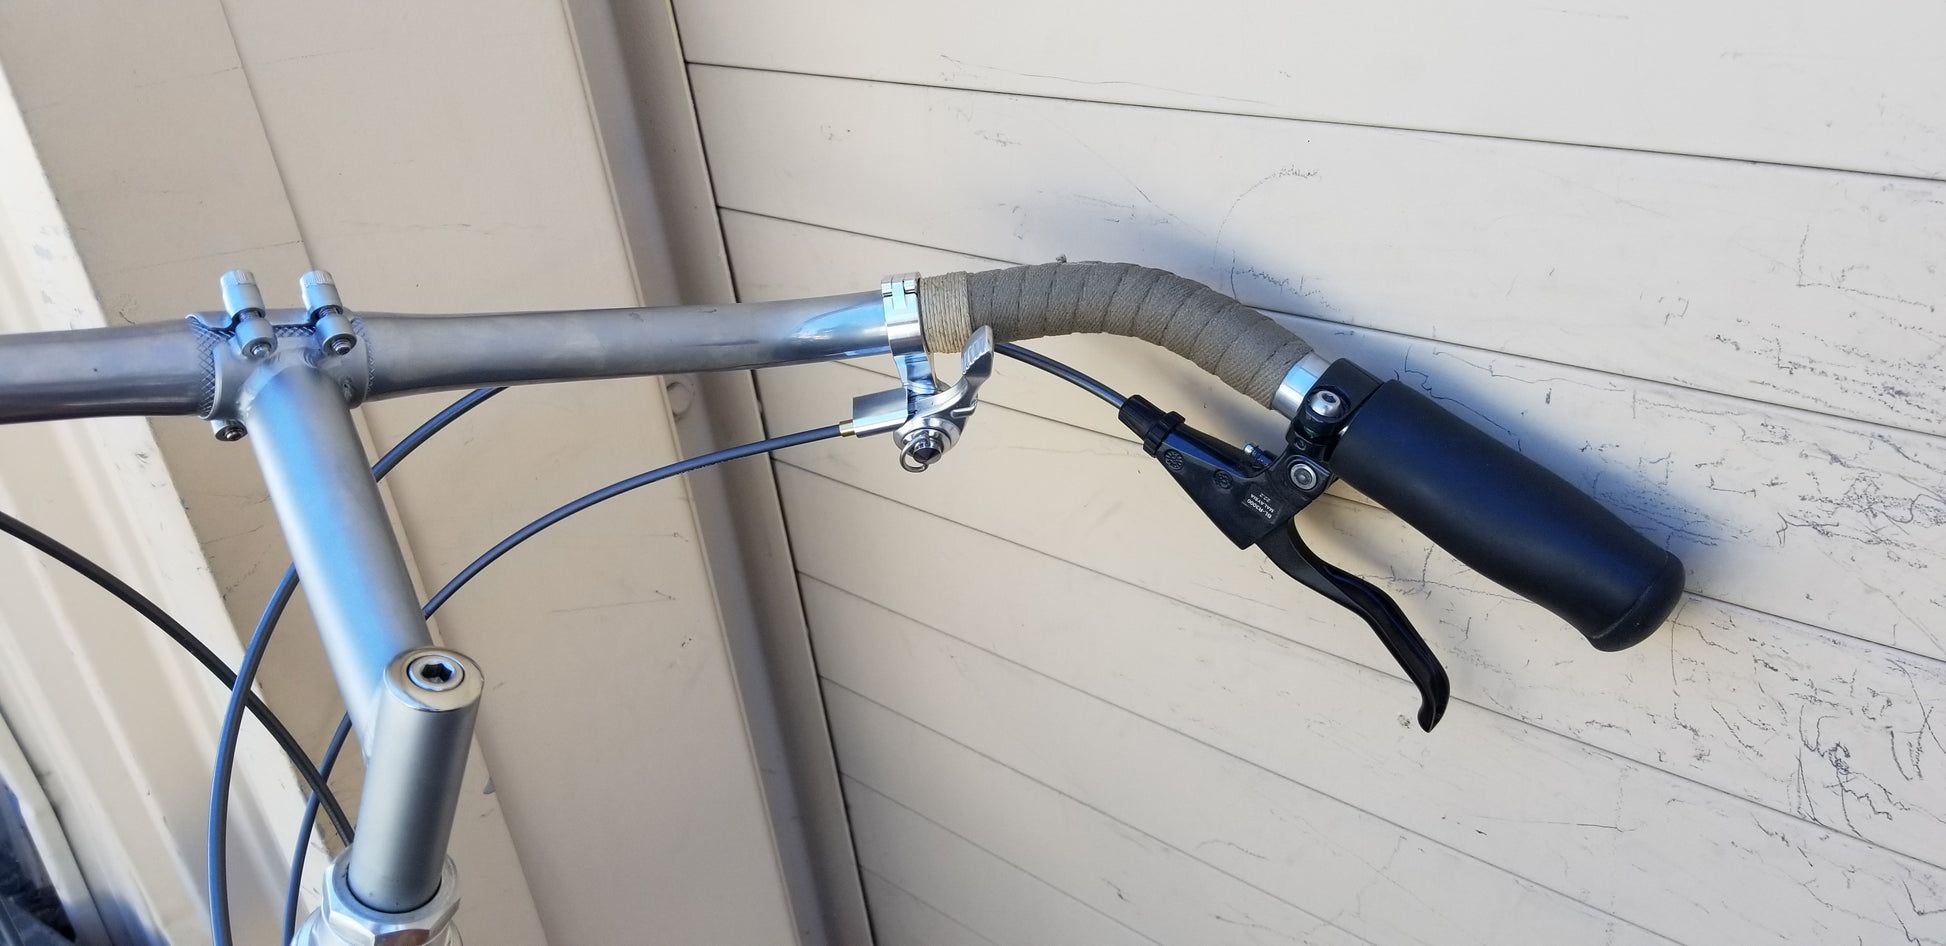
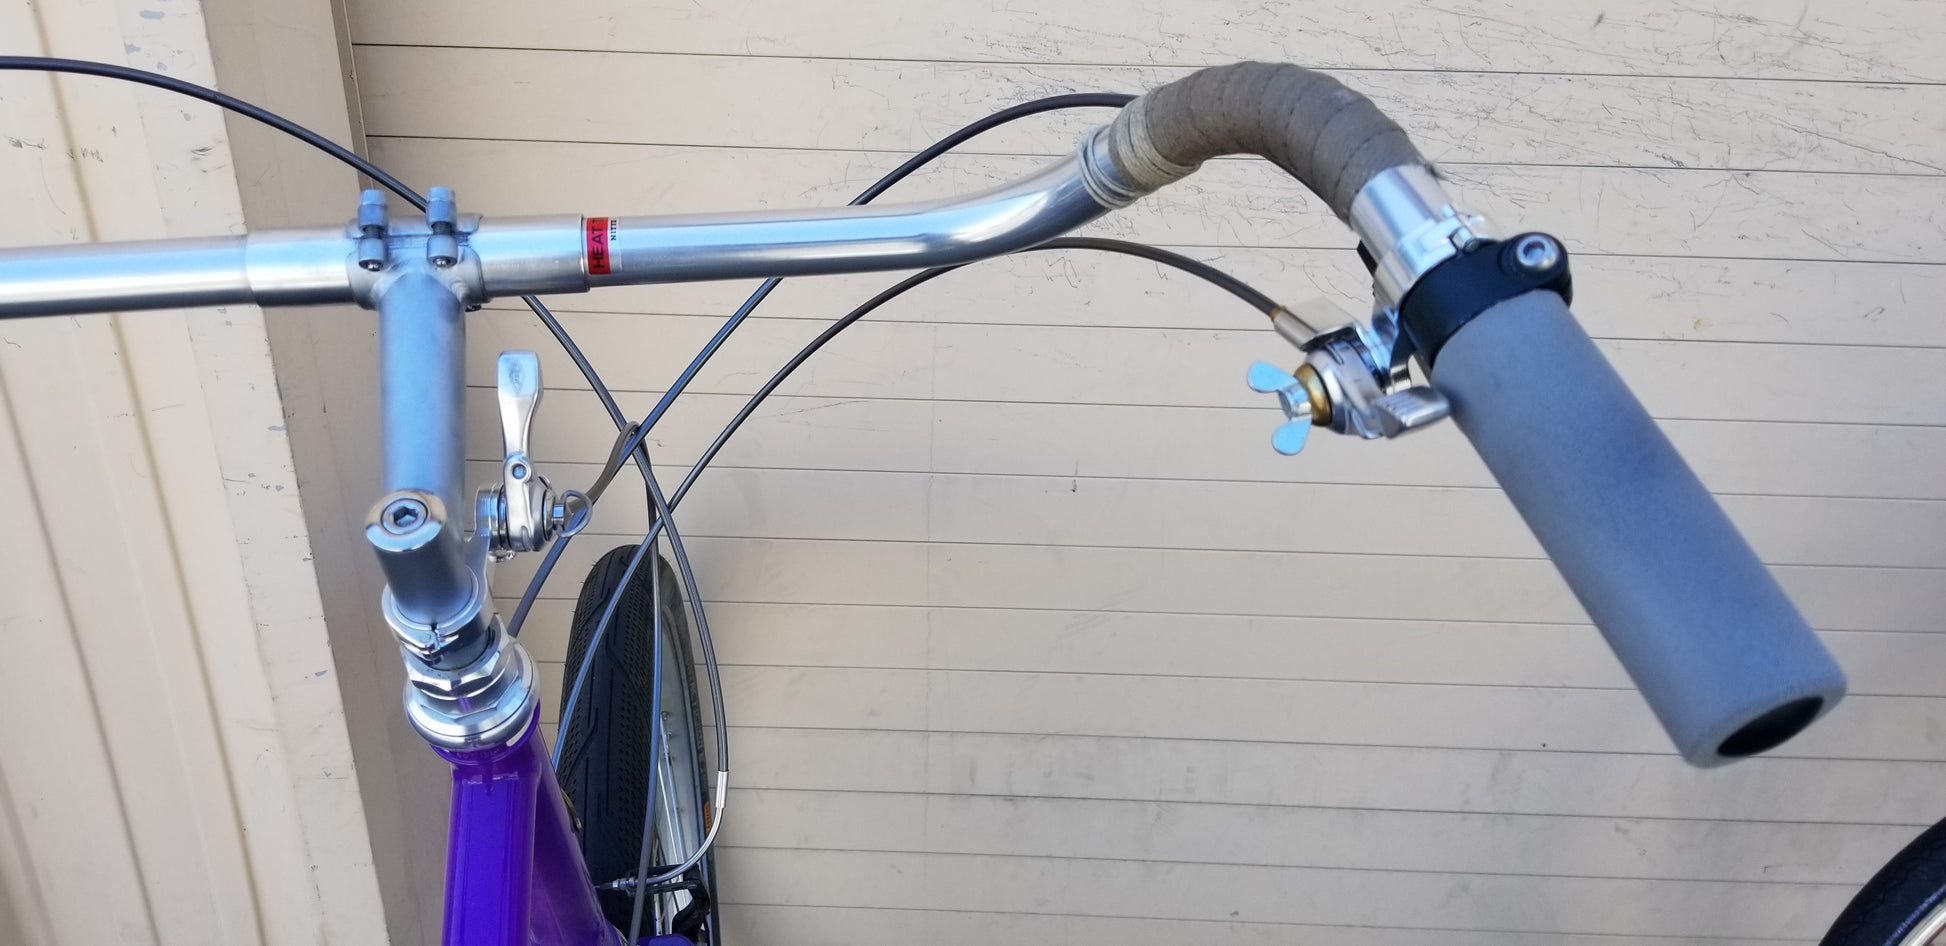
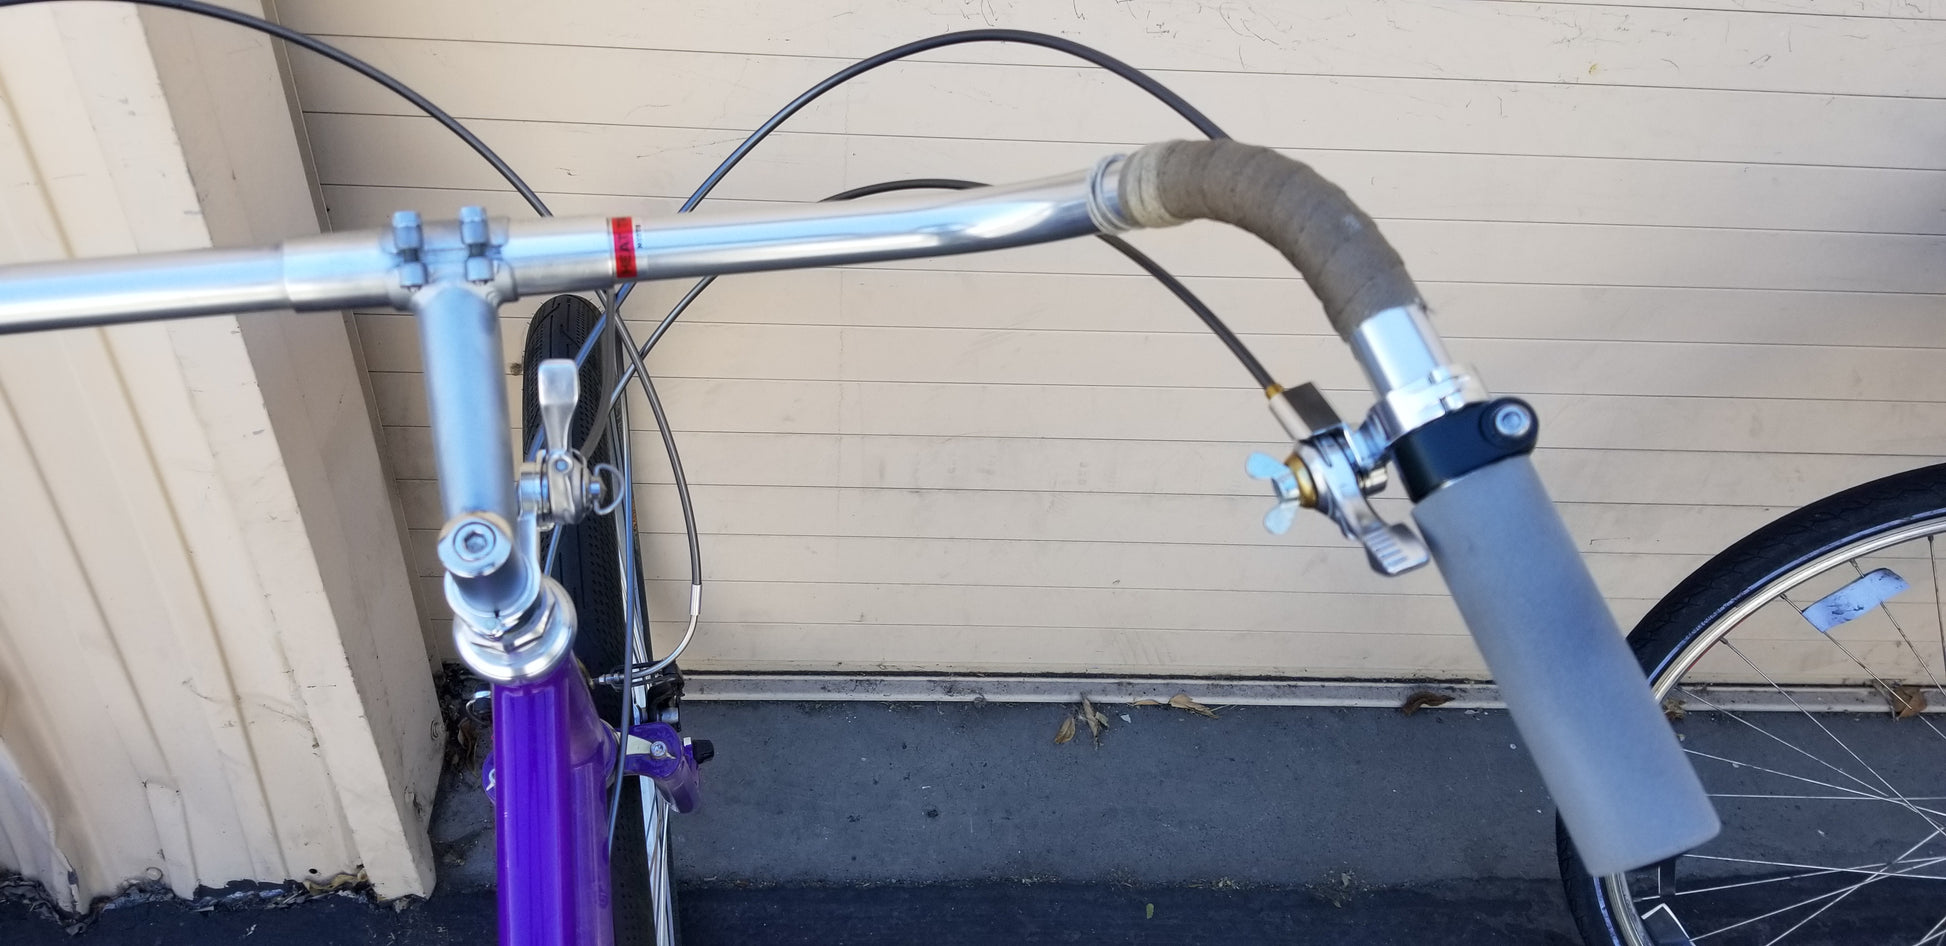
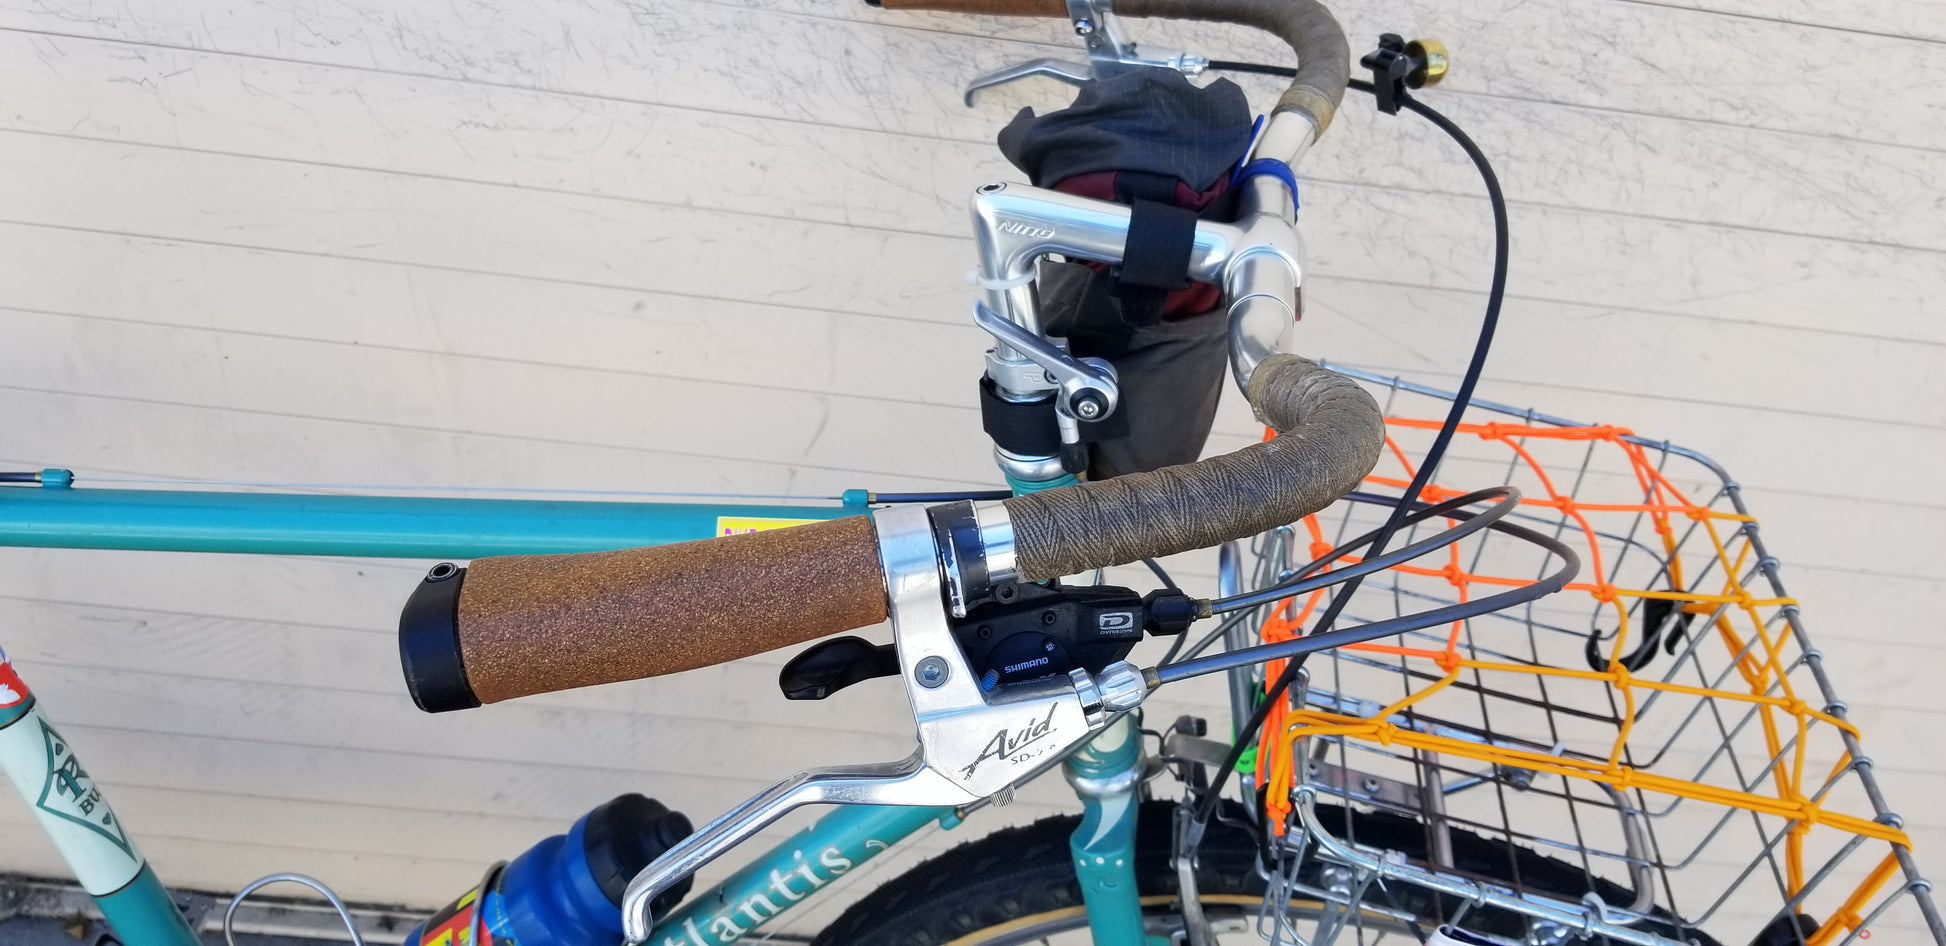
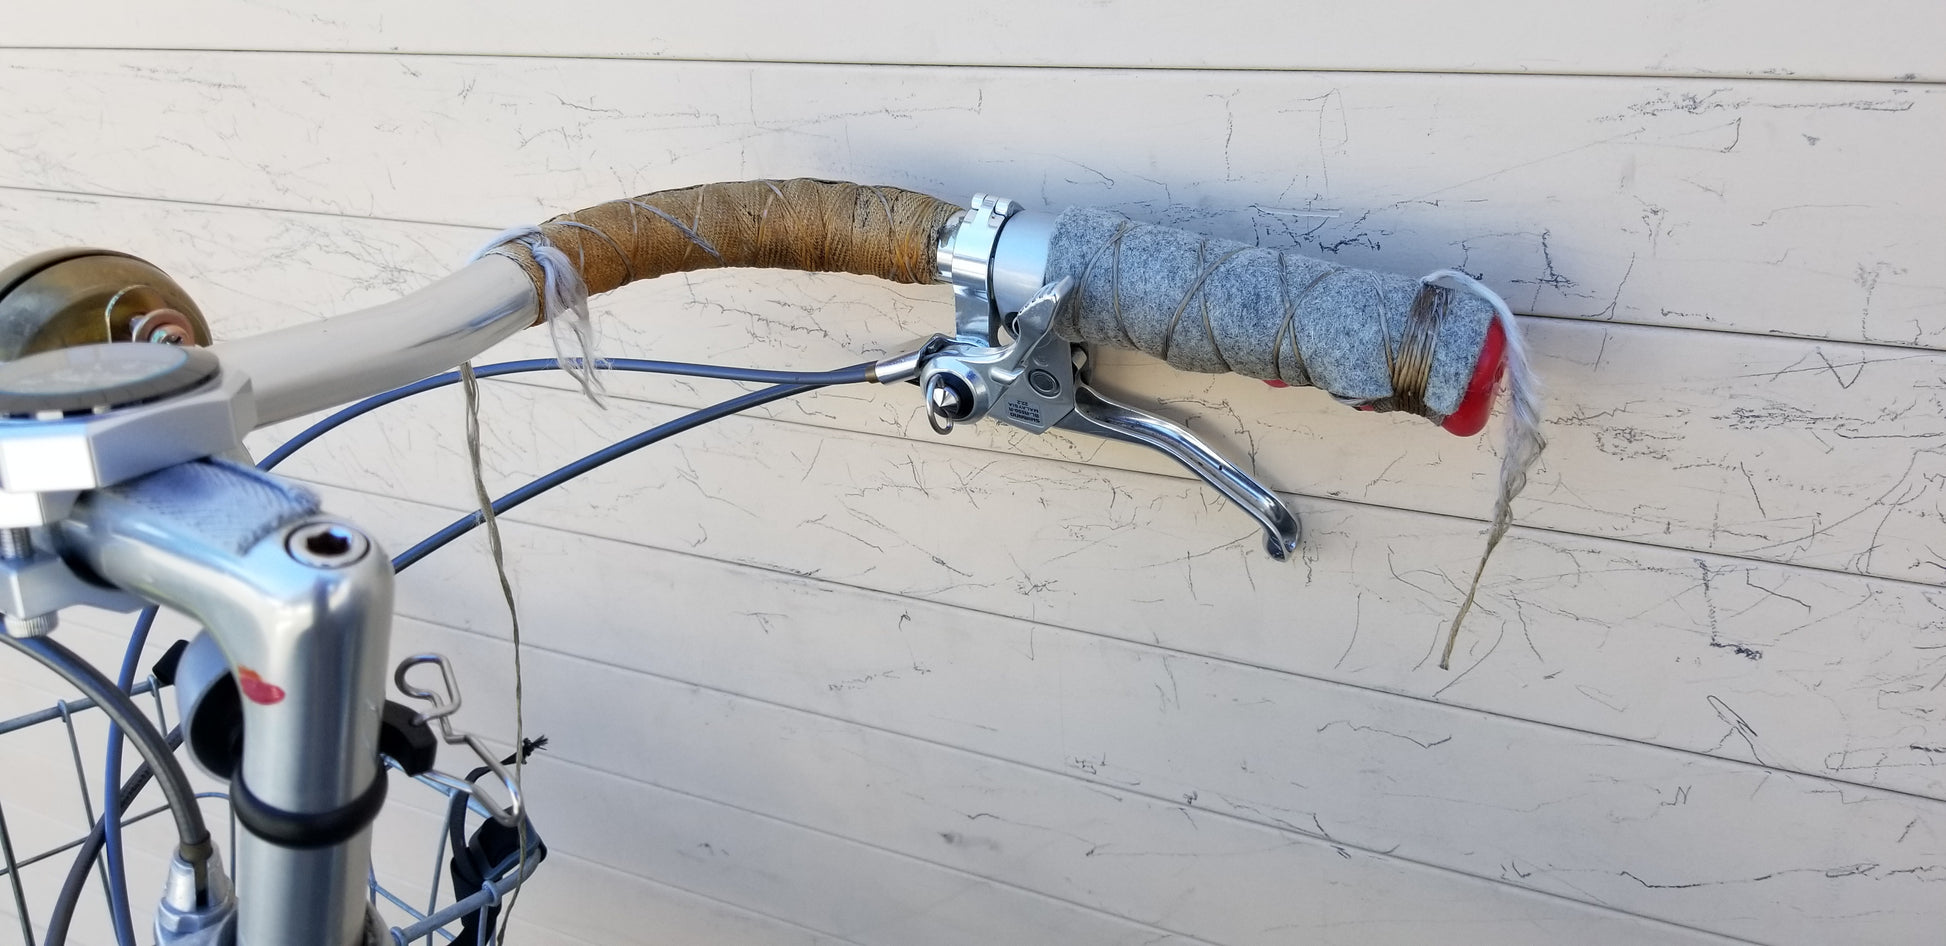
You can't buy anything on this page. This page is showing some of the many ways you can use thumb shifters on various types of bars. More pics will be added over time.
-----
Short story: These are friction shifters with a light ratchet. They don't index. They are beautiful, versatile, wonderful, and require skill. They're easy, though.
Tip: Put some loc-tite on the D-ring bolt threads and you'll likely never have to mess with them. If your shifter loses a little tension, turn it at the next stop or even while you're riding, if you're careful.
These are compatible with up to 9 speed rear derailers only. Not compatible with SRAM rear derailers.
Choose the X for a right-hand (inside) thumby or a left-hand bar end
Choose the O for a left-hand (inside) thumby or right-hand bar end
Longer story: They're our 2020 model version of SunTour’s 1982 XC mountain bike thumb shifter. We copied what was perfect: The idea, the guts, and the shape. We surgically inserted the SILVER1 guts (the light ratchet inside, which SunTour dubbed “power ratchet”). It’s a slight improvement over the original SunTour ratchet.
We polished them better and designed a nifty hinged bar-clamp, so now you can put them nearly anywhere, super conveniently, and fine-tune the cable exit barrel in so you get good cable flow no matter where you put it.
(This may sound like nothing, or like something that only bizarre shifter placements can take advantages of, but it is useful all the time, and came about out of frustration with mounts that didn't allow it. If you don't follow this, that's understandable and fine, but you'll take advantage of it when you mount Silver2 shifters as thumbies.)
These have been a long time in the making; more than five years, and three and a half years of designing and prototyping. They’ve been stupidly expensive to develop, but they came out better than we’d hoped at our most idealistic, and are one of the things we're most proud of.
Shifting with these means understanding that a mechanism or tool can be mechanically perfect and virtually un-improvable, while at the same time allowing its user to flub up a shift. At some level, the degree of control and intimacy with your bicycle that Silver2 shifters allow improves your relationship with the bike by involving you more with its functions. It's not scary, it's wonderful.
If you want skill-free perfect shifts, get indexing. If you want to work harmoniously with your mechanical-object bicycle, if you enjoy that level of control and are willing to accept the possibility of flubbed shifts as hey no biggie, then get these.
The SILVER2 shifters are beautiful, mechanically honest (they don’t shift for you, but they give immediate and accurate feedback, so you learn quickly), and are an anachronism in 2020.
Friction shifting isn’t hard, but it takes practice, and these days you can buy shifters that shift for you.
-----
Here’s how to buy shifters, depending on how you set them up:
SILVER2-O: Bar-end RIGHT, Thumby LEFT (inside or behind the bar)
SILVER2-X: Bar-end LEFT, Thumby RIGHT( inside or behind the bar)
For thumb shifters, the O mounts on the LEFT, inside the bar. The X mounts on the RIGHT, inside the bar. Think of the animal OX. The O is on the left, etc.
For bar-end shifters, it's the opposite. You can remember this by considering that in the real alphabet, O comes before X, and we read from left to right, so the X goes on the left and the O goes on the right, which is just the opposite of the way we read.
-----
Go here to buy Silver2 shifters.
And here for the Silver1 shifters.
Sunrace thumbshifters are sold here and here.
Find the thumbshifter mount clamps for Silver shifters here
You can also buy our bar end pods here to mount Silver1 or Silver2 shifters onto the ends of most of the bars we sell.
Be sure to match type O shifter to type O pod/thumb mount, and type X shifter to type X pod/thumbmount. In other words, a type X shifter won't go on a type O pod/thumb shifter mount.
If you are confused about which to buy, please send an email or call
------
Here's how you mount these to Bar Pods
Here's how you mount these as thumb shifters
-----
This is how to shift:
1. Pedal like normal until your right foot reaches 4:30. SHIFT.
2. Float your right foot to 12:00 and let your left foot move to about 6:00 but with ZERO pressure on it. If you truly "floated" the pedals, by the time your right one reaches 12:00 (sometimes 1:00), the shift will be complete, and you can power on or whatever.
If you tension the chain by pushing EVEN A LITTLE on the pedal during the FLOAT stage, the chain will be too tensioned to move to the next cog. To drive home how important it is to detention the chain, get off your bike, push down on the pedal with maybe ten pounds of force, and then push the upper section of the chain inward. Don't drive the bike forward, just push down on the pedal and push the chain inward, toward the tire.
You'll see the chain doesn't move.
Now unweight the pedal and try it. It wiggles inward easily. This is the state the chain must be in for the shift to take.
INDEXING doesn't overcome a stiff chain. When you shift in index, the shift still happens the same way--only when the chain is slack.
If the above lesson seems hard, it isn't. Try it. If you don't want to learn to shift, you can still have a great time riding a bike with indexed shifting.
------
As stated above but it can't be said too often: These shifters give immediate and honest feedback, which means you'll learn fast. They are as good as you are, and they will teach you about shifting.
-----
(They aren't compatible with Paul Thumby mounts. This isn't an oversight or a defect. We started from scratch and didn't copy anything. It works great.)
HOLY COW, FOLKS: These will shift up to 11 speeds when used with a 9/8 speed rear derailer. The latest 10/11/+ rear derailers require more cable to be pulled making them no good but a 9 speed rear derailer will still shift through an 11-speed cassette easily. Match your chain to your cassette, and the 9sp rear derailer works!
Share
